What am I going to write about?
As I put it, it might seem a bit scary. Dyeing is a lot of fun, but it stops being fun when you need some specific colour for a project with a deadline, and that fabric doesn’t turn out as you want it. So you need to purchase that fabric again. Been there too many times.
The scary warnings are to keep you away from that kind of problems. Dyeing opens to you a huge range of possibilities and fun stuff, but you have to keep it fun, and lower the risk level. otherwise you end up like the many who tell “I tried once, was a disaster, never again”. And I don’t want that. I want you to try, to experiment and have fun!
Dyeing is an art, and achieving the hardest effects like spotless ombré or resist-paste stuff are things that need lots of practice and experience, therefore I will not cover those here, as I want to keep this post about easy things everyone can achieve at home. I am also not someone who has been trained for this and that dyes for a living…I dye for fun, and because sometimes I need to. But if you’re considering dyeing 12m of silk for your ballgown…you might want to alter your project rather than attempt to get professional dyeing results at home. Great amounts of fabric need lots of water and space, and your bath tub won’t get you to the even result of factory-dyed fabric. Trust me, I’ve tried and I failed many times in many different attempts at getting professional and evenly dyed huge amounts of fabric at home. And I hope this post will spare you some disappointment, or at least prepare you to the possibility of failure.
No stove-top polyester polishes either, or processes to dye polyester and most synthetics. Because they are nasty to work with, need extremely high temperatures and such.
So what am I going to talk about? I will be talking about what can be dyed or not, how to dye small amounts of fabrics at home, and then I’ll give you a fun experiment to understand things. Small term project with low chance of mistakes and disappointment, as it features willingly made “mistakes”.
What is dyeing?
Dyeing means transferring pigment to the fiber, chemically, without any medium. Acrylic or fabric colours have their pigment dispersed into a medium, a glue, something that glues the particles to the surface you’re working with. Paint is somehow fragile over fabric, and it needs extra care. Fabric becomes thick and changes its hand.
With dye, you don’t have that extra substance, the pigment gets directly to the fiber. This means the fabric doesn’t change its hand and you can wash it normally.
Fibers, and what can be dyed at home with ease
We will be talking about the dyeing processes that involves soaking fabric in water. So if you have a fabric that has to be kept away from water, you might want to avoid these processes. In my experience, these fabrics are mostly silks, and among silks satin and velvet are the most fragile. You can dye them in water, but twisting and heating can alter the fabric even when you’re doing basic stuff. You can end up with a dull velvet, or a sort of distressed satin, less shiny, even if the colour is even.
I have dyed silk velvet in water at home (I got somewhat nice results, but it never gets back to how it was before water), and also silk satin, with supermarket dyes and Dylon ones. Allow yourself to gain some experience, run many tests before you start considering a project that involves wide amounts of these fabrics (and by wide, I mean with a wider area than a tissue). You can dye small amounts of satin, keeping them flat and open, so that you don’t rub the fabric against itself. As long as you can hang the fabric flat, and are ok with a certain loss of shine, try it! You can easily dye crepe, chiffon, fabrics in which the shine is not the first feature you have chosen the fabric for. Opaque stuff works great.
I don’t recommend dyeing wool. Heat and movement are hard on wool, and you can get your fabric felted. If you’re a beginner, postpone. There are some specific dyes for animal protein fibers, such as silk and wool. Consider using those, and purchasing more complete books. Basically consider learning to work on cheaper and easier fabrics before you move up from the basic, because you can always end up with fabric that can’t be used for your project, especially at the beginning. Gain some experience, before taking risks. It will do wonders for your wallet.
Synthetics
Synthetics can be dyed. Can be sort-of-dyed with polishes at home, can be dyed with extra heat. However, for what concerns dyeing at home, consider them (except some nylons- run tests! I ended up with orange nylon tulle from black dye baths) as not dyable. What does this mean? It means that if you dye at home something 50% cotton and 50% polyester, it will take 50% of the dye that a 100% cotton fabric would take. If you have 30% poly and 70% linen and add this fabric to a dye bath with a 100% linen fabric, you will get the poly blend with 70% of the colour the other has.
So don’t try to dye 100% polyester stuff at home. All the colour will rinse off. It might seem that it has taken a very light shade at first…but two washing cycles and it gets as white as new.
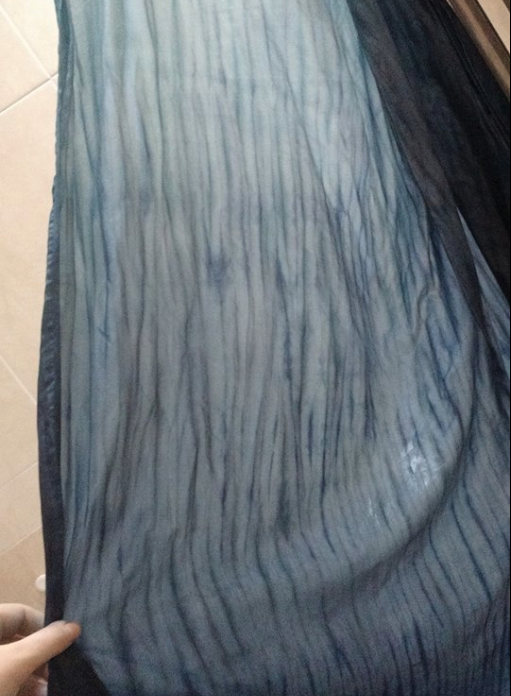
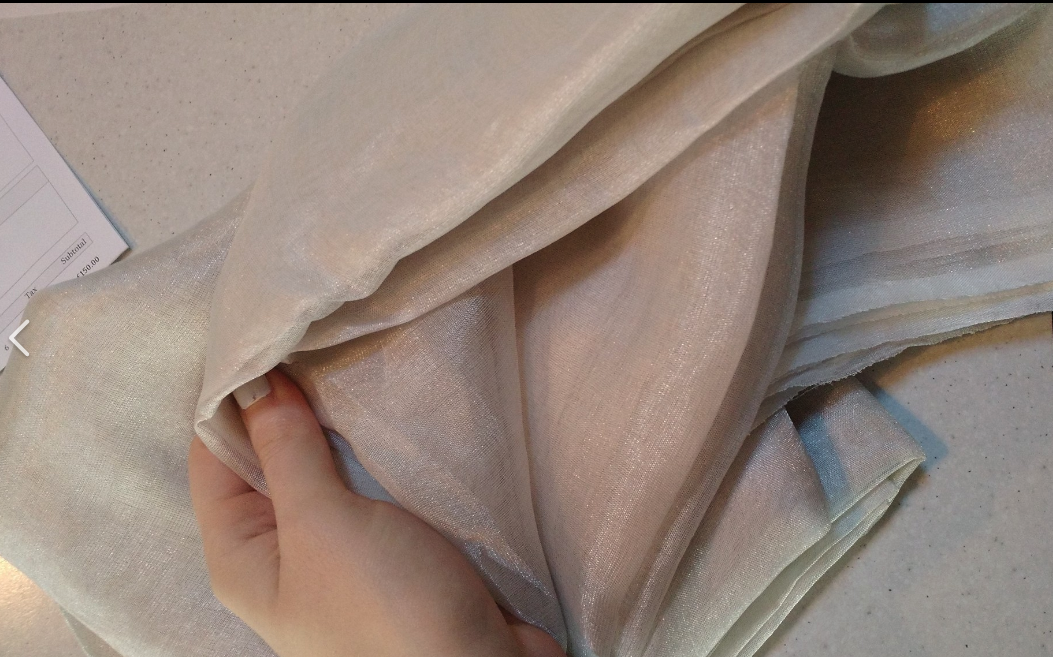
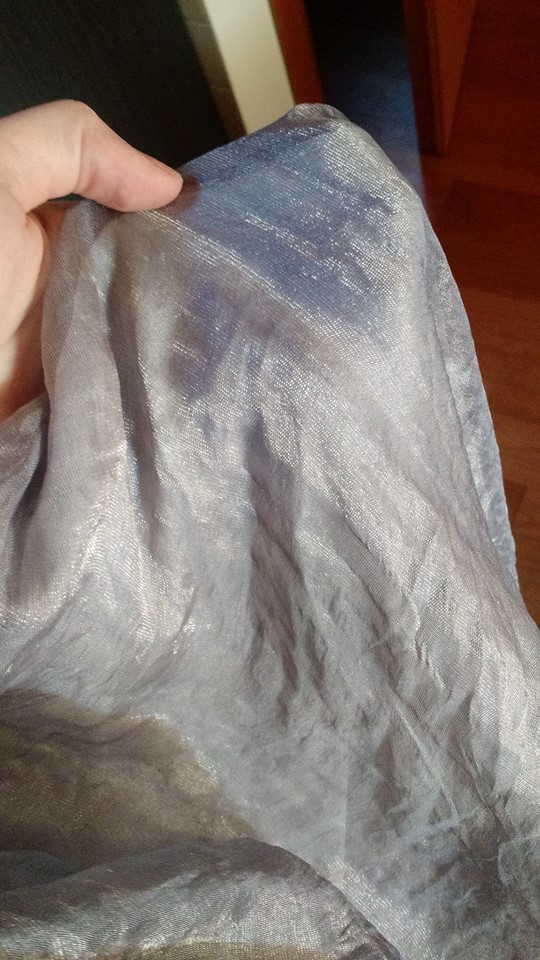
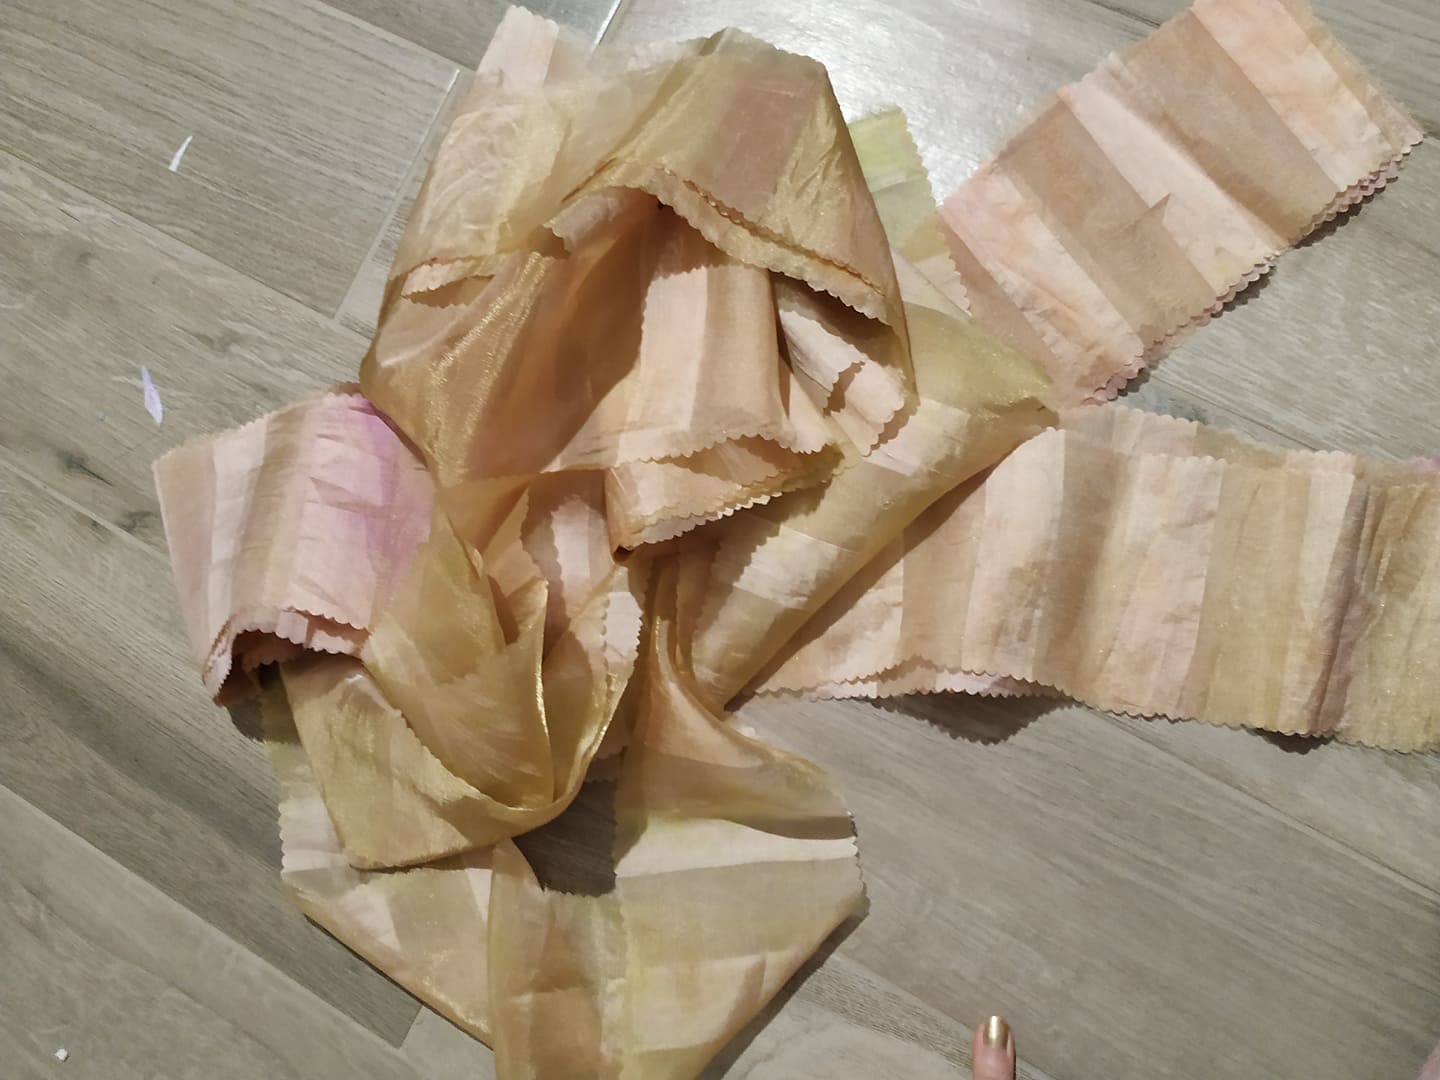
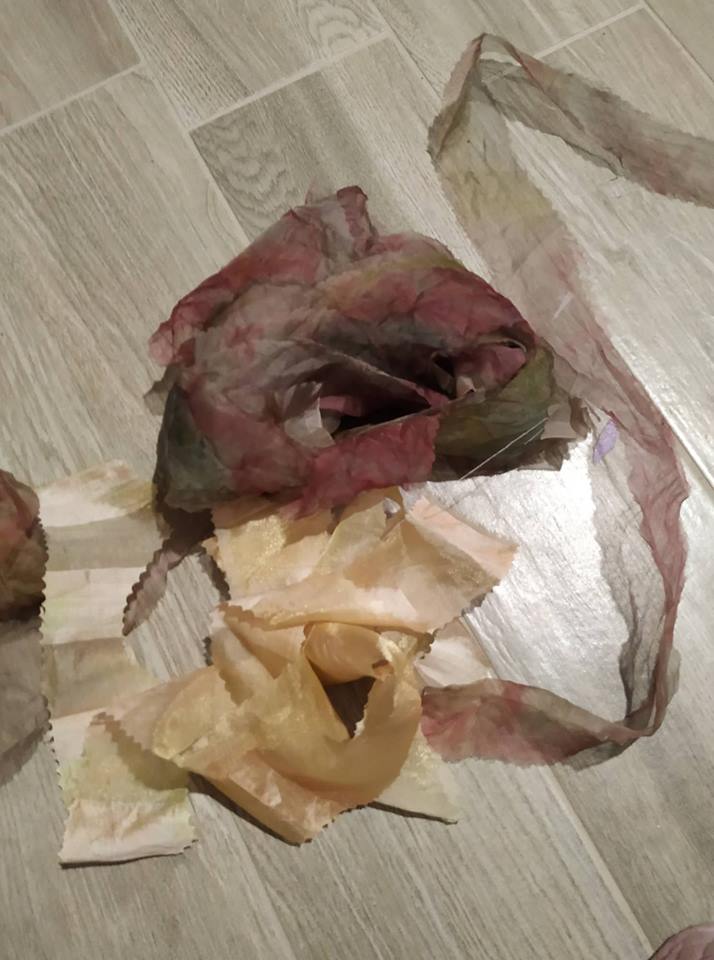
The following images are not of synthetic fabrics. It’s a silk-metal fabric that required some extra care, because dye acted weirdly with the metal it contains.
Preparation
Talking of rinsing, you should have your fabric washed before you dye. You should always soak it (if it’s cotton, linen, or blends with those and synthetics…not wools and silks), but with dye it’s twice as important. Every fabric is prepared with stiffners and starches before it gets rolled. That can shield the fiber from the dye, and make you use more pigment than needed. Or you can get unevenly stiffened fabric, and get stains even if the dye bath was perfect.
Dyeing fabric is not very good for the environment (try dyes from plants like indigo and beets!), so everything that helps you in using less pigment should be done. These two things are turning the heat on, especially for cotton and linen, and pre-washing at least once. Twice is better, three times is awesome.
How colour works
Dye is colour. So you have to know how colours work, to dye. The basic blue and yellow make green when blended or overlayed, and all that colour theory stuff has to be well grounded in your bones.
Because things get harder.
First of all, dye is not like paint: dye is transparent. It’s not like overlaying a sheet of paper, it’s more like looking through a coloured pair of glasses. You can’t dye things to a lighter colour. You can’t dye yellow to white. That is called bleaching, and is something else and is quite tricky (dye doesn’t “cover” pre-existing colours, to get to something lighter, you have to get a chemical reaction). If you have a yellow fabric, you can’t dye it to blue. By adding blue, you’d get some green fabric. If you have light blue, you can get a darker blue. You can get a green by adding yellow or purple adding magenta. Colour theory. If you have doubts, you can purchase some photographic gelatines. Those coloured plastics to use in front of the flash, and consider them as your dye bath. If you have a white fabric, and overlay a blue and yellow gelatin, you get green. That’s how it works. If your fabric has printed flowers, you will still see them.
I strongly suggest to avoid blending pigments, especially at the beginning.
It gets a bit less easy when we consider we’re working with different chemical pigments. When you work with paint, things are stable, you work at the same heat. If you have a green pigment (that looks almost black in its tin), it might dissolve in water into a blue colour, and then get to green when the temperature gows down. This is why you always need to make samples. I had a nice purple dye, but it was made by combining blue and red pigments. The blue dissolved sooner, so the water was very blue. I kept adding magenta to make it the amethyst shade I wanted, and then some minutes later the red part in the original pigment dissolved, getting the dye bath to a much pinker shade. This is an other reason to make many swatches and tests, and to stir very well and filter dye. With natural indigo for example you get green fabric, and with the oxigen in the air it turns into blue, and a much darker blue than the green was. But we’re not covering natural dyes here, as I have very little experience with those.
Quick tips
Quick tips:
– if you want stains, you have to work over dry fabric, with water things will blend and get even, edges keep blurring as long as the fabric is wet and not rinsed;
-work with gloves, always, if it dyes natural fabric it dyes your skin and nails (yes, I got the smurf hand, the fake measles, the Dumbledore black finger, and you should avoid bleaching your own skin);
– keep the pigment jars FAR from your fabric and from the dye bath, and mix the pigment in that very far area (never understimate the damage a particle of pigment can do);
– rinse everything before you touch the fabric, from the basin/bucket, to the sink, to your gloves;
– get new equipment, or use some that will never be used for food again,
– test on swatches;
– don’t throw the pigment on the dye bath directly, prepare some concentrated dye, by pouring the dye pigment in little water. Stir, test the hue (not saturation), and then pour it in the hot water for the dye bath;
-pay attention to every drop the concentrated solution makes, on your gloves, on your equipment, on the basin sides…if the fabric touches it, and if you wanted a lighter colour, you get a stain;
-use the hottest water you can handle, for cotton and linen;
– dyed fabric stains other fabrics in the washing machines, at least for the first three times you wash it.
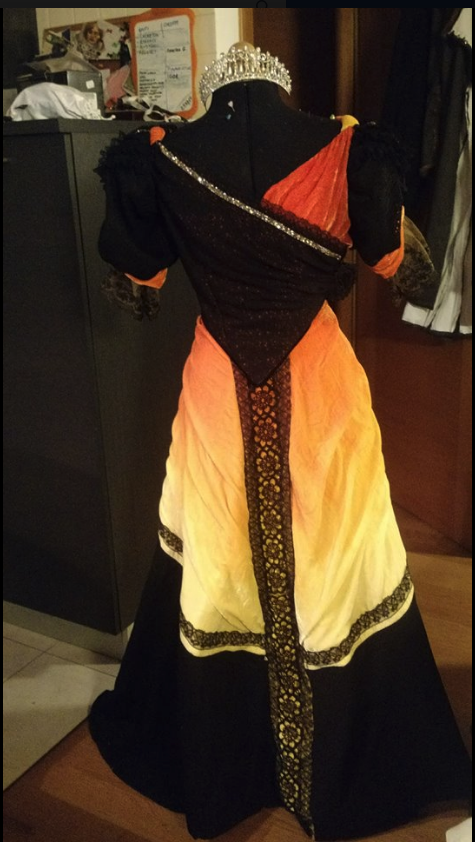
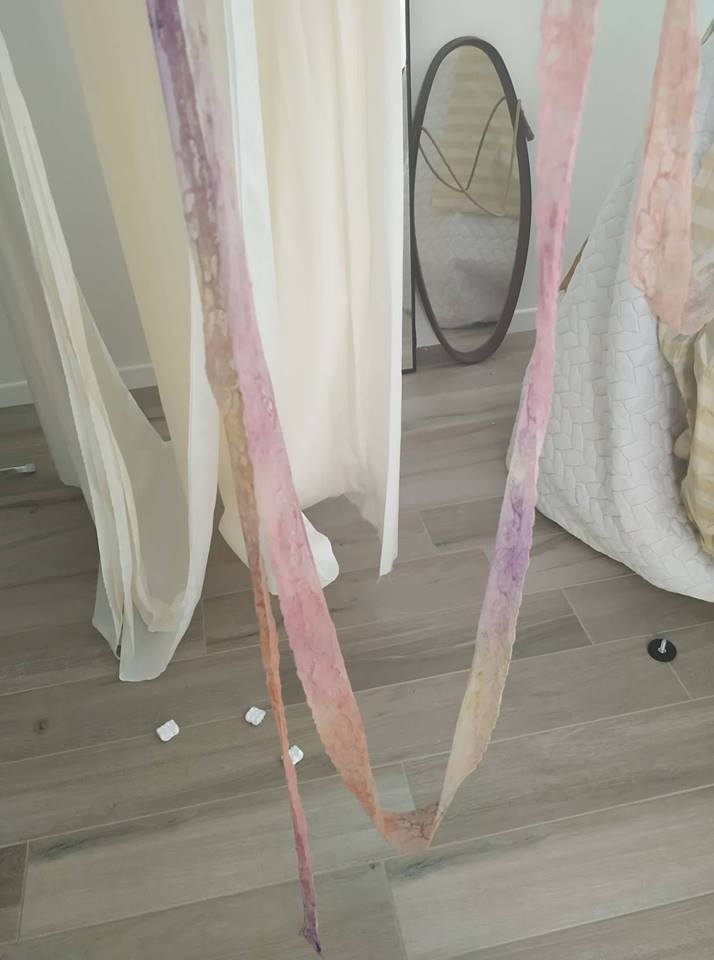
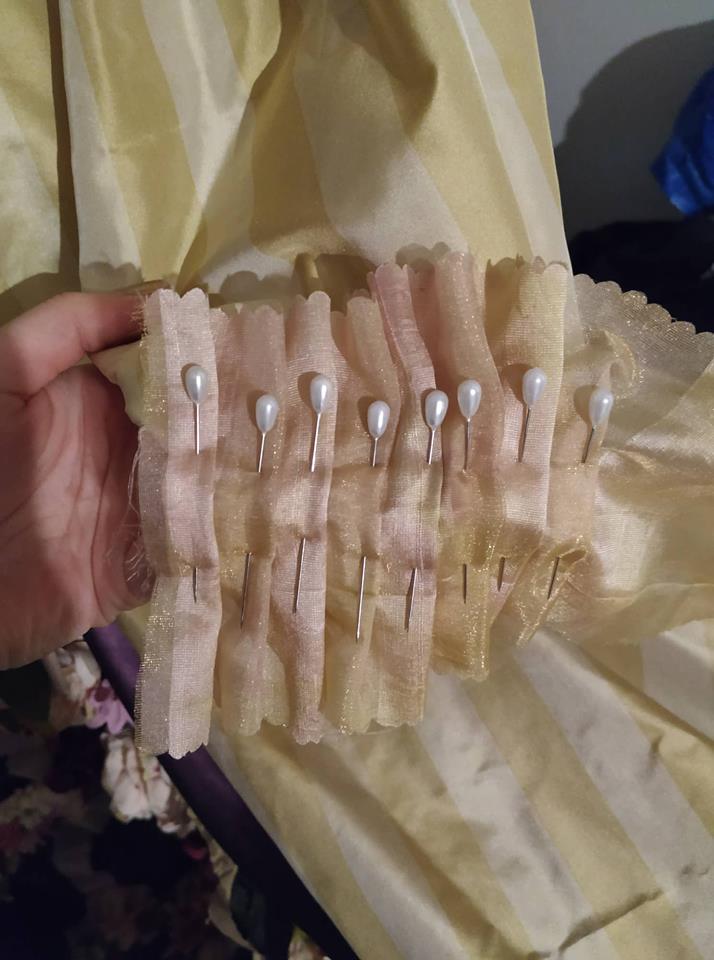
The first thing we’re doing is a watercolour effect, the one I used for the Spring dress for Carnevale 2019. This is basically stains, so it’s perfect for the beginner, as you willingly ingnore some of the tips above, and those usually considered mistakes become features. It’s perfect to understand what happens with dye and dry fabric.
You’ll need:
-two different pigments, the more contrasting the better (you can get more)
-fabric, I have used silk organza, but cotton would be much better. I got some pinked stripes, but a 100x30cm rectangle will do fine.
-hot water
– salt
First wash your fabric at least once, and allow it to dry. It has to be perfectly dry. Ironing is not needed.
Prepare two concentrated dyes: fill two ½ cups with very hot water. Add some pigment (little by little, just enough to get a darker version of the colour you plan) to each and stir well. If there are too many clumps, consider straining it through a metal mesh strainer.
In a bucket, pour some hot water and add a teaspoon of salt. Stir until dissolved. This water has to be too little to completely cover your fabric. I’d say 30% coverage would work nicely.
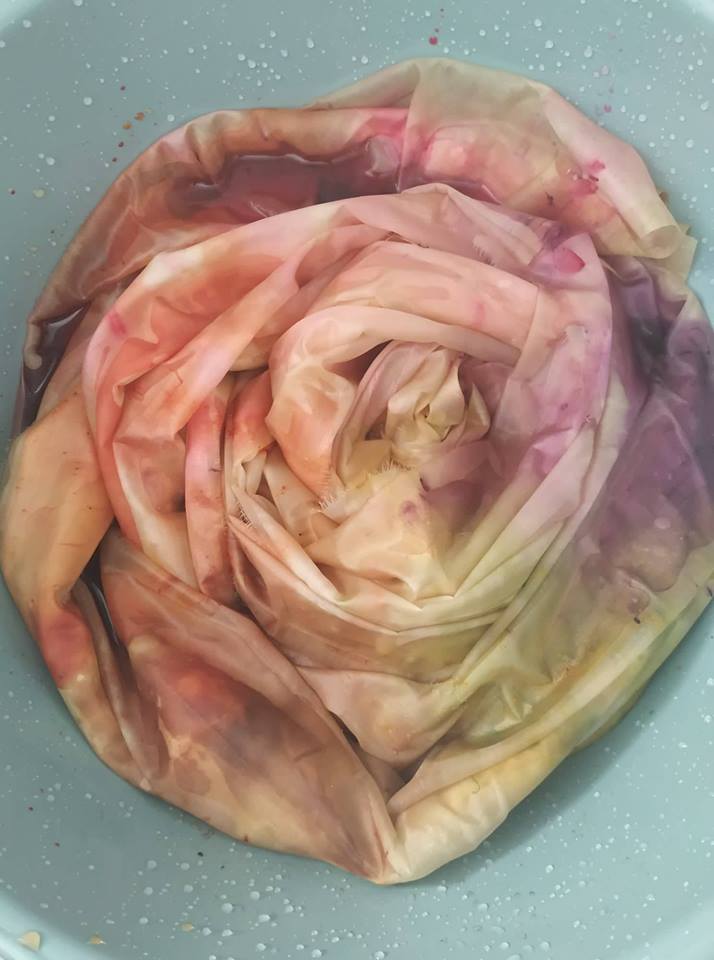
Twist your fabric, don’t fold it. Where there’s a fold, less pigment goes in. We won’t be moving our fabric much, so consider that the areas touching the water and those exposed on top will get pigment. This on the inside might not. I have twisted mine lengthwise, and then made a swirl. This will allow my colour pattern to repeat. Place your fabric in the water and press it down lightly, just a little. Just enough to get the bottom soaked.
Now get to your concentrated solutions. Get the first and pour some spoons of it on top of the fabric. Create some areas. Then fill some of the blank areas with the other dyes. Overlay the two colours in some areas, and leave other white.
Now it’s time to wait, and it’s up to you: how do you like it? Has it been absorbed enough? Has it blended enough? You might want to add a little water on top of the areas where you want it to blend more, or might want to squeeze the fabric to get more soaked areas. Consider than when rinsing the colours will get lighter, and that wet fabric looks less saturated and dark than dry one.
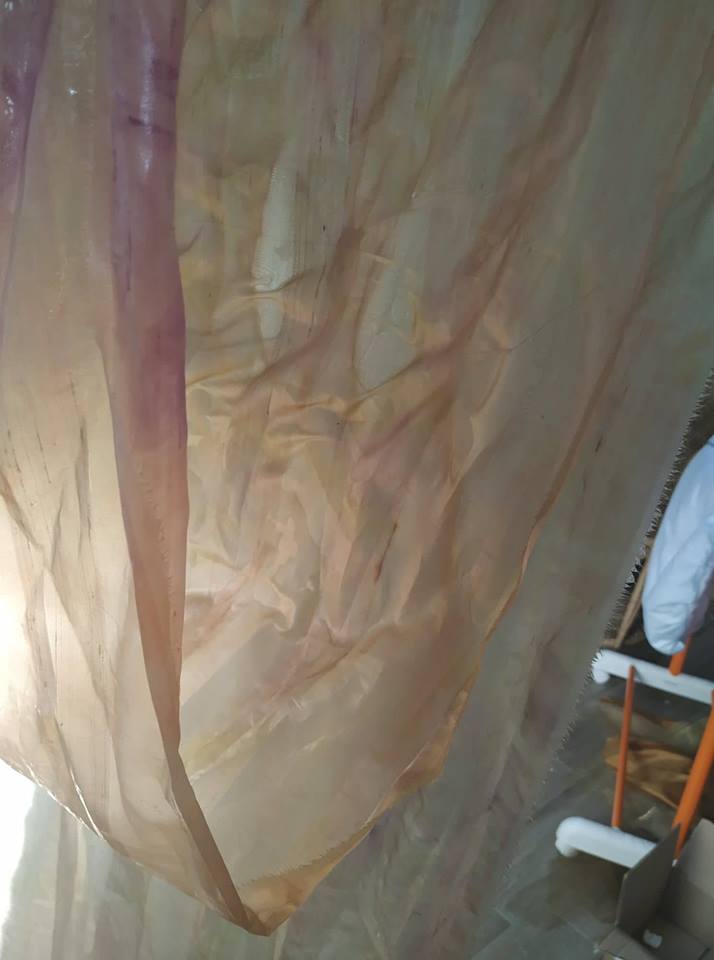
When you like it, take the fabric away from the bucket, get it into the sink, and start washing it in cold water, as fast as you can. First wash it in the same position you folded and twisted it in. Then, when water runs clearer, start unfolding and opening it to rinse every part of it. Once the water runs clear, you’re done! Hang it, let it dry and iron it.
You will see some areas with more defined edges, where the solution touched the dry fabric, you will see how it worked on soaked parts, which folds it didn’t reach and how colours blended together.
This is very basic. Dyeing is a wide world, with endless chances to expand your knowledge. I have attended some workshops and bought many books. If you wish to learn more, here are some:
-Fabric dyeing and printing, Kate Wells, Conran Octopus
-Colour on cloth, Ruth Issett, Batsford
-Fabric painting and dyeing for the theater, Deborah M. Dryden, Heinemann
-Shibori design and techniques, Mandy Southan, Search Press





your effeort your article is very nice will visit your site again.