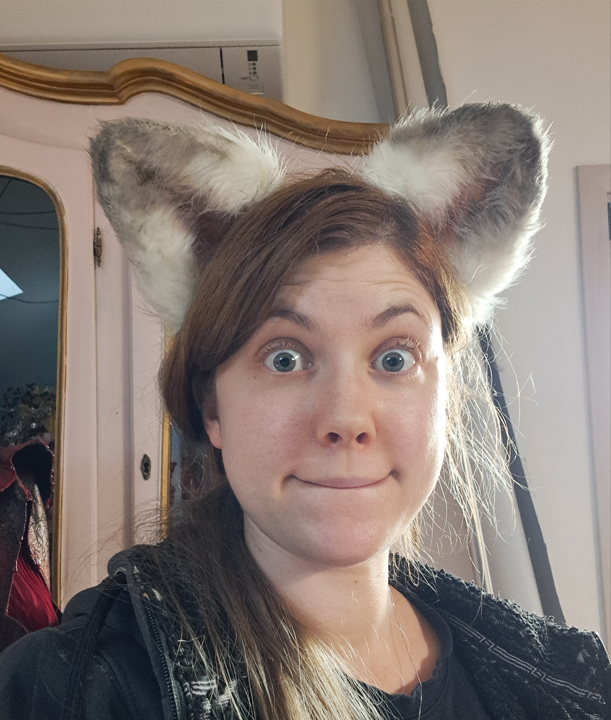
Last edition of Dreamorphosing was Chimerical, and me and Cunene were in need of a pair of ears for a snow fox and a cat! So I thought a good chance to show you how I built them from scarp.
For more tutorials, visit my Ko-fi!

Choosing faux fur for this project…
First you will need some faux fur, and this is the ideal project for some scraps you may have lying around.
I suggest a nice quality one, in a lighter color than you wish your final result to be, as we’re going to paint. If you want to do a tabby cat, you’ll need the inside not to be brown, for example, as with acrylics you won’t be able to get a nice pink on the inside. So I’d suggest to get a grey-brown for the back and an ivory for the inside.
You will also need it to be as long as the longer pile you wish on your finished design, which is usually the inside of the ear.
You will need to draft your pattern and calculate how much you will need, keeping track of the pile direction. You want it to always point to the point of the ear.
You will need to create two pieces for the inside and two for the outside. 1/2 fat quarter should be more than enough for a set.
Materials
- 1/2 fat quarter of good quality faux fur
- hot glue tube, at least 1
- paper to draft your pattern
- sewing thread
- hairspray
- acrylic colors (I used diluted black and red)
- one comb to glue on each ear, or hair clips, you can also use a headband
Tools
- hot glue gun
- scissors
- pen or pencil
- pins
- vacuum cleaner
- paint brushes
- thinning shears (optional)
- comb
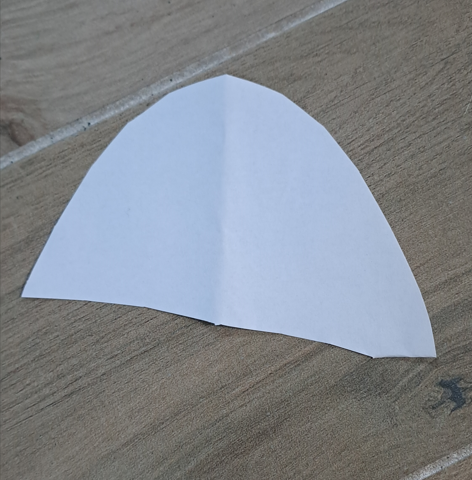
The first thing you will need to create i syour pattern. You can copy mine here or draft your own according to the shape of the animal: a wolf will have a different shape than a Scottish Fold cat, and different sizes.
Make sure you cut your pattern smaller than the final size you wish, as you need to take the pile length into account.
Pointy ears when flat always have a roundish shape. Do not go to a clean geometric triangle, unless you are not aiming for a natural look.
Add 7mm seam allowances.
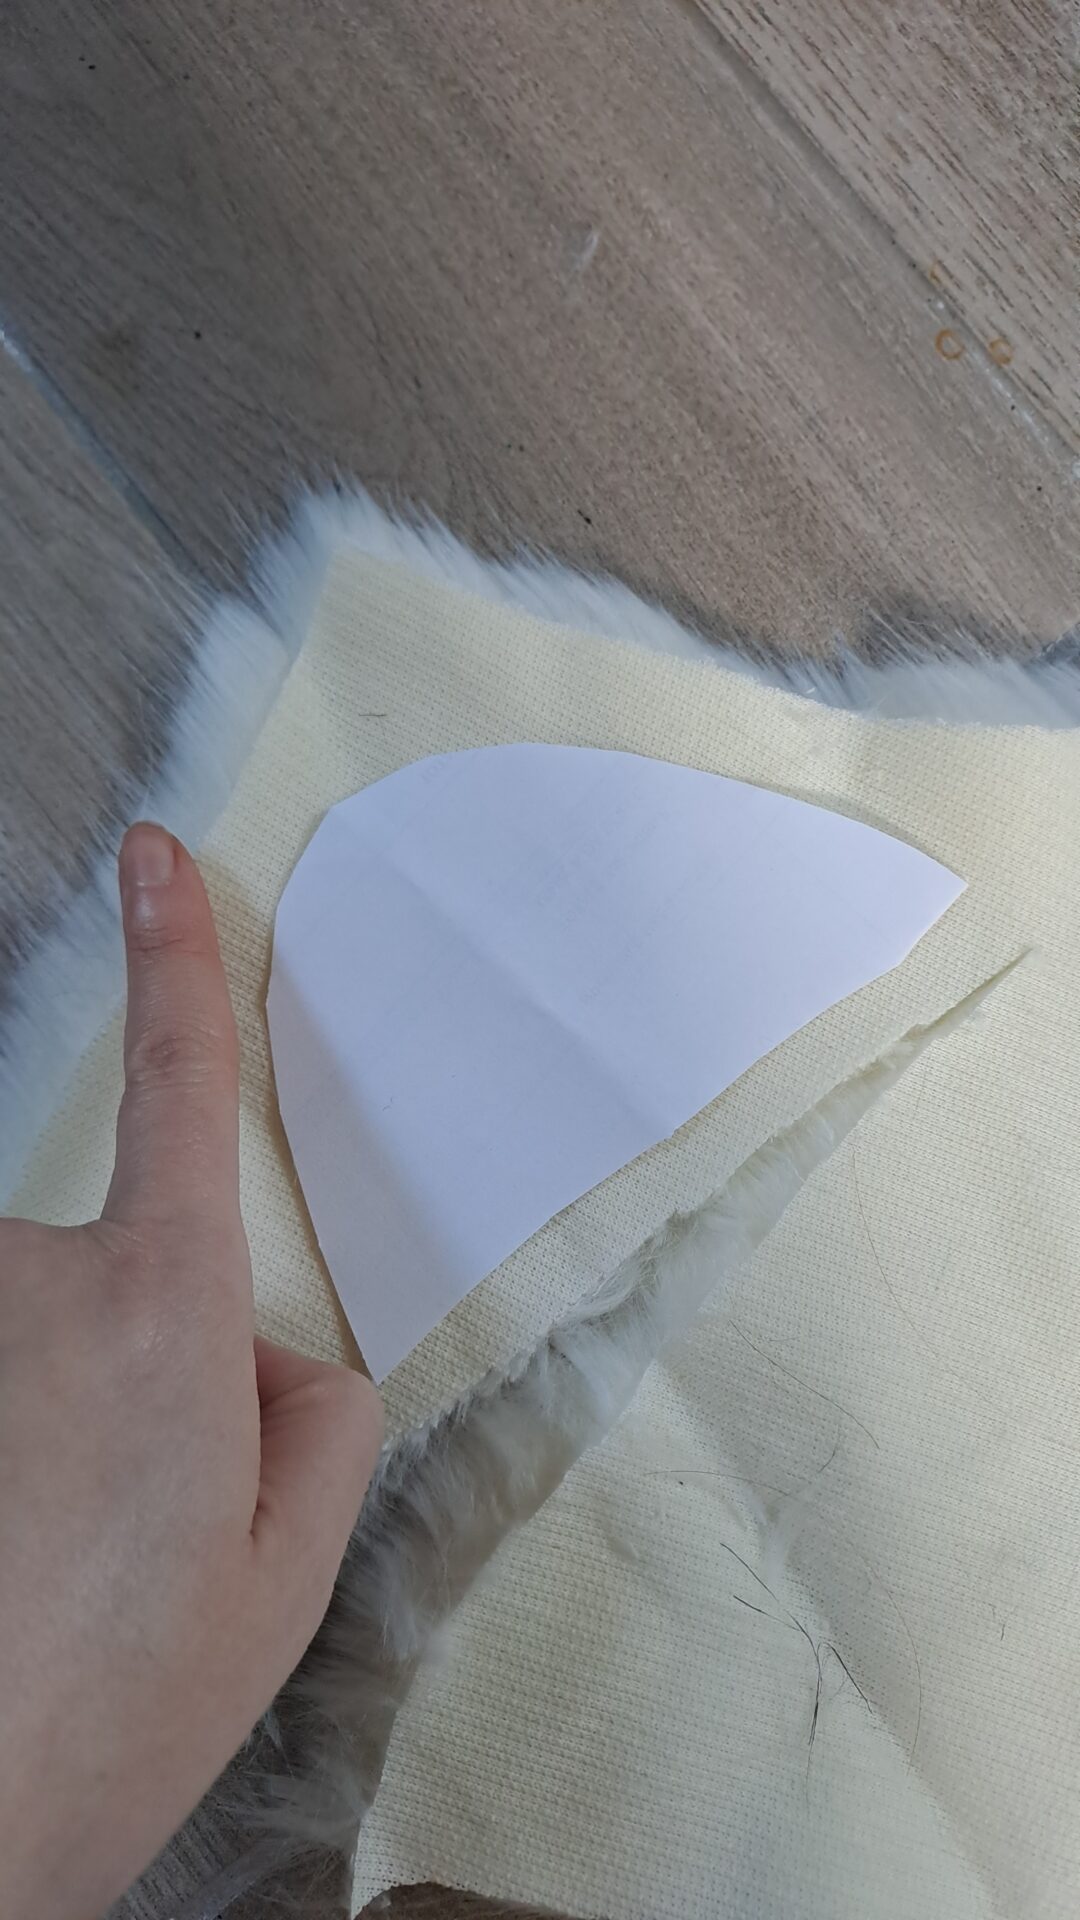
Remember to place your pattern pieces so that the pile points to the point of the ear. I like cutting my faux fur with embroidery scissors, to produce the least flying pile possible.
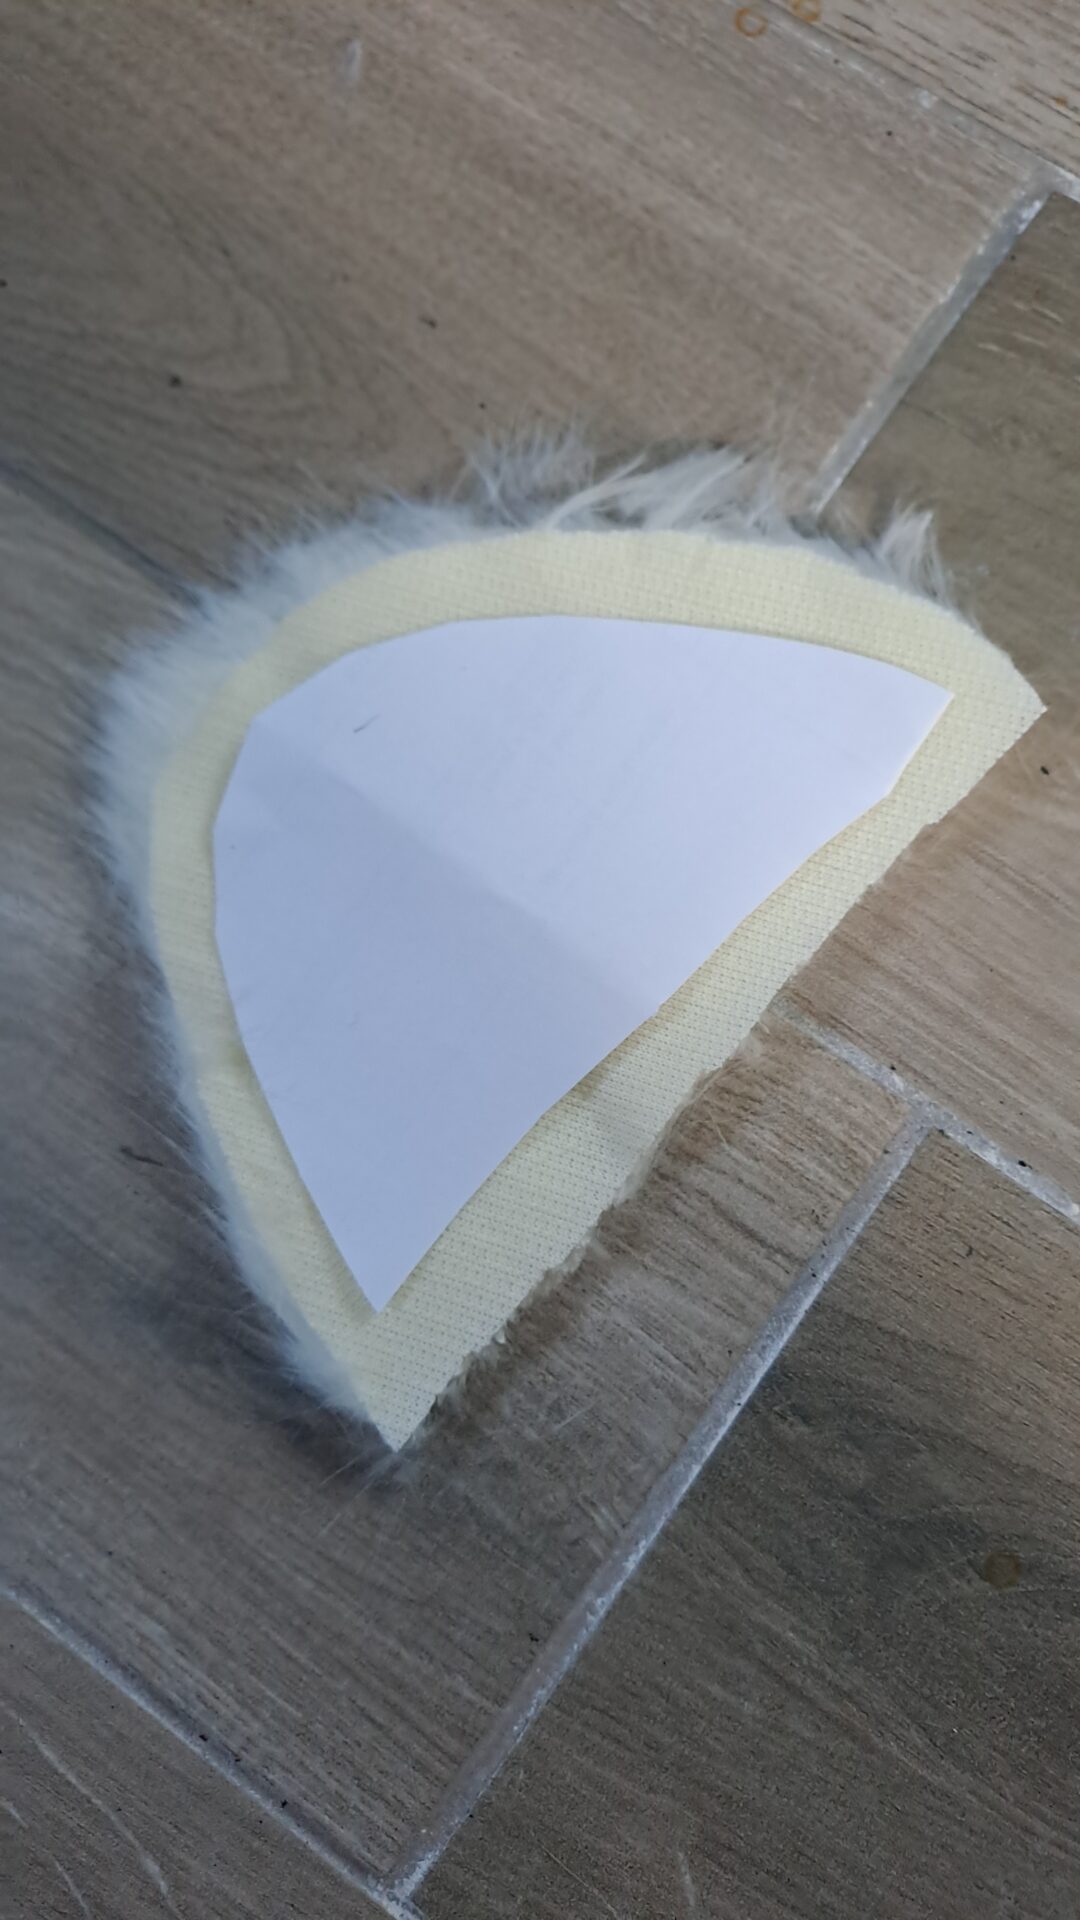
Now you have your 4 pieces! With all their nice seam allowances.
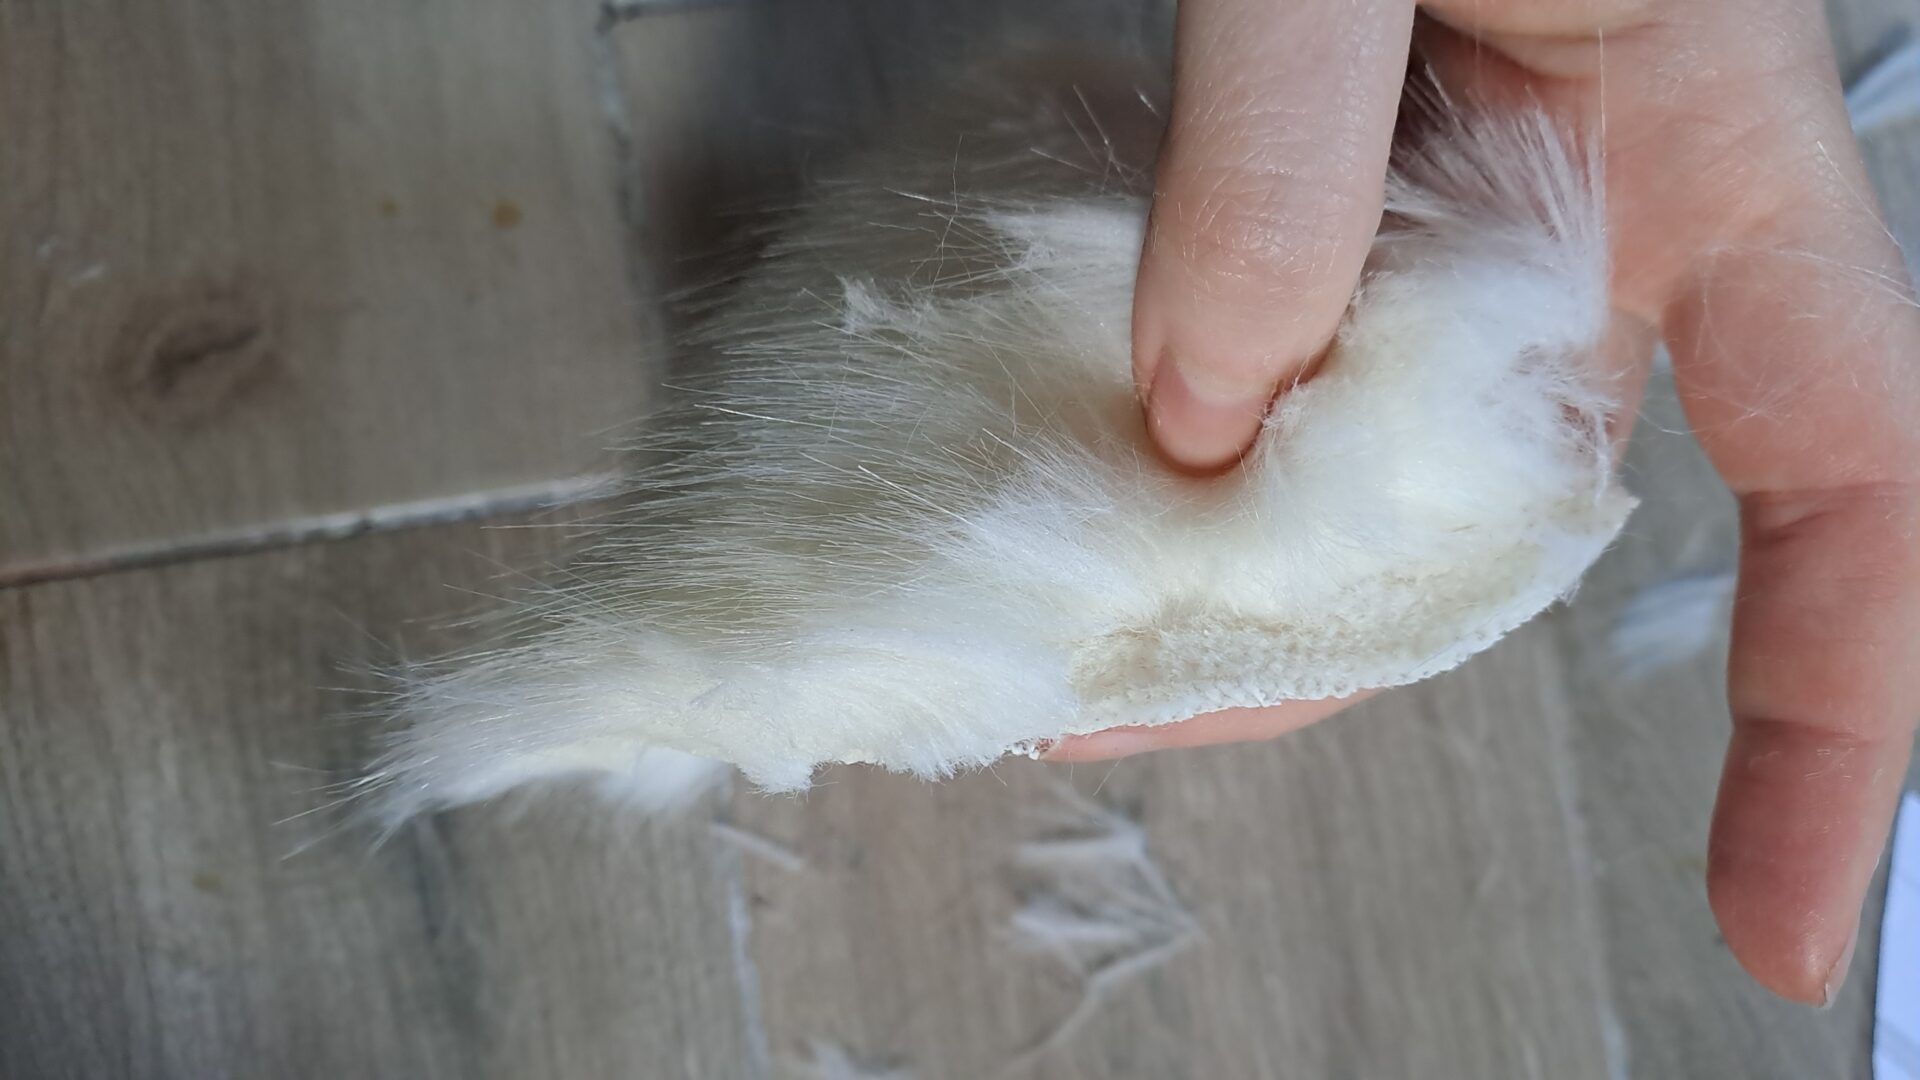
Time to trim the pile on those seam allowances, for cleaner seams and less bulk. I always use my meboridery scissors.
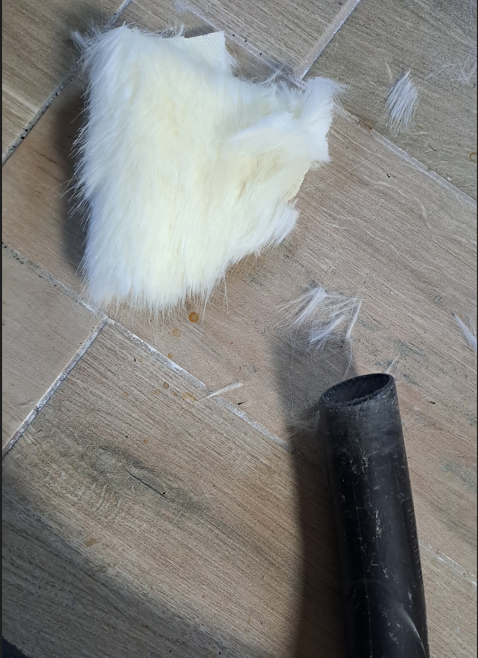
Be wiser than I was the first times I worked with faux fur: keep your vacuum cleaner close every time you cut, and you will avoid sneezing pile for days.
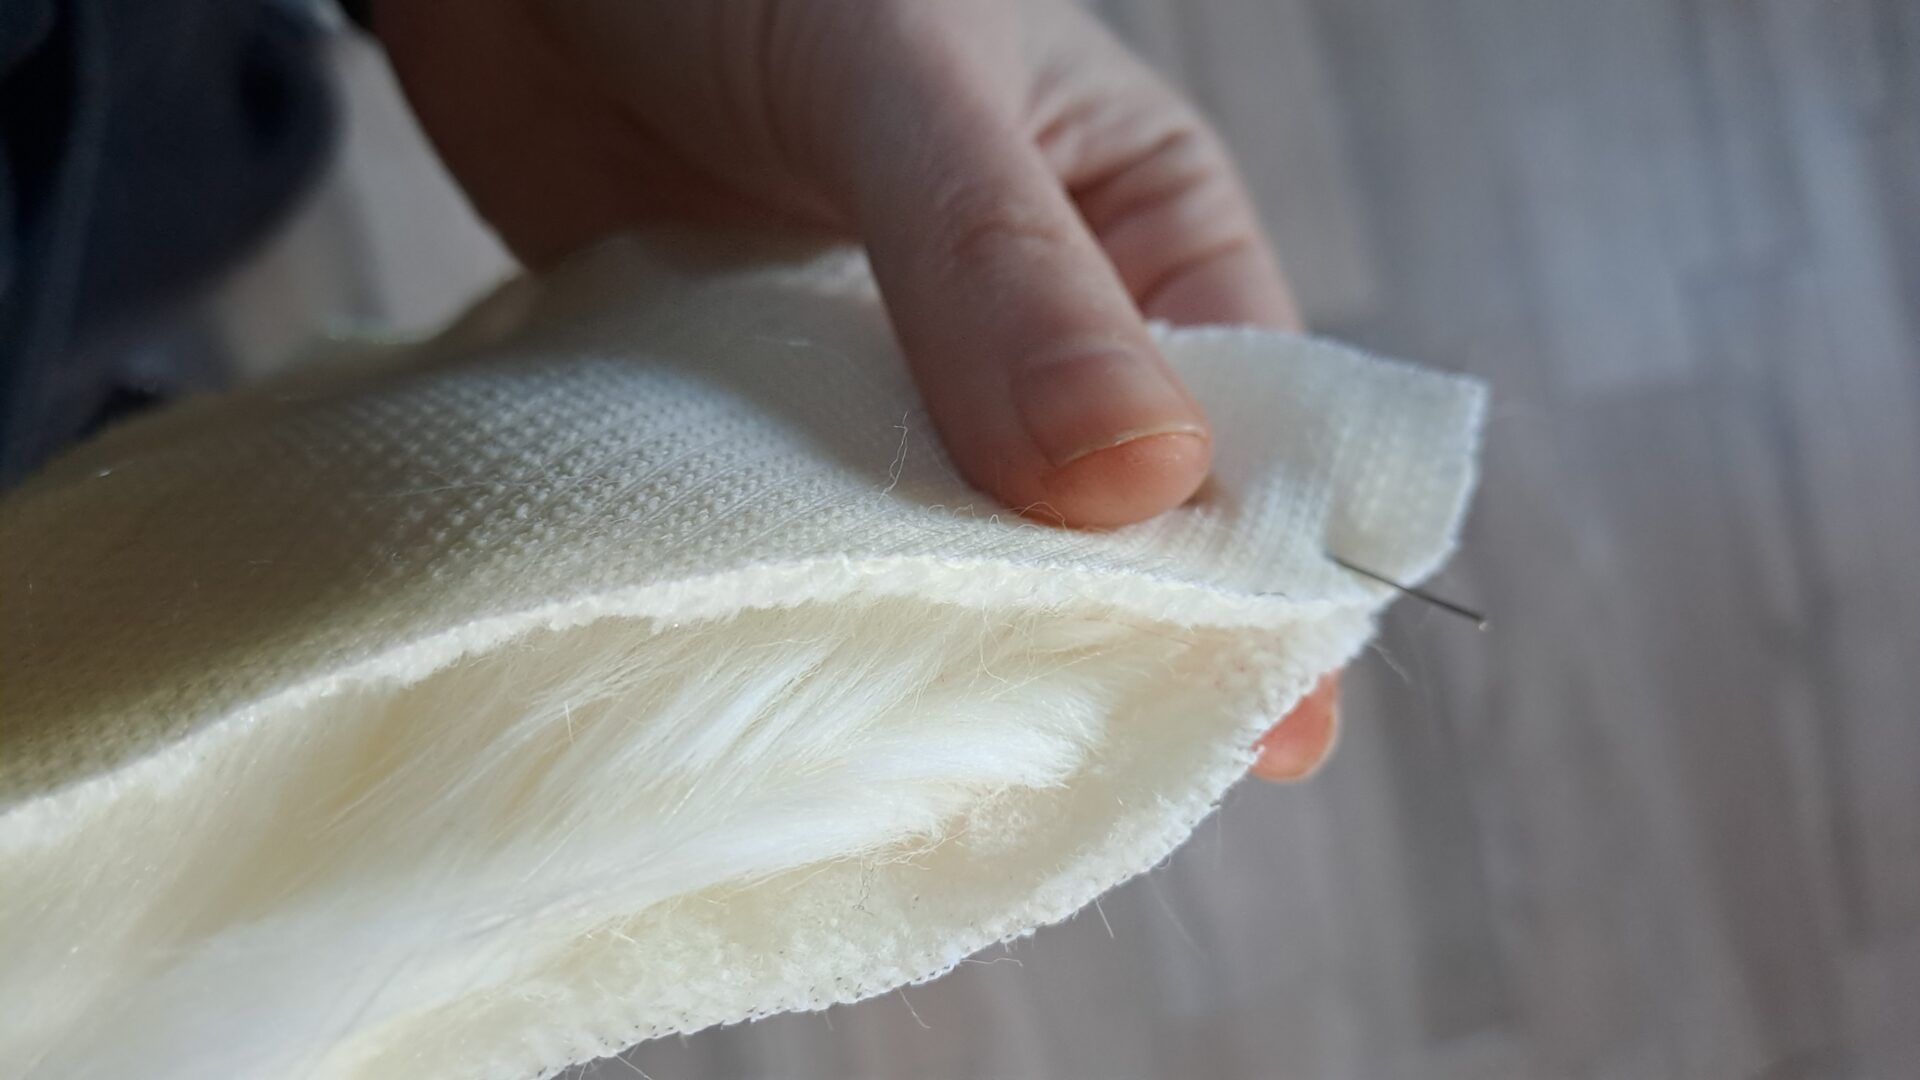
Now you can pin your pieces together, two by two. I like my pins to be perpendicular to my seam.
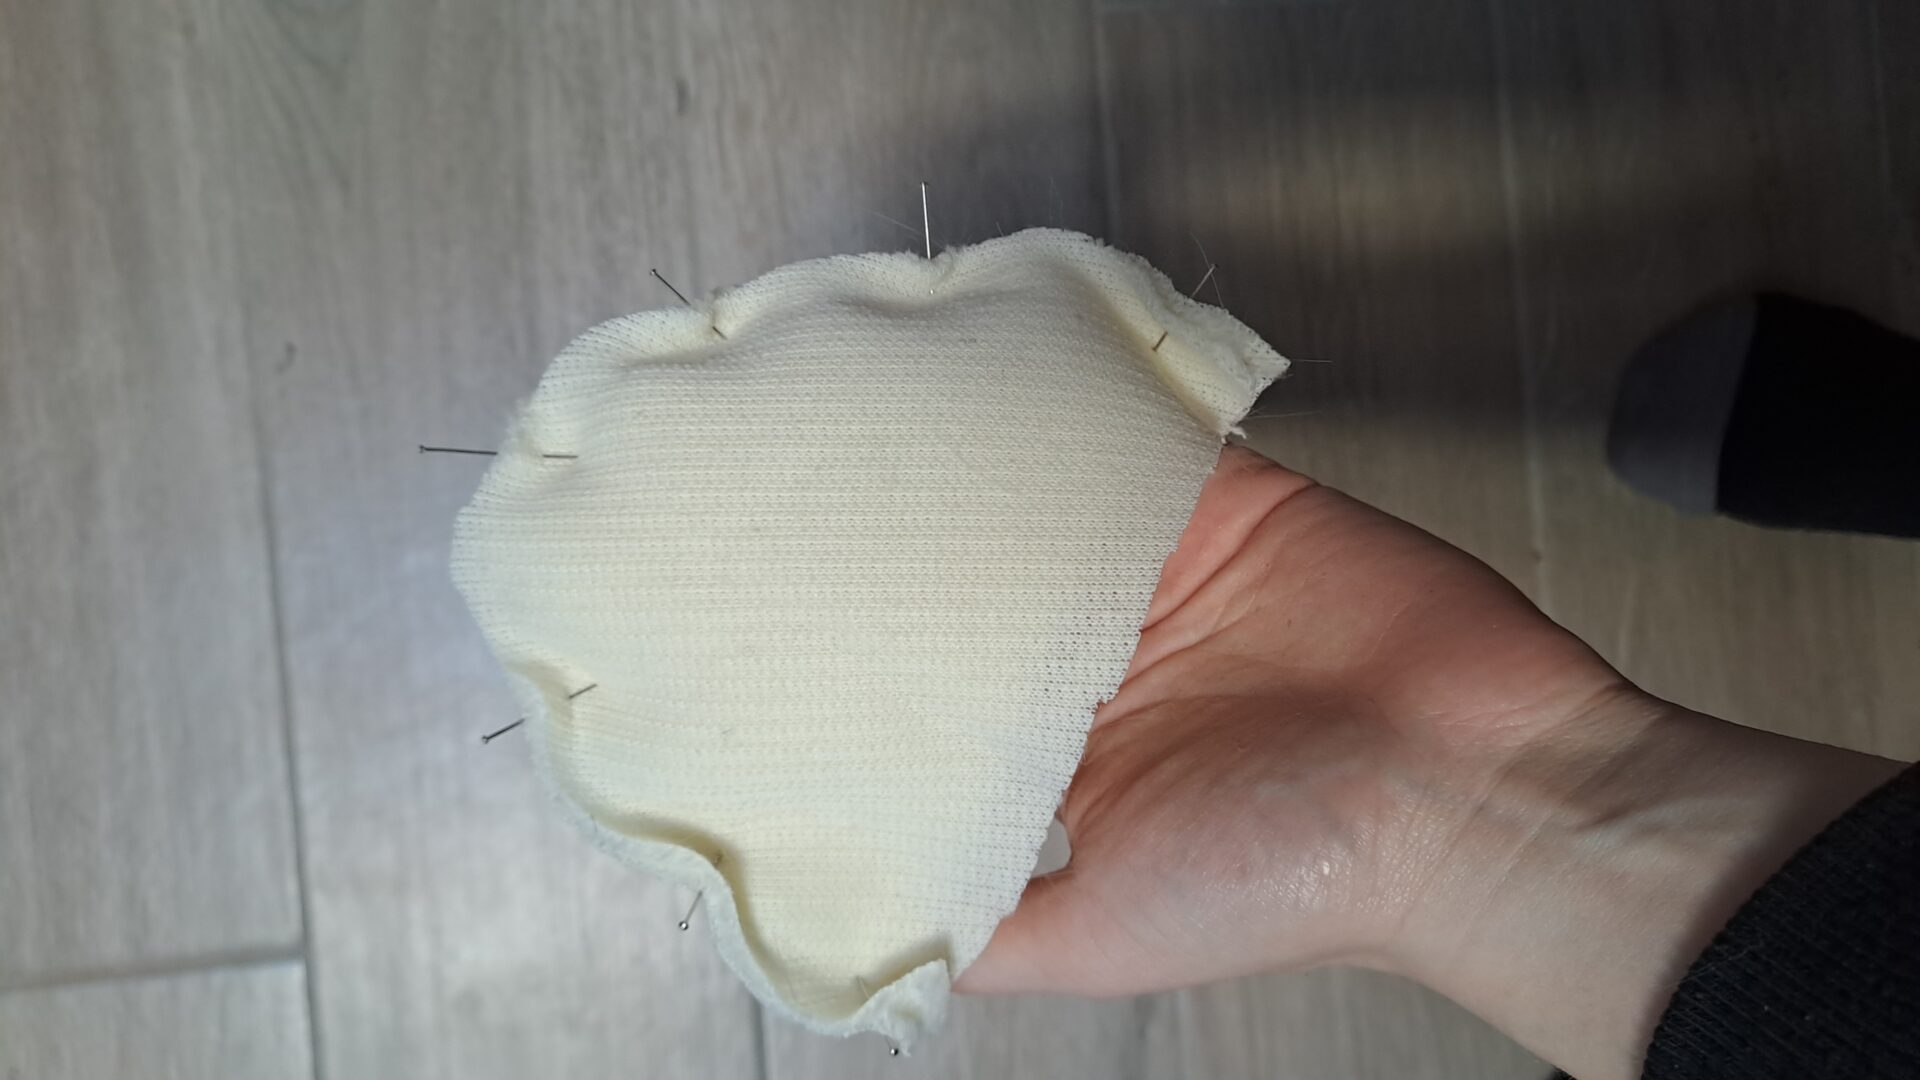
You can sew by hand or with a sewing machine. Make sure, if you use the second, to go at a slow pace when crossing a pin, and to wear eye protection.
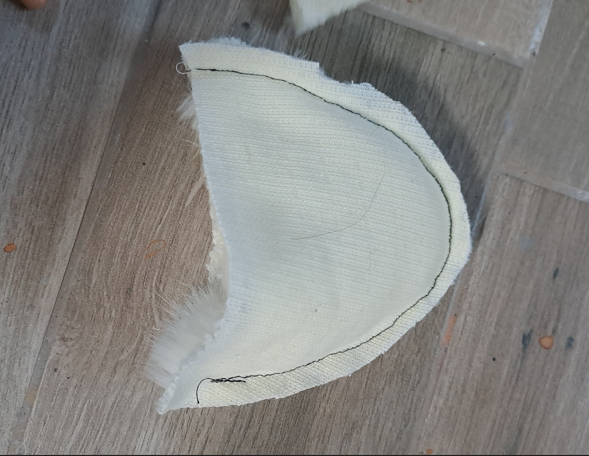
Now you should have something like these. Time to reverse them.
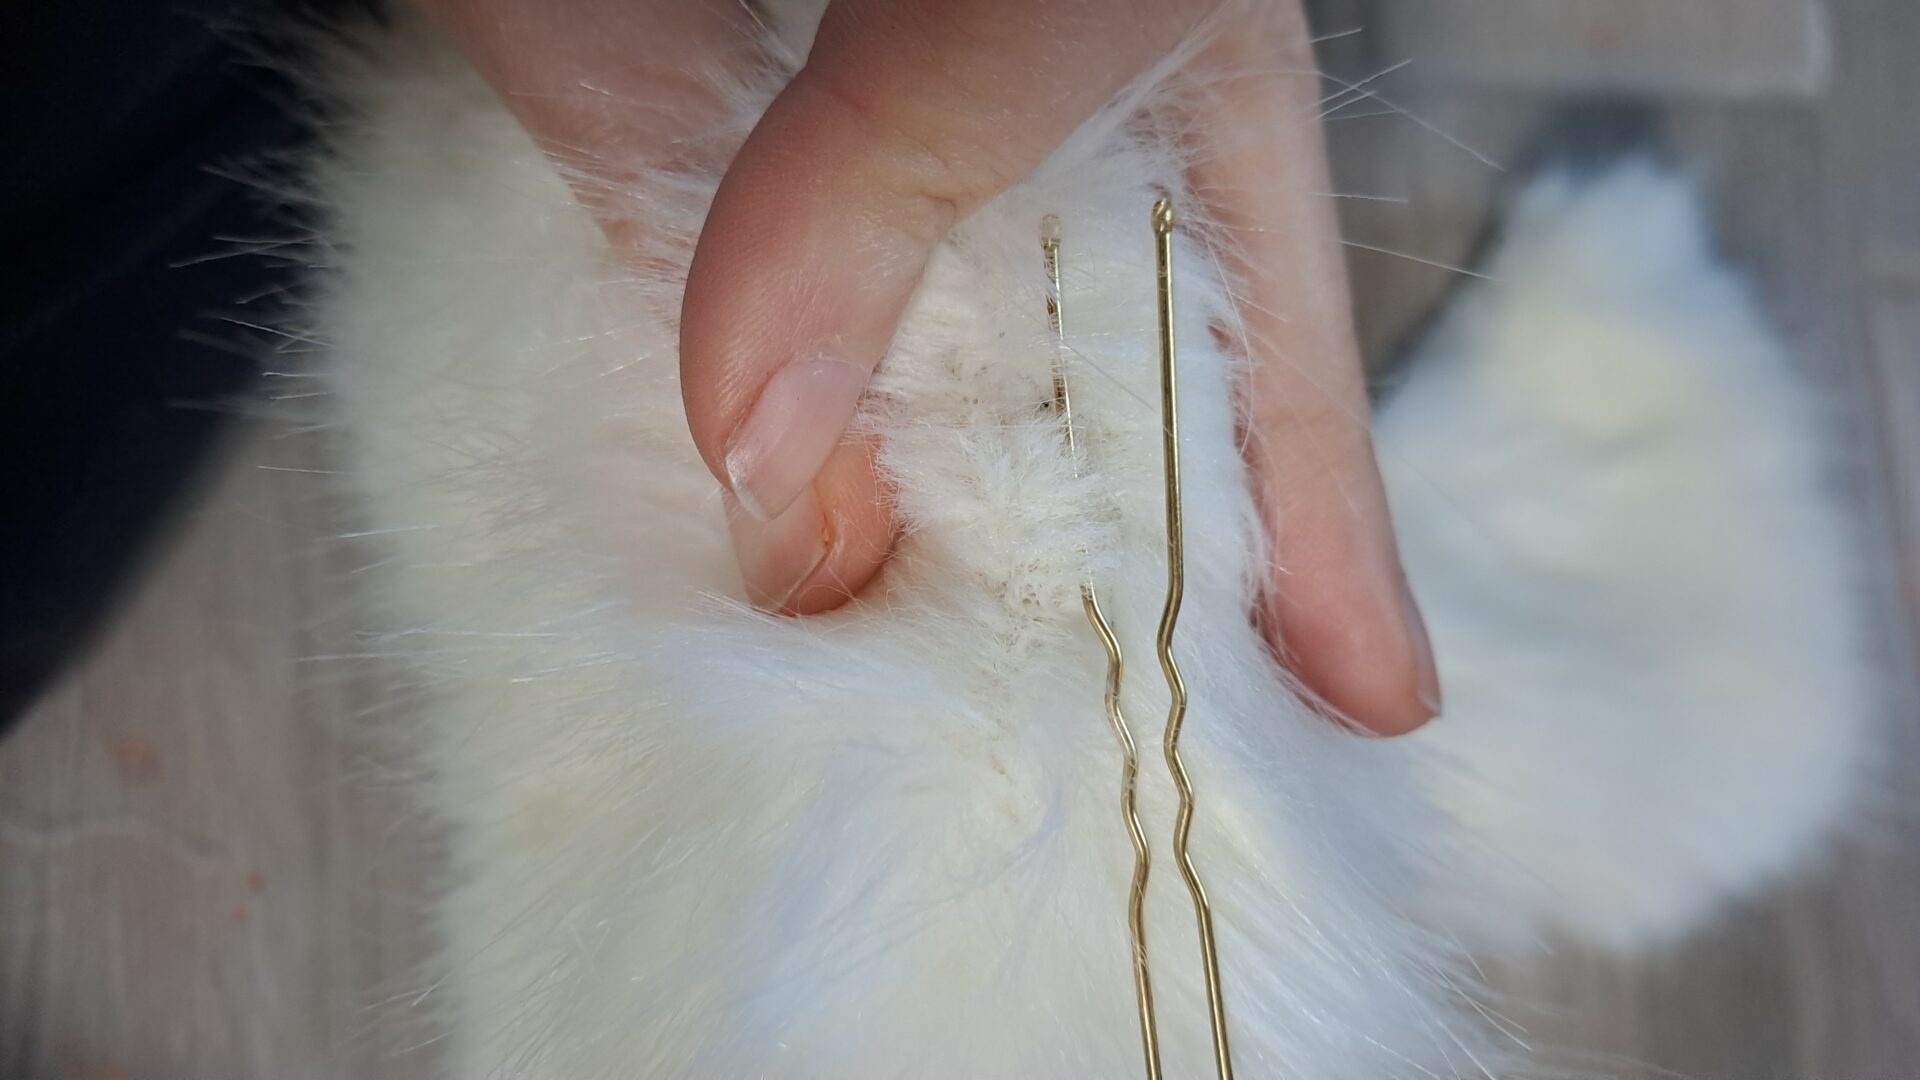
Use a needle, a pin, an awl or a hairpin to go along the seams and free the pile trapped into the seam.
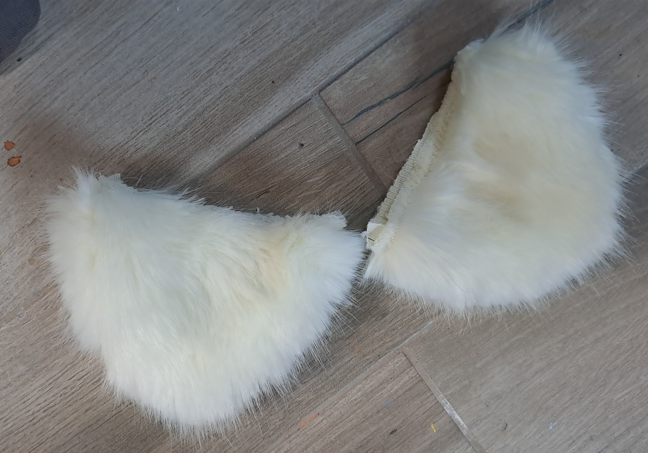
They should look like this. They’re quite soft and round. But there’s an easy trick to give them structure while keeping them more flexible. And it’s easier than wire: hot glue. I like to use it for structure, like it was a type of soft, adhesive boning.
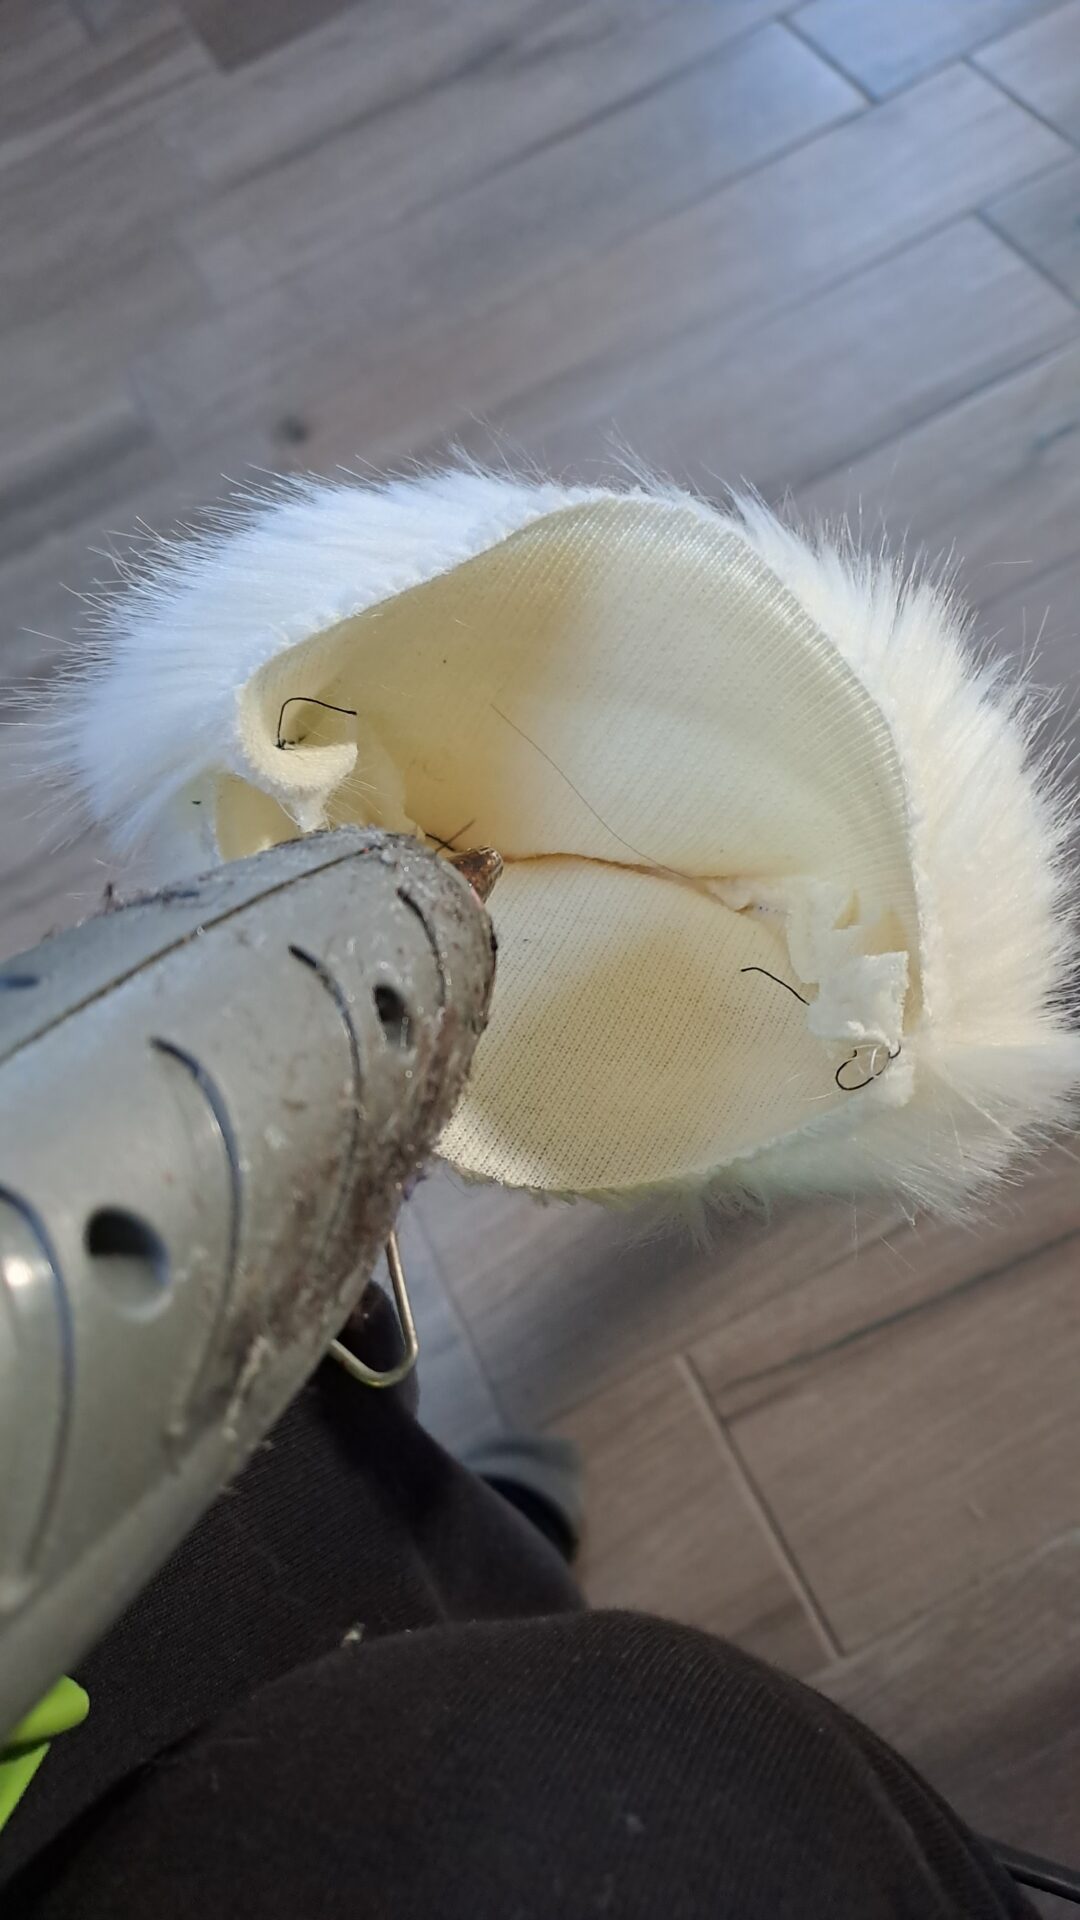
Open the pocket, and out a generous amount of glue along the seams, and some in the middle.
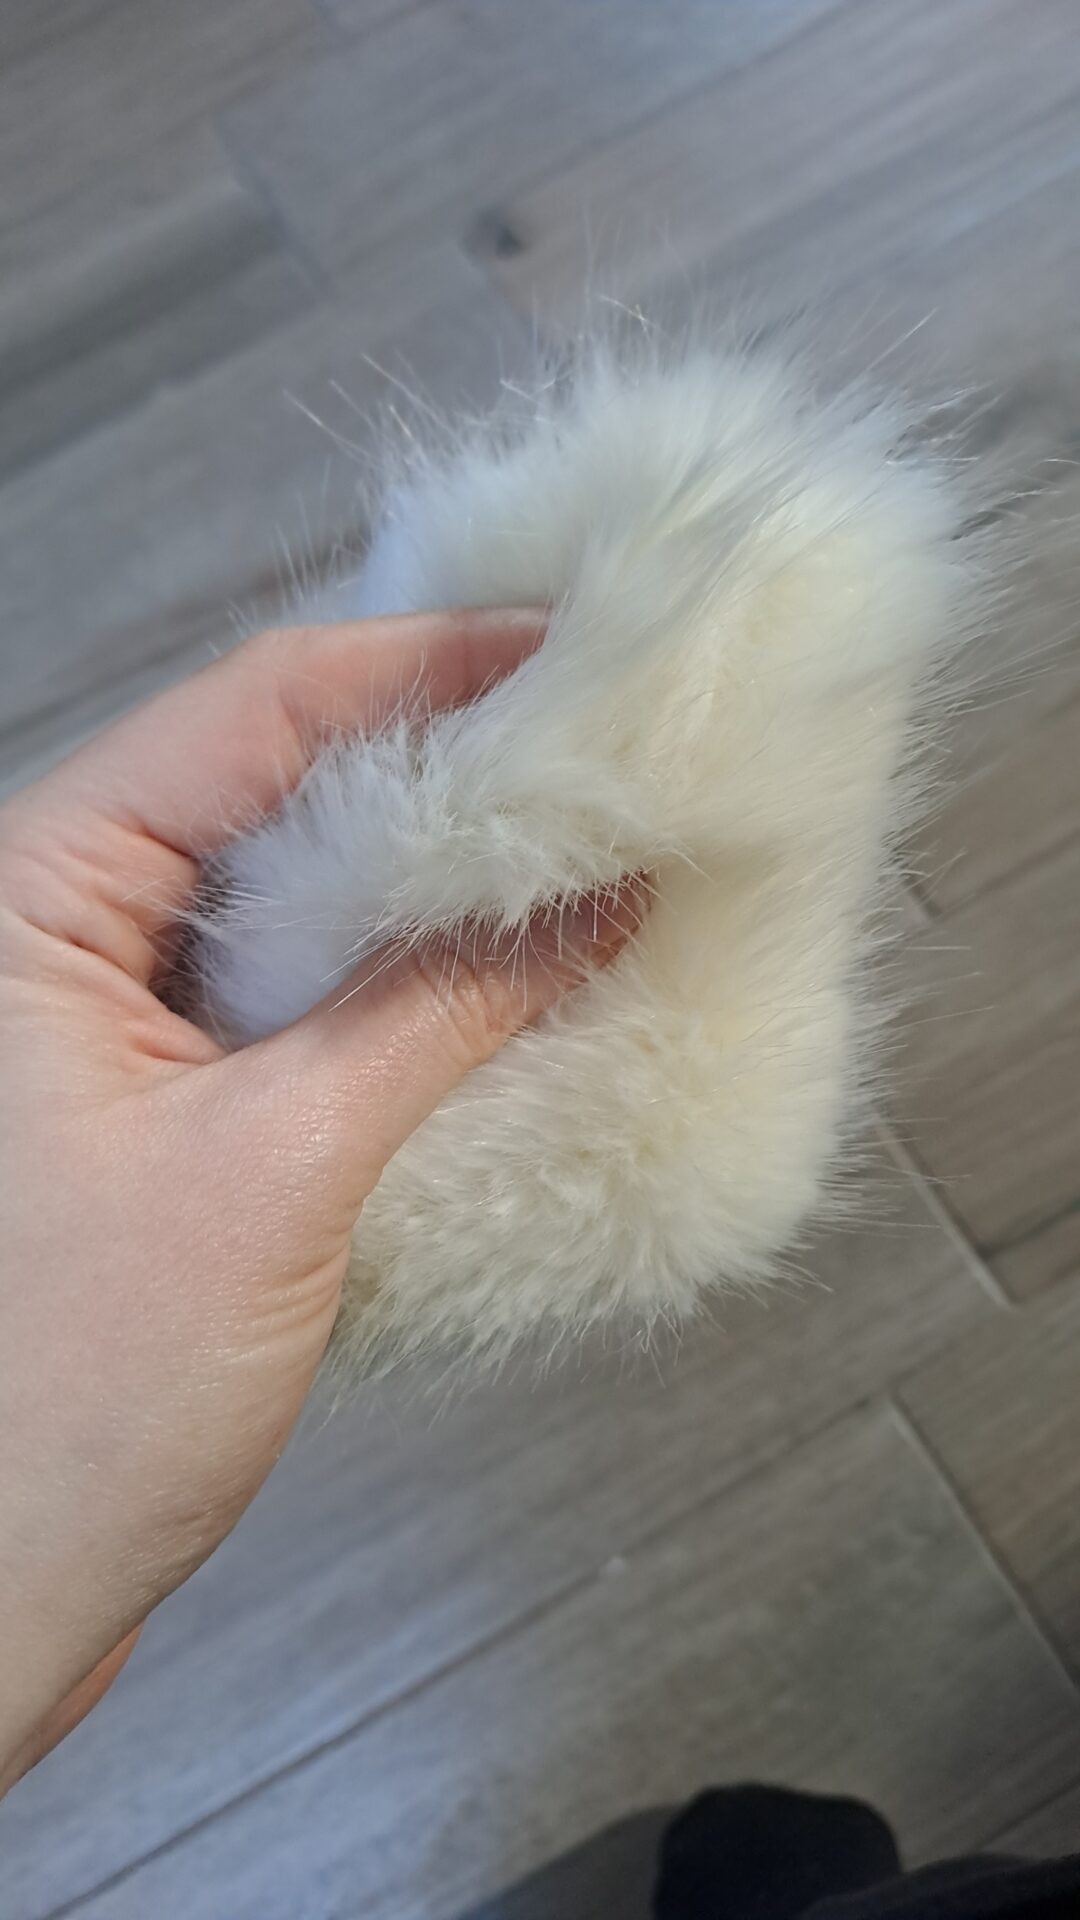
Keep the ear in shape, by pressing it into position while it cools. I like the way I did my ears: I created a fold in the middle, which gets sharper towards the point.
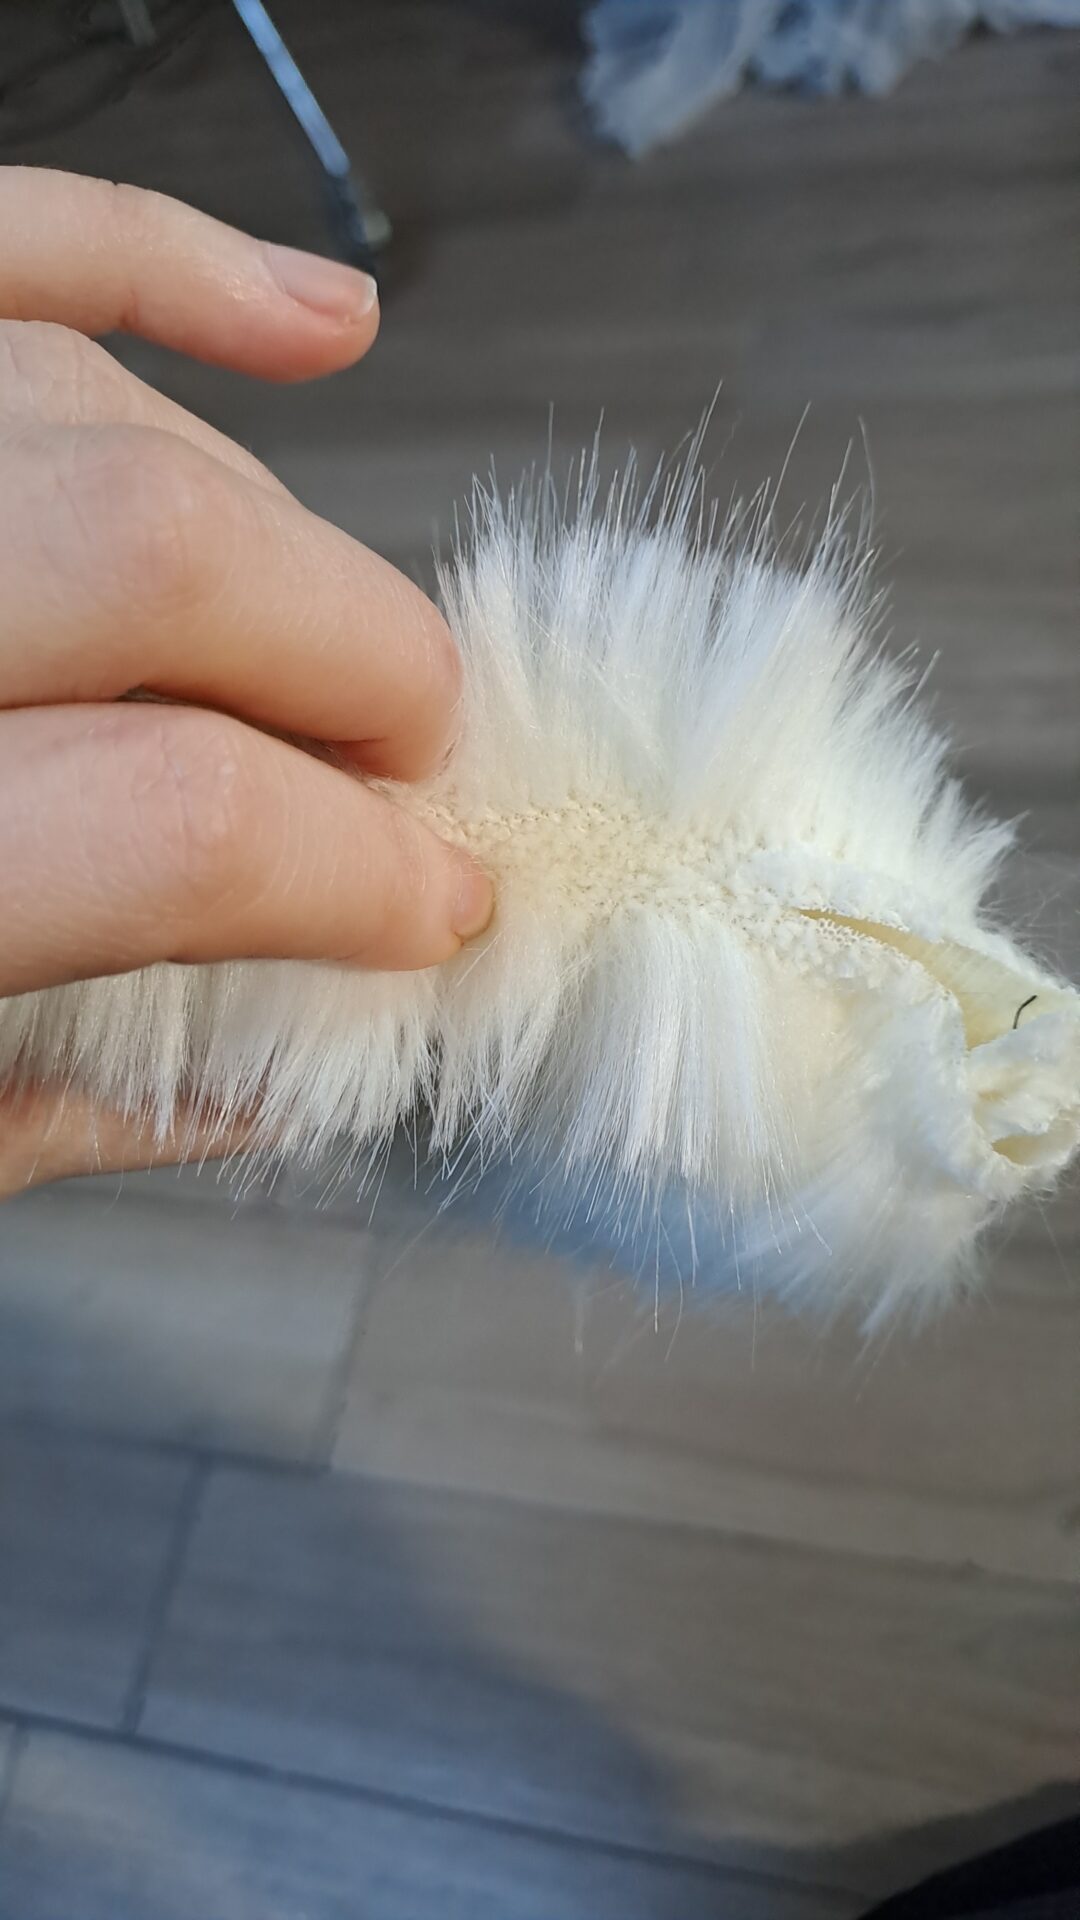
Time to glue the base seam allownace inwards.
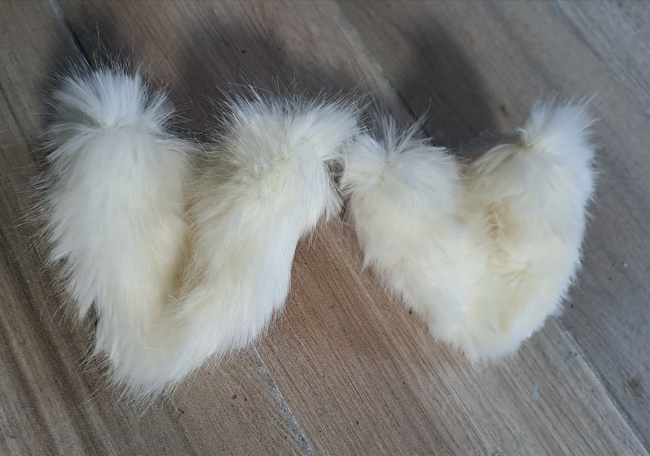
Here you can see one ear with the base seam allowance folded in.
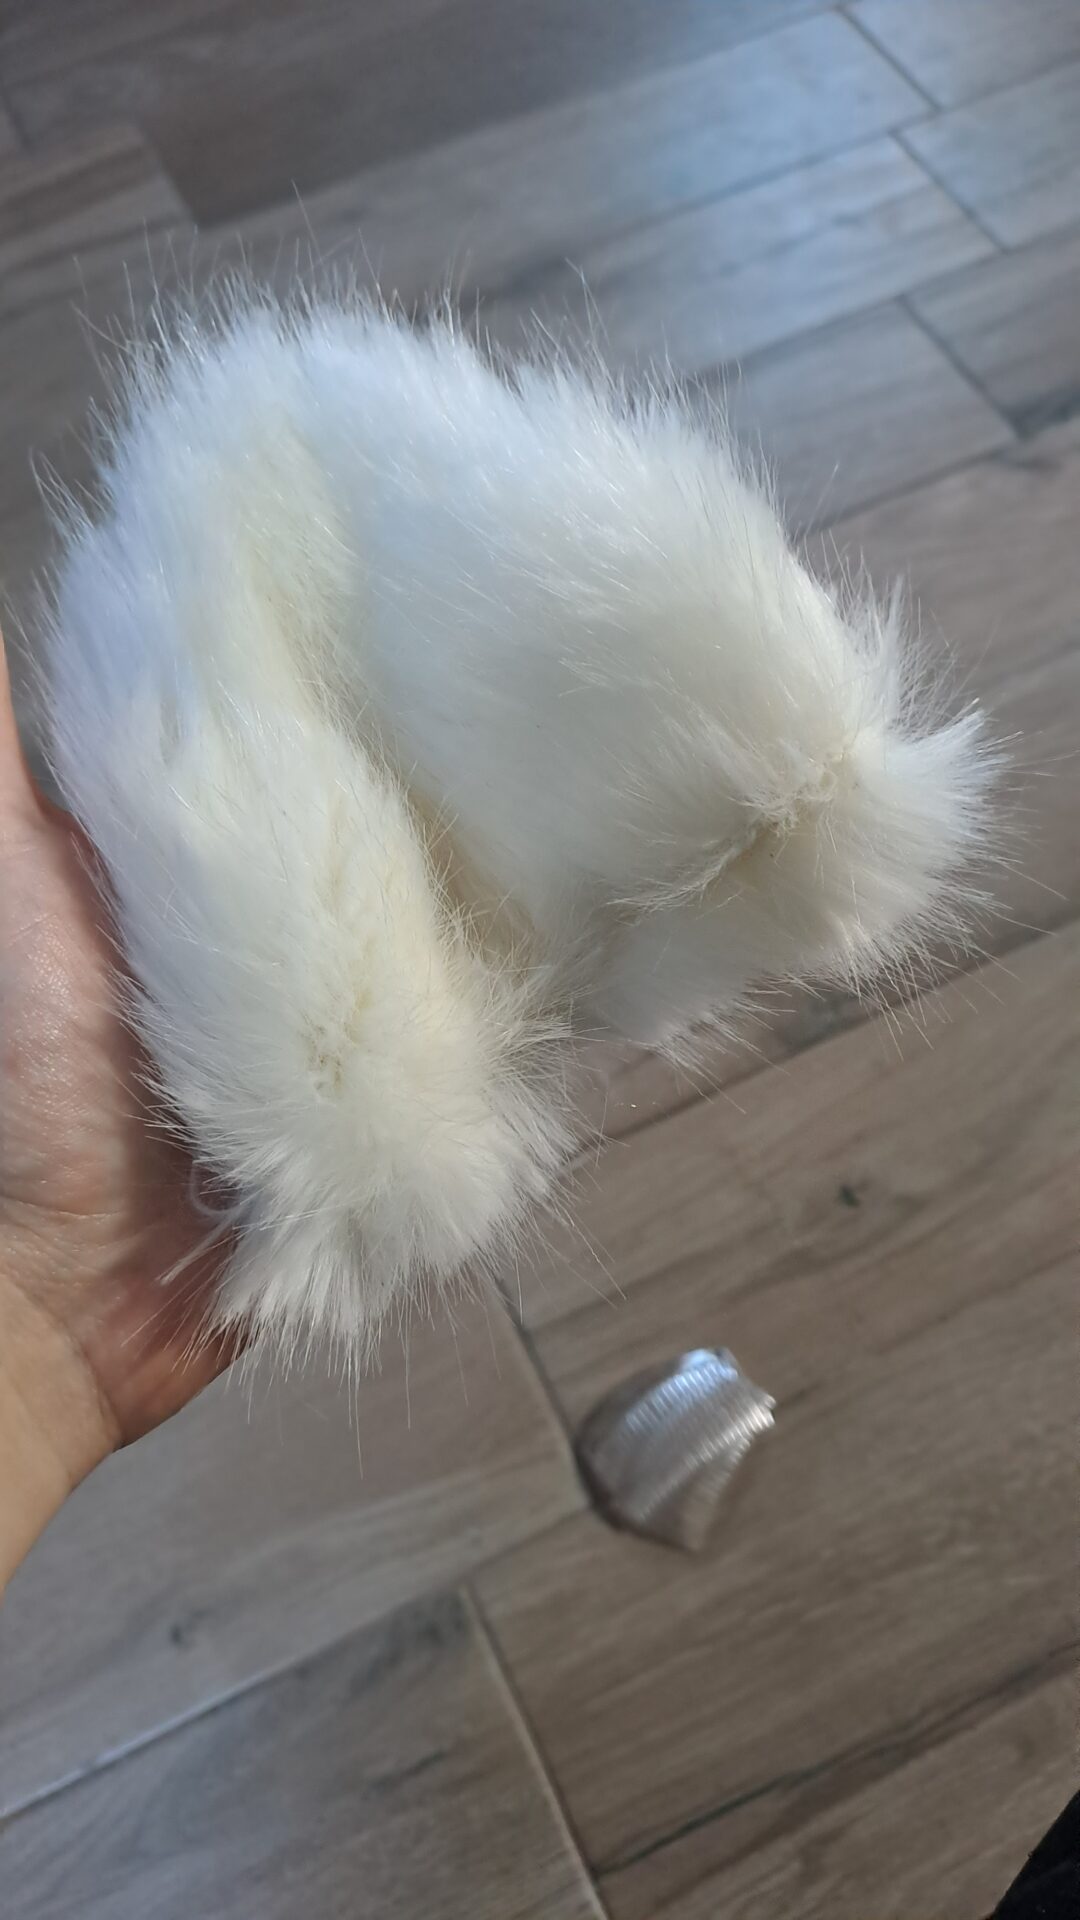
And this is how your ear should look.
Now it’s time for my favourite part!
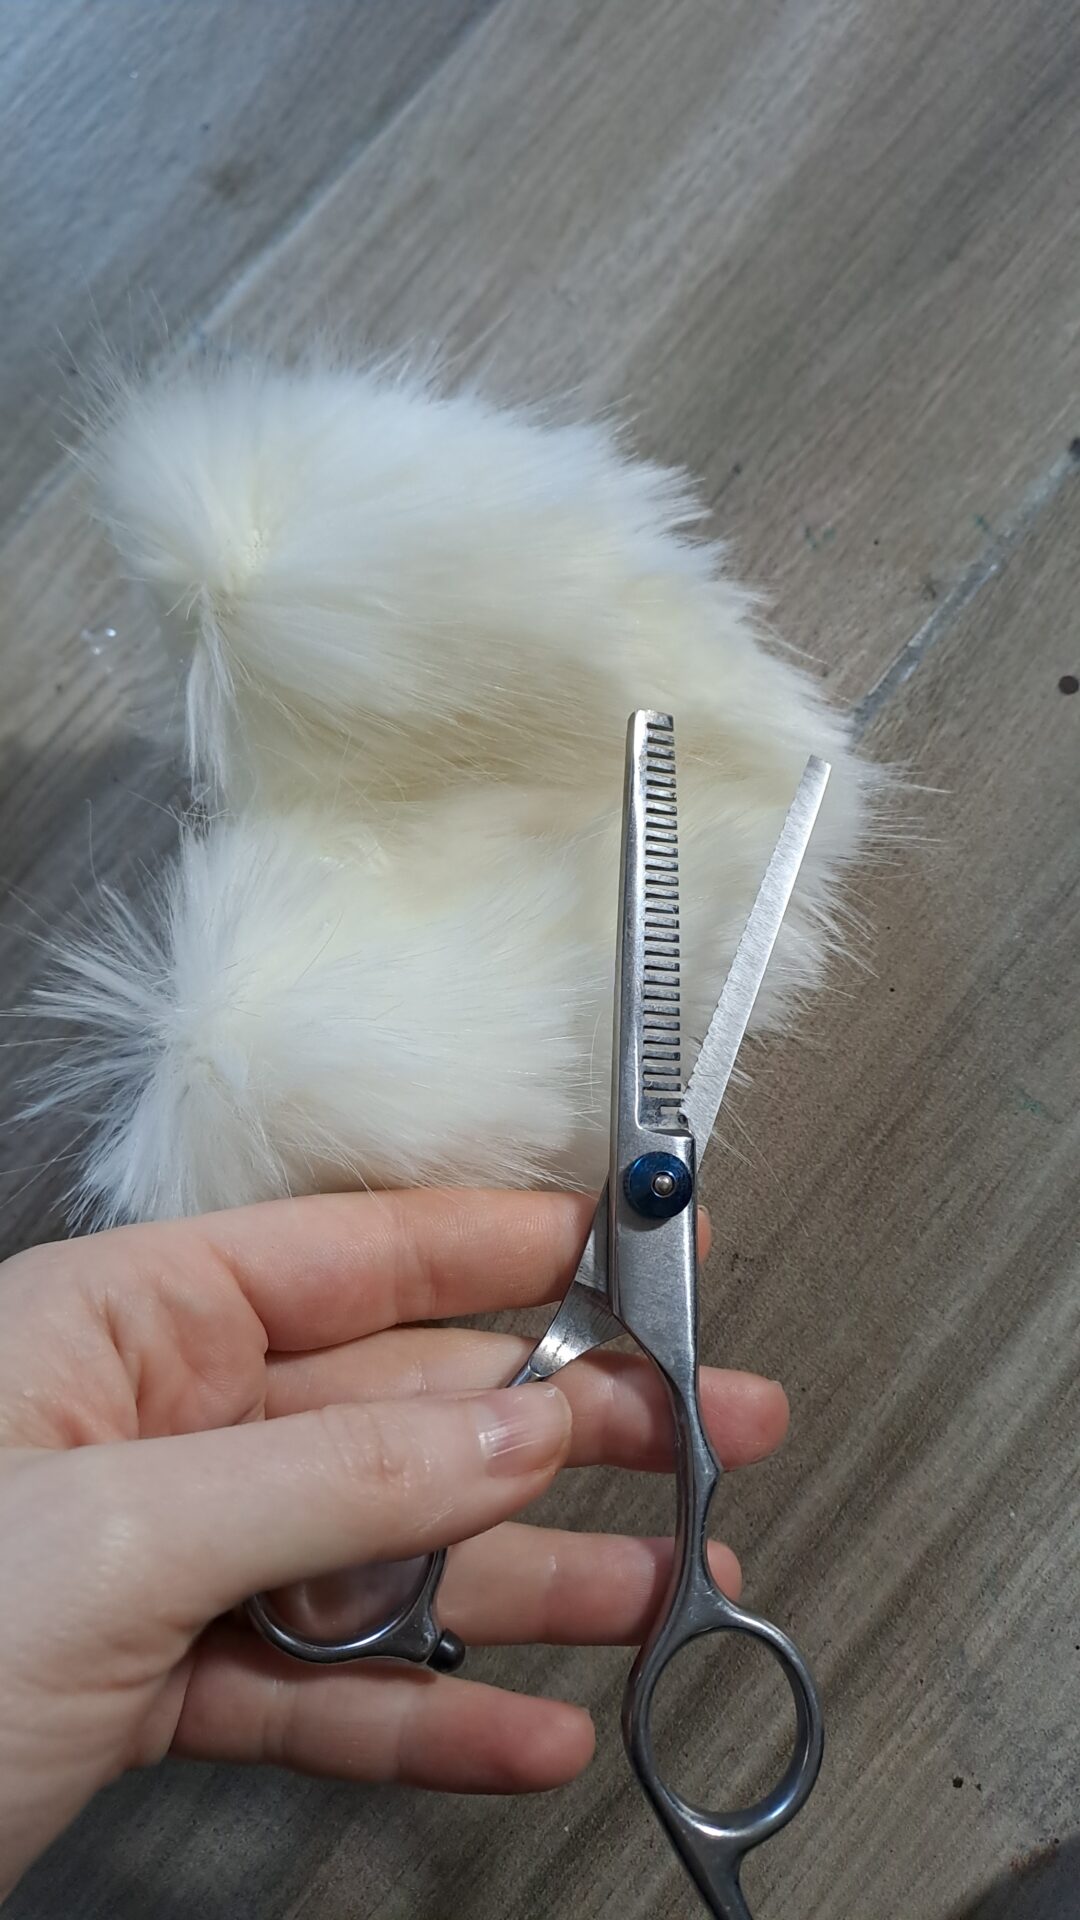
Hair isn’t all the same length, right? Especially on anmal ears. Take the animal you chose as reference and thin the hair where needed. Keep your vacuum cleaner at hand.
I thinned the top of the rim and the top half of the back side of the ears, to keep the inside of the ear fluffy, but almost expose the sharper rim I created thanks to the glue.
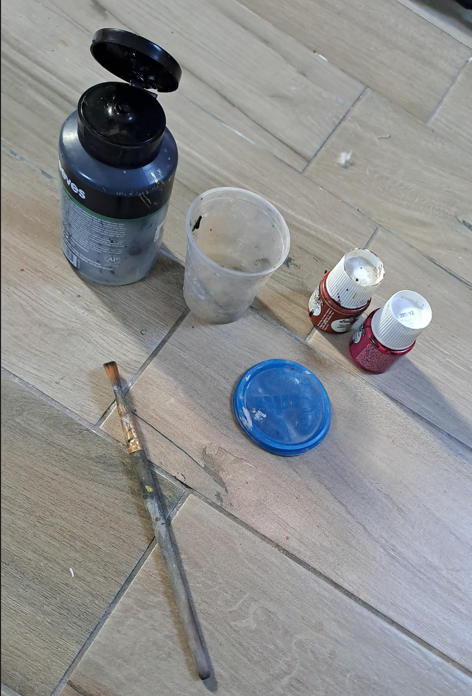
Once you are happy with your cut, you can go with your color.
You will need very little acrylic paint, and you want it to be super diluted, to build up by layers instead of creating spots. Unless you’re going for a cheetah.
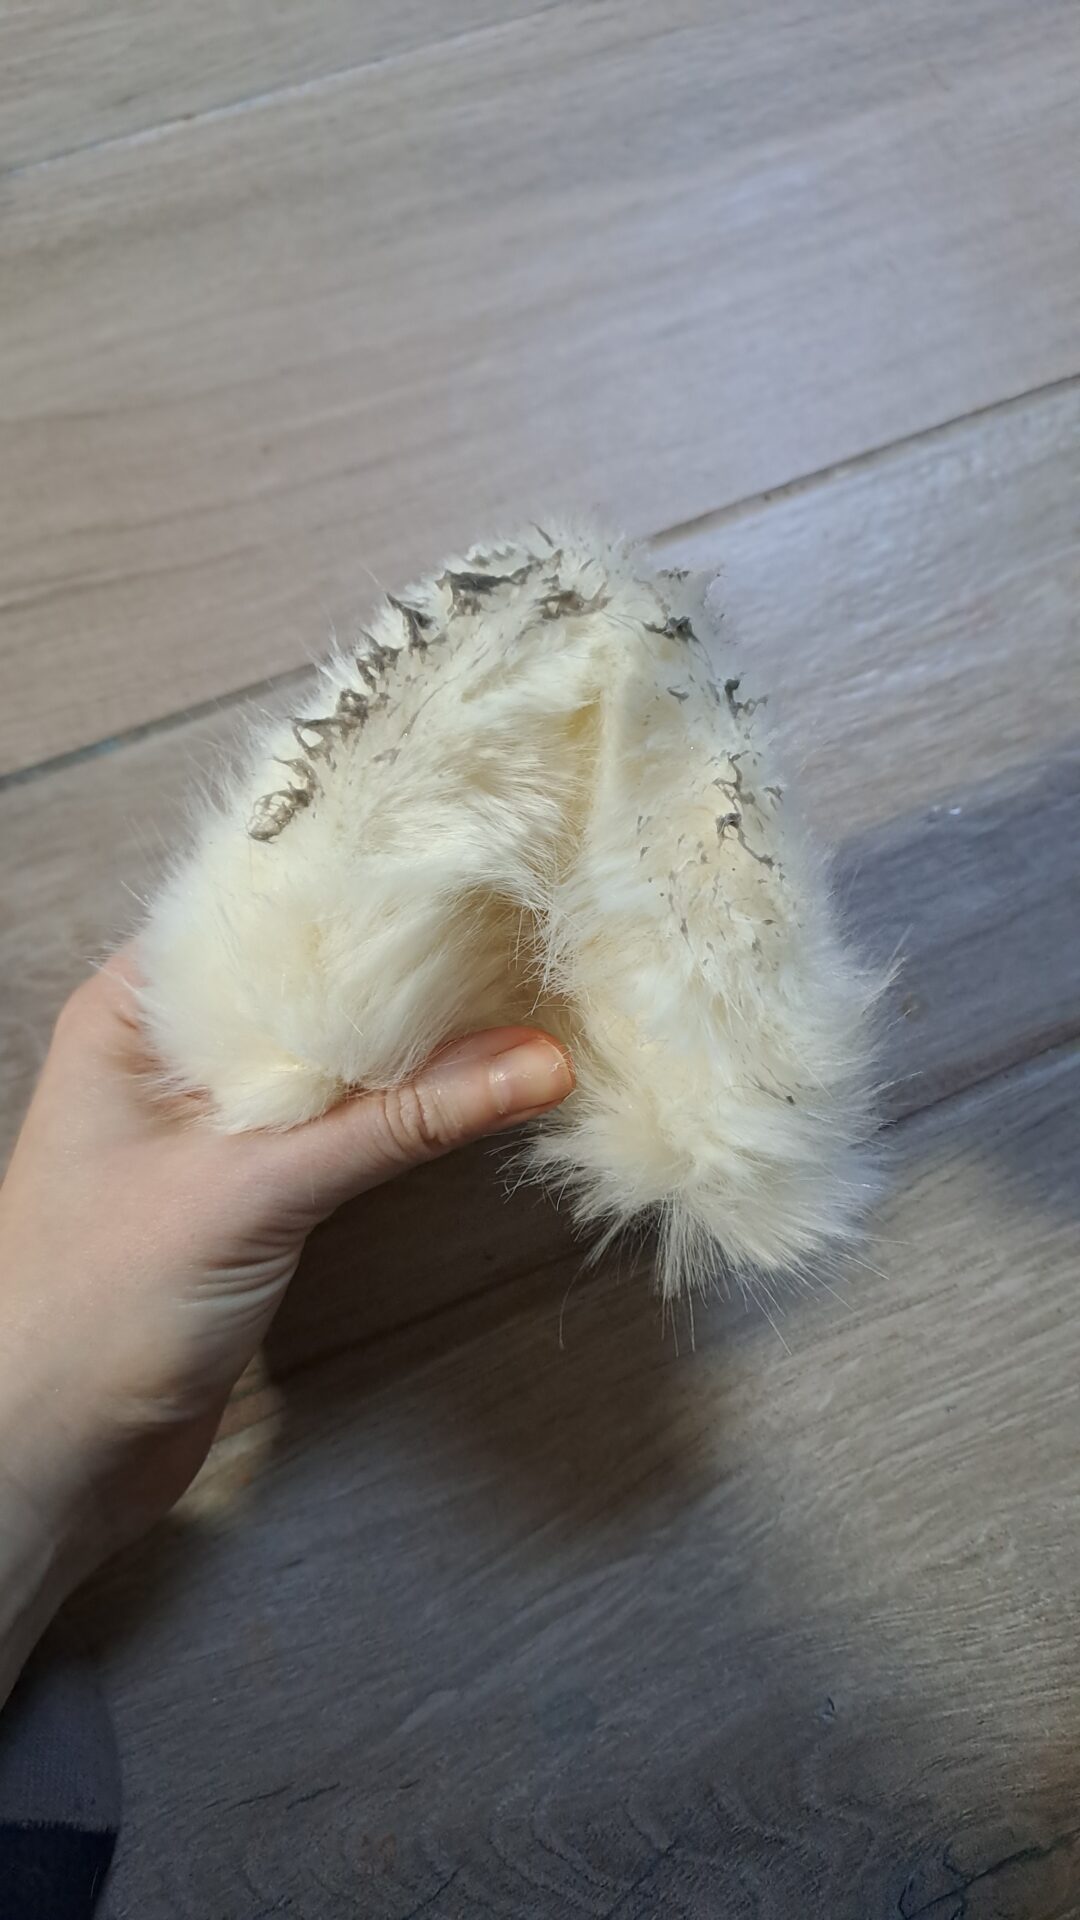
Distribute a little color along the edge, and then brush it with your hair comb in all directions, to distribute the paint evenly. You will see that a little drop of color will create a wide halo of more natural color. Be patient nd build your tones like you were working with watercolors, be subtle.
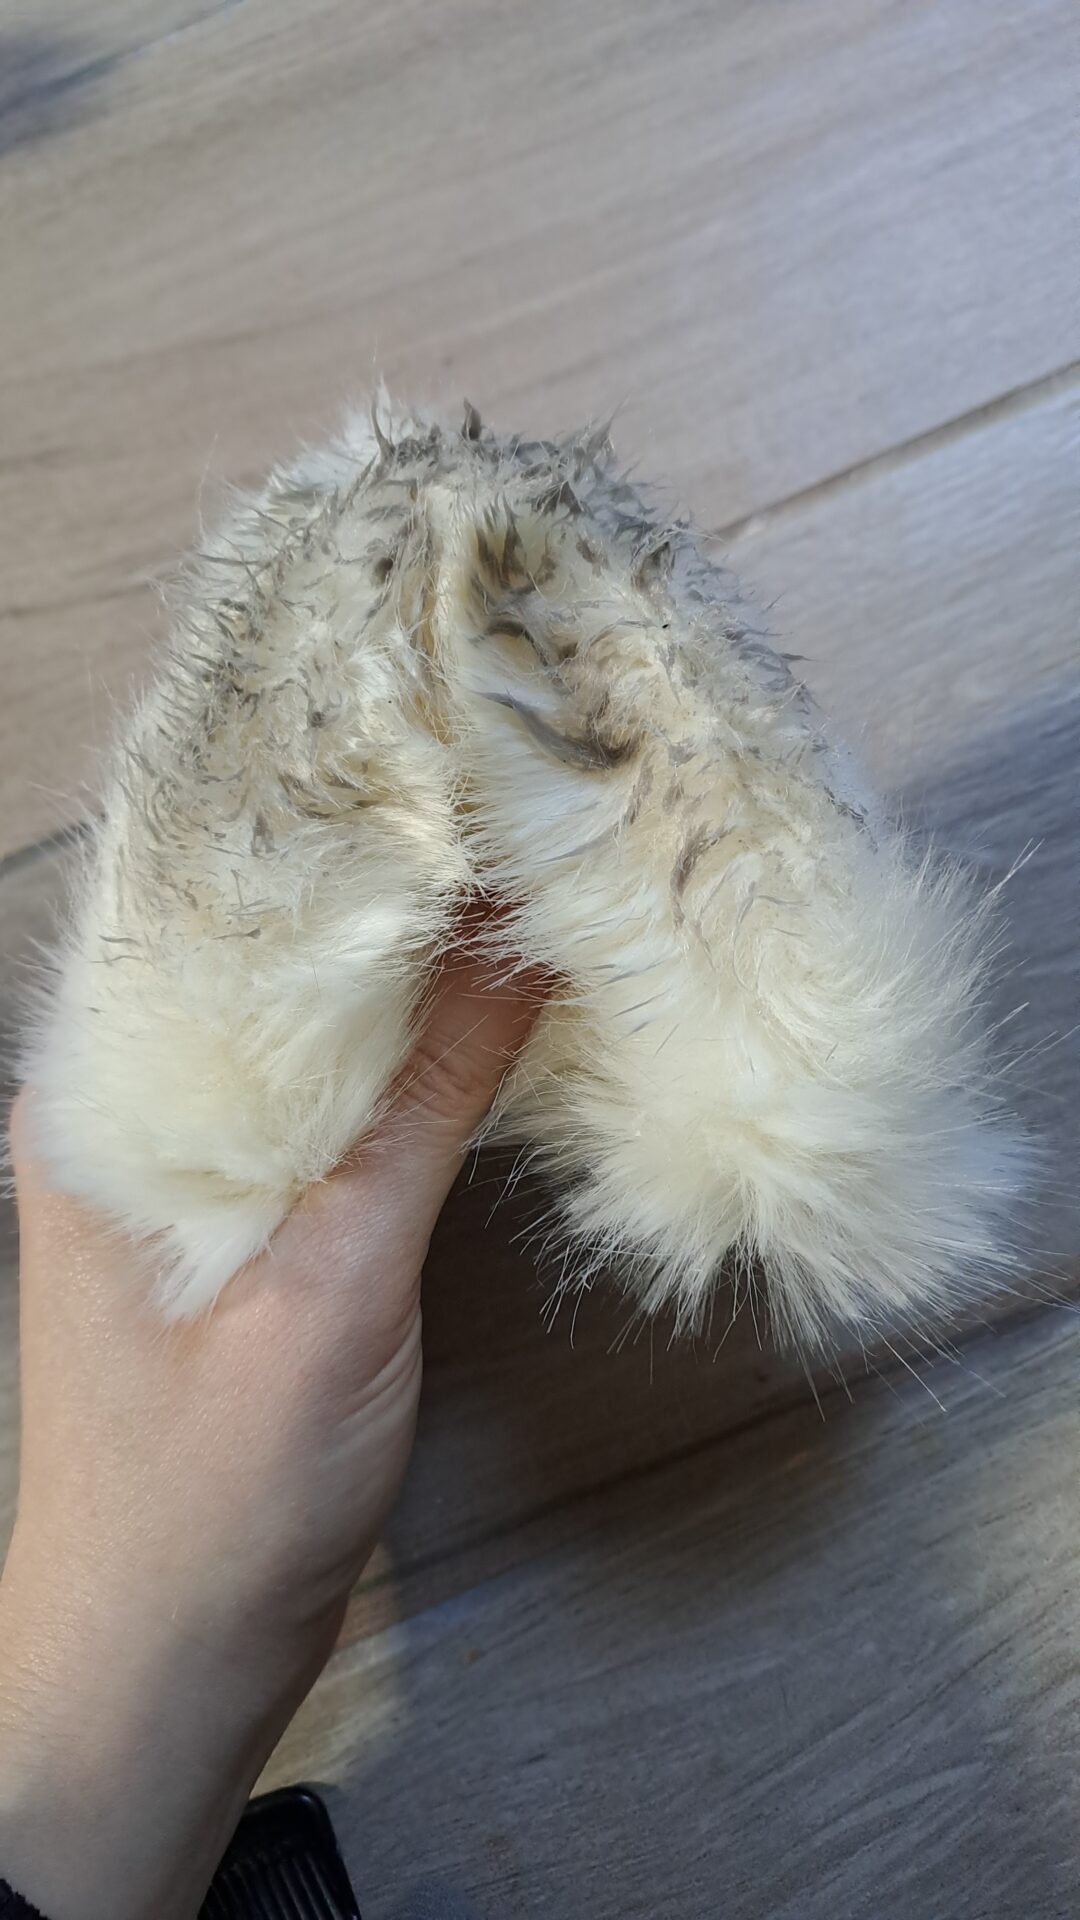
Here you can see how it changes when you comb it well. Keep brushing while the paint is wet, you want the pile to return soft and fluffy each time you add paint.
Once you see the color starts drying, keep combing in the final direction you want the hair to stay in. It is very important that at the beginning you go against the pile and in all directions. When the color dries it’s like setting spray, so you want to use that power to your advantage, to get closer to a natural look and hair direction.
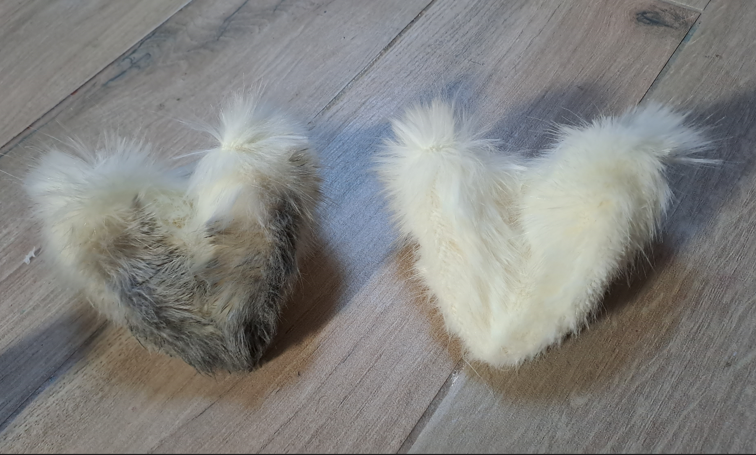
More layers and we’re getting where I wanted.
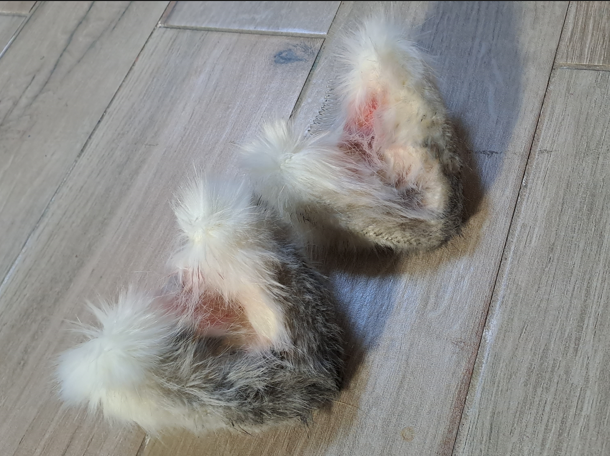
The skin underneath can not be visible, as there isn’t any. But we can work by illusion, and paint some very diluted brown-ish red close to the roots of the deeper part of the inner fold. The part really need to fade delicatly and without sports to create that illusion.
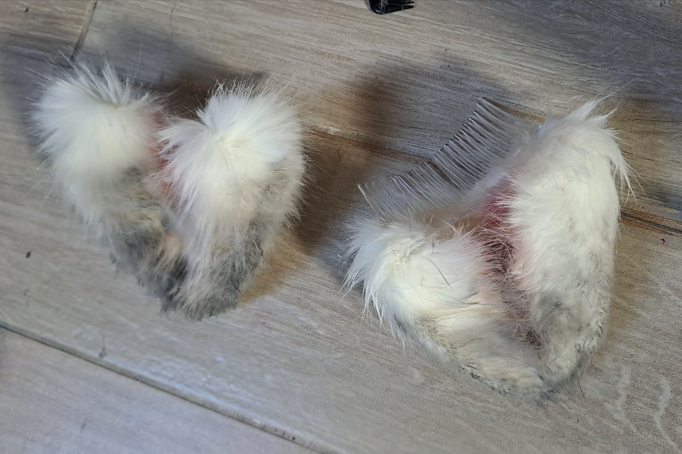
I then wanted the pile of the inner sides of the ear to point towards the middle, so I used a little hairspray to help keep it in that direction.
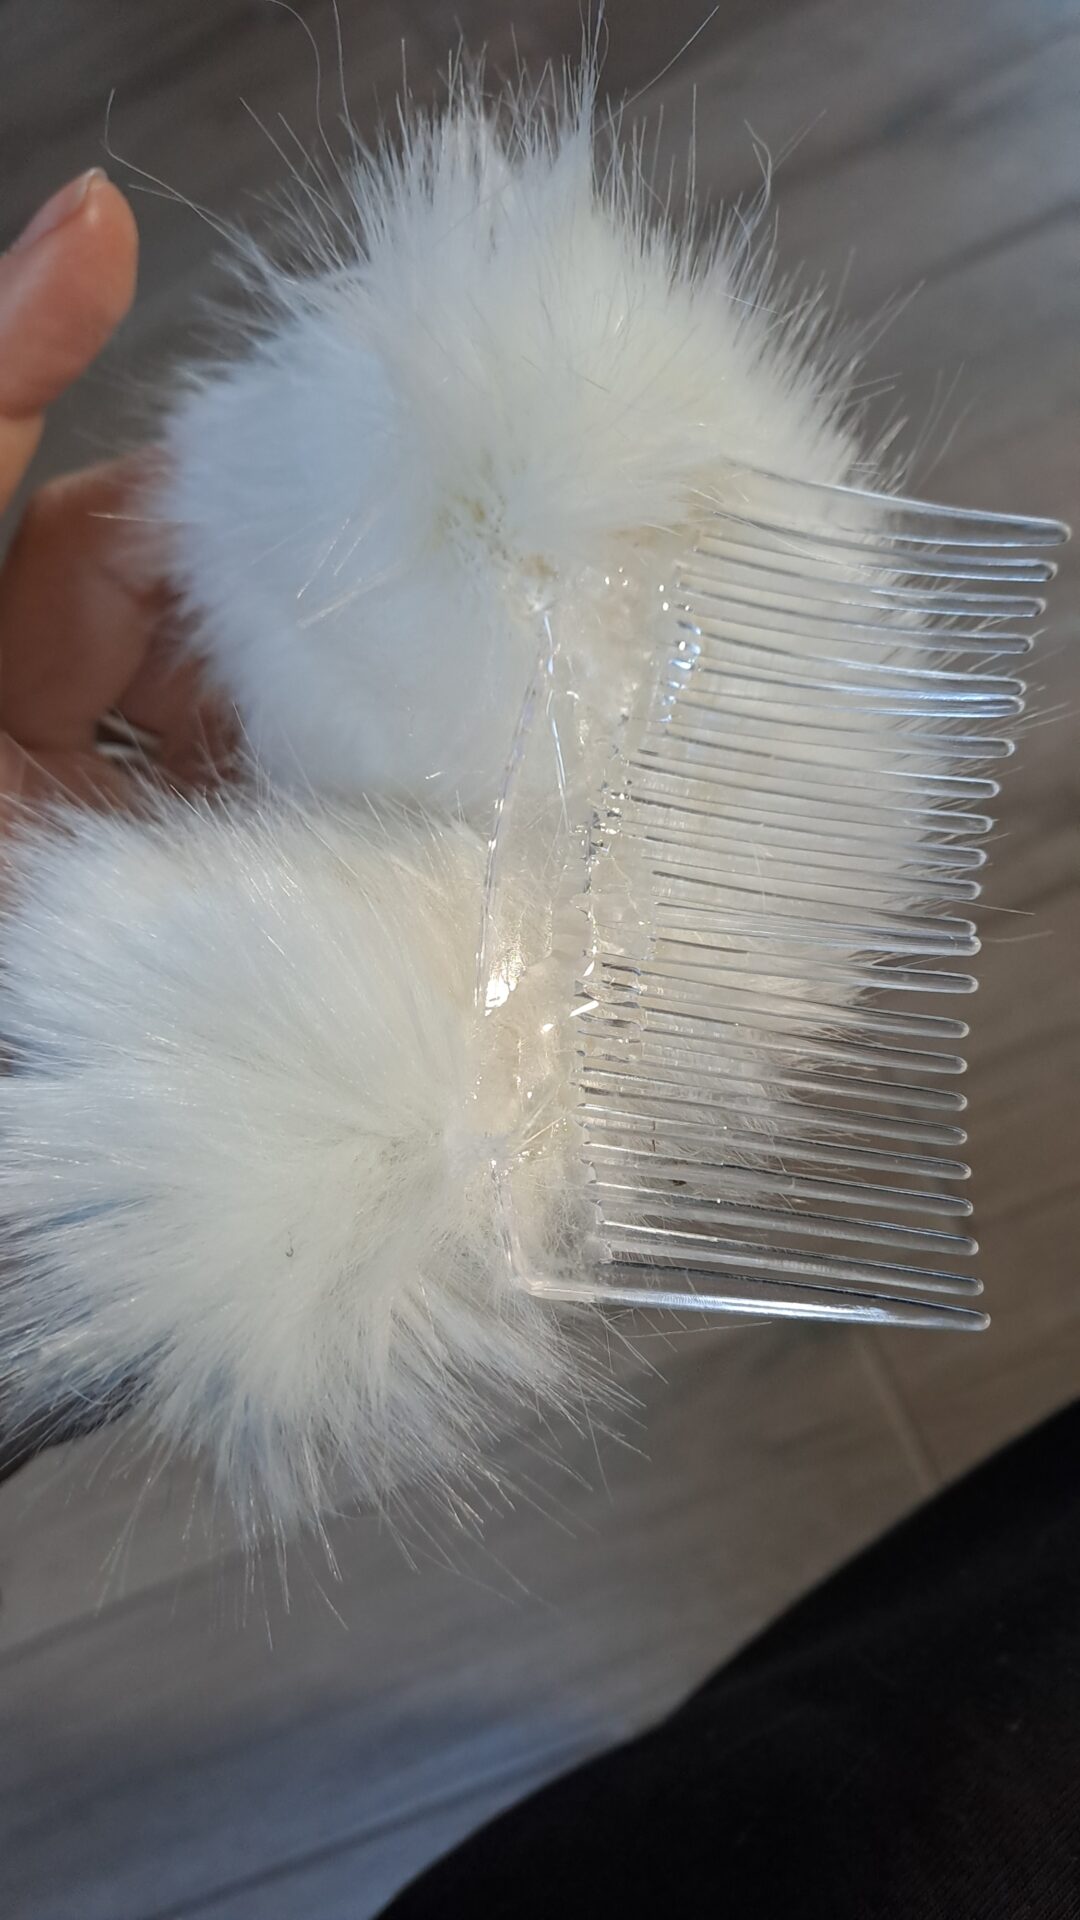
Now you can glue your ears to your chosen support. I used more hot glue and hair combs pointing backwards, as these will almost always go on elaborate hairstyles. If you plan to wear them with unstyled straight hair, you may want something that can hold onto it better, like clips or a headband.
You now have your set of animal ears!
If you have any doubts, please leave a comment or email me, and I will be happy to help.


