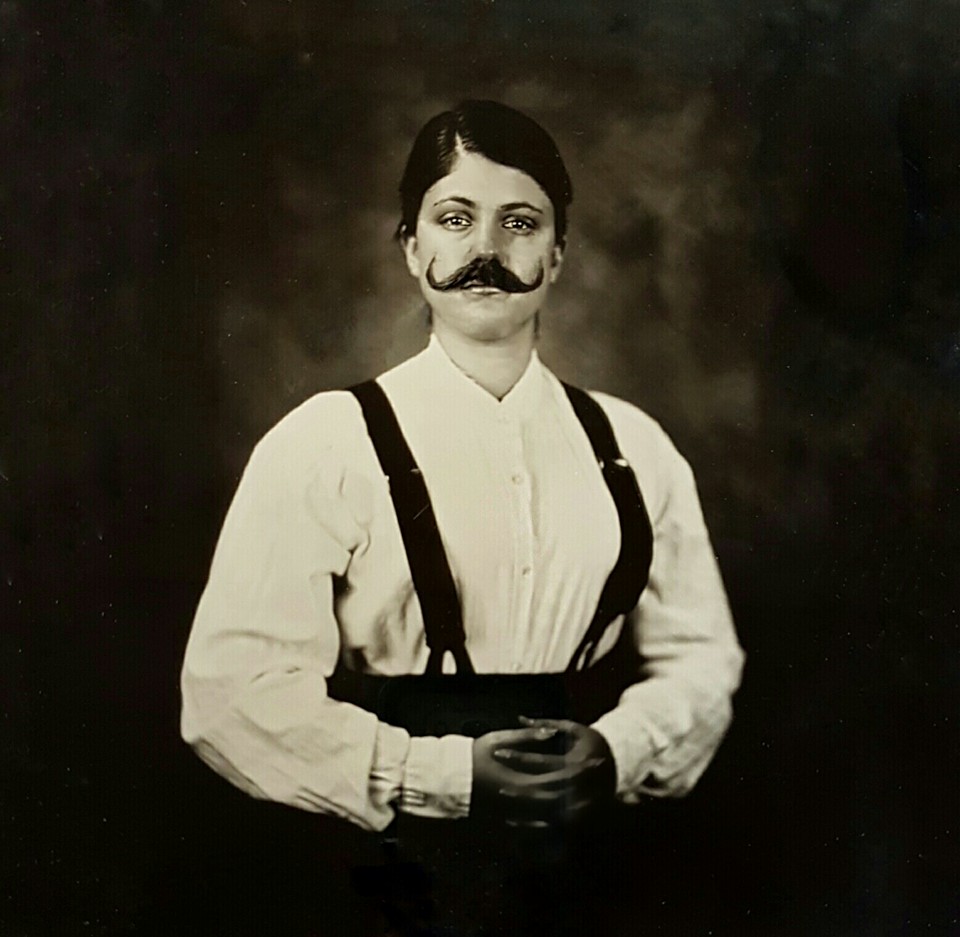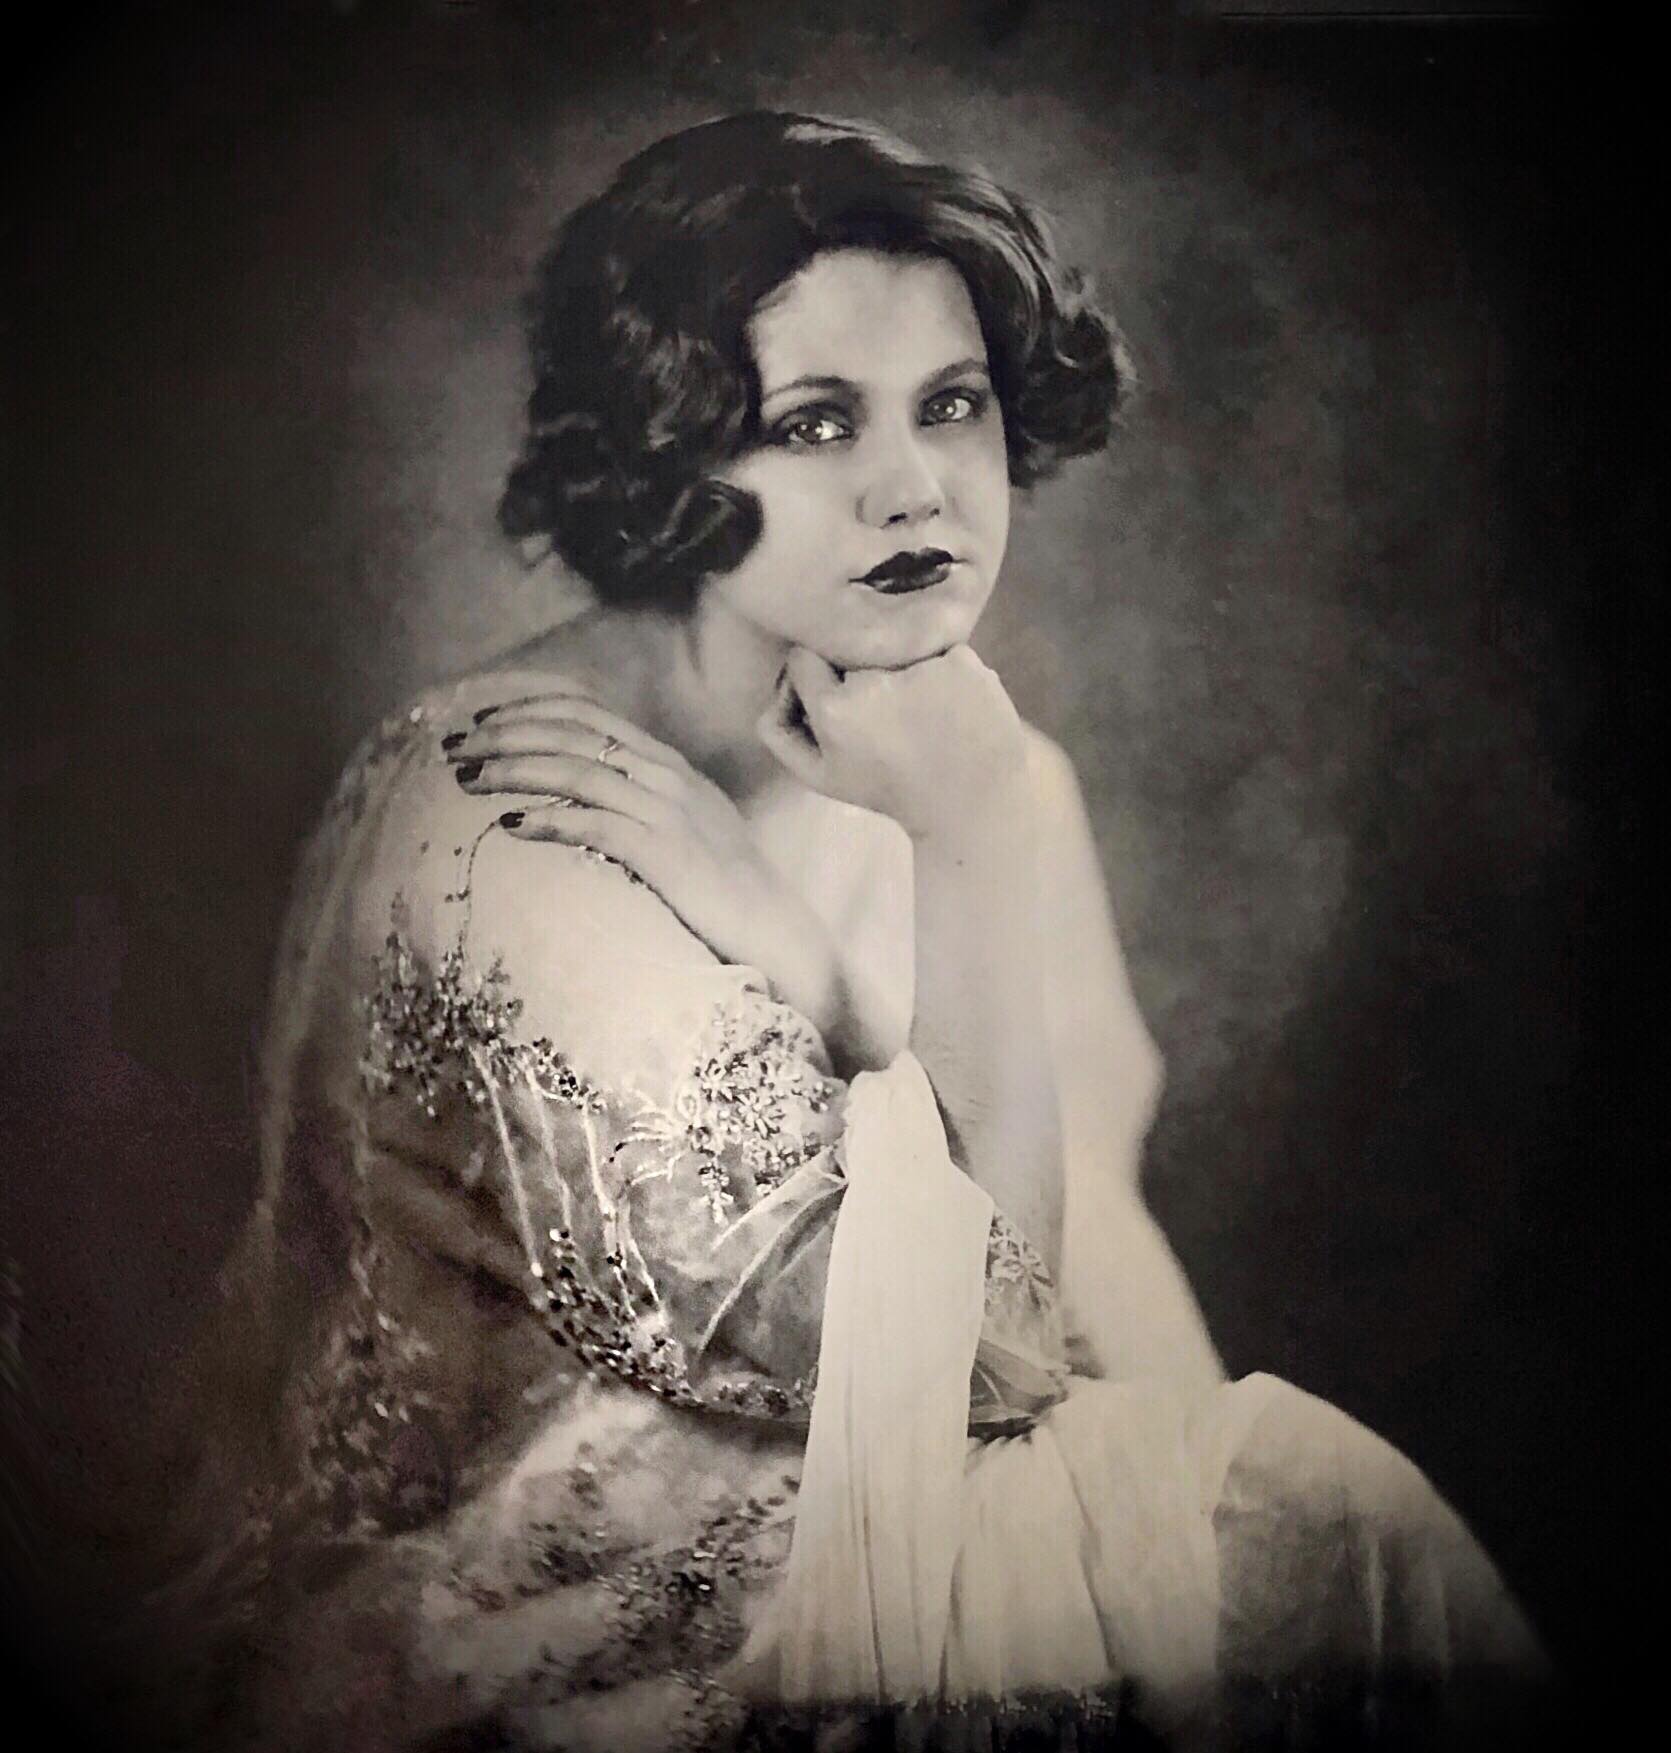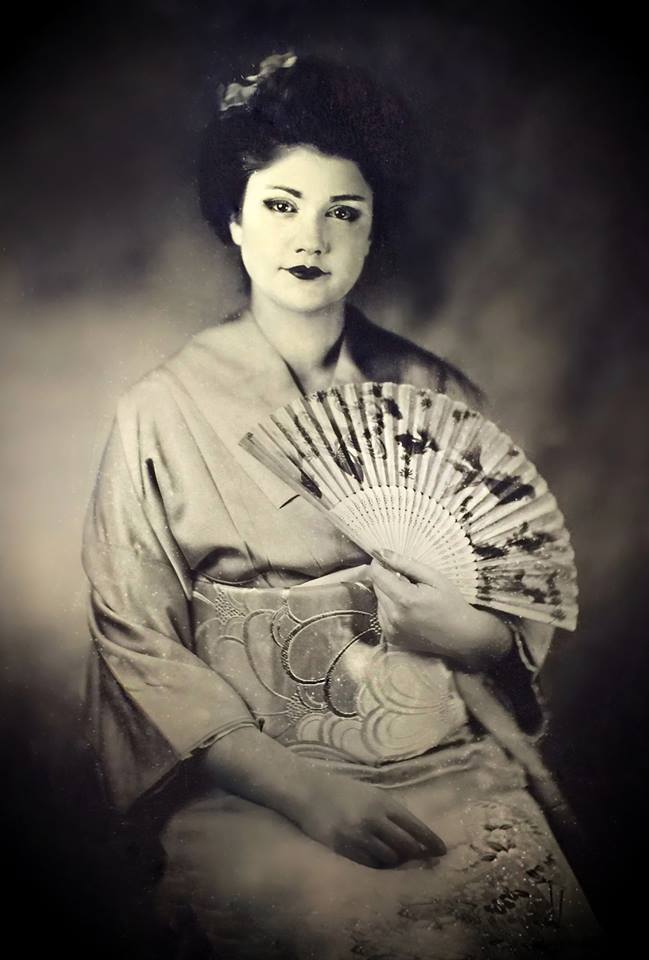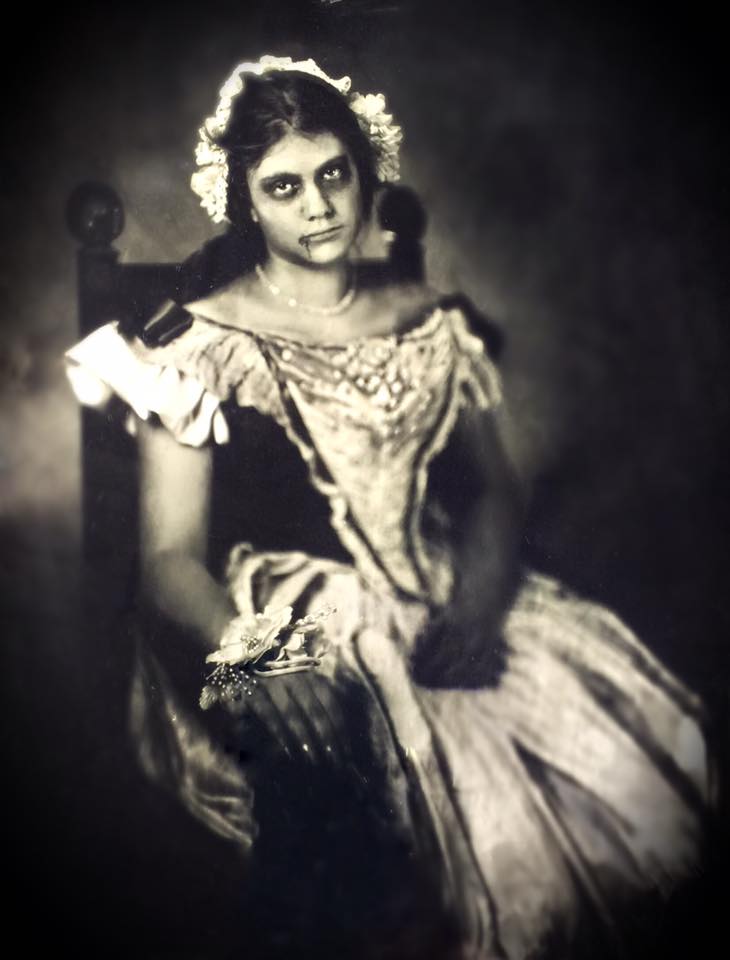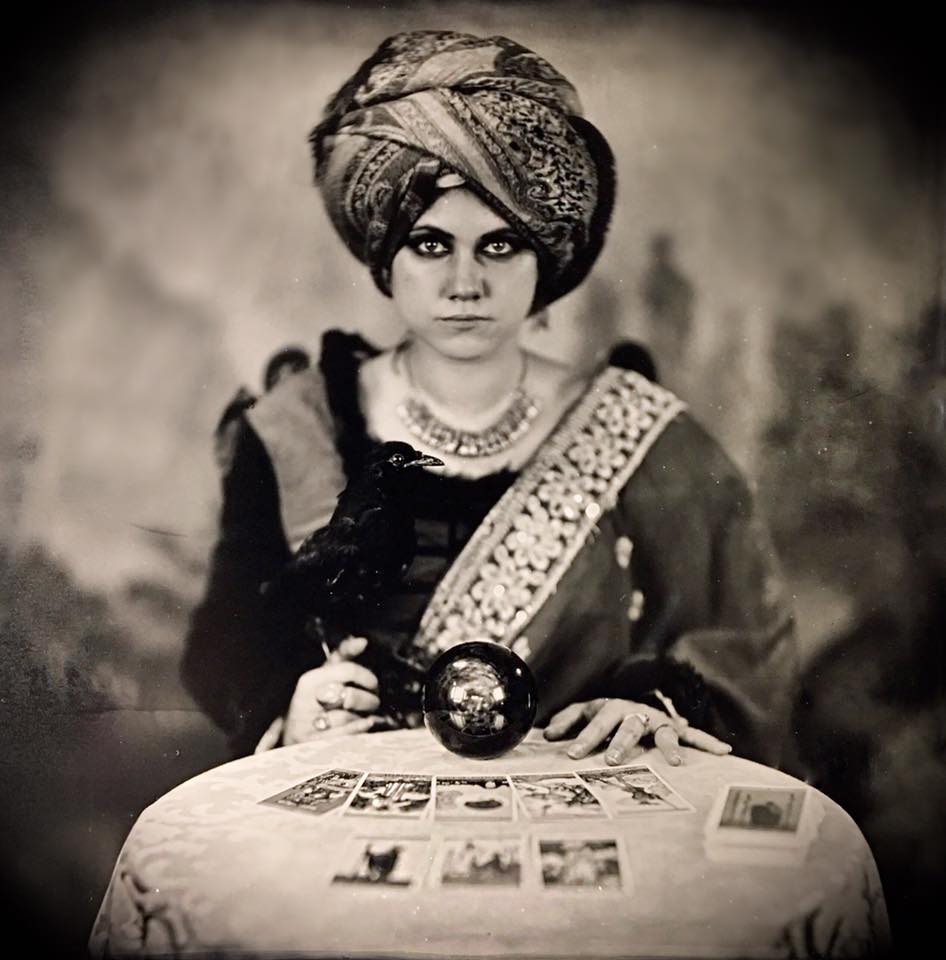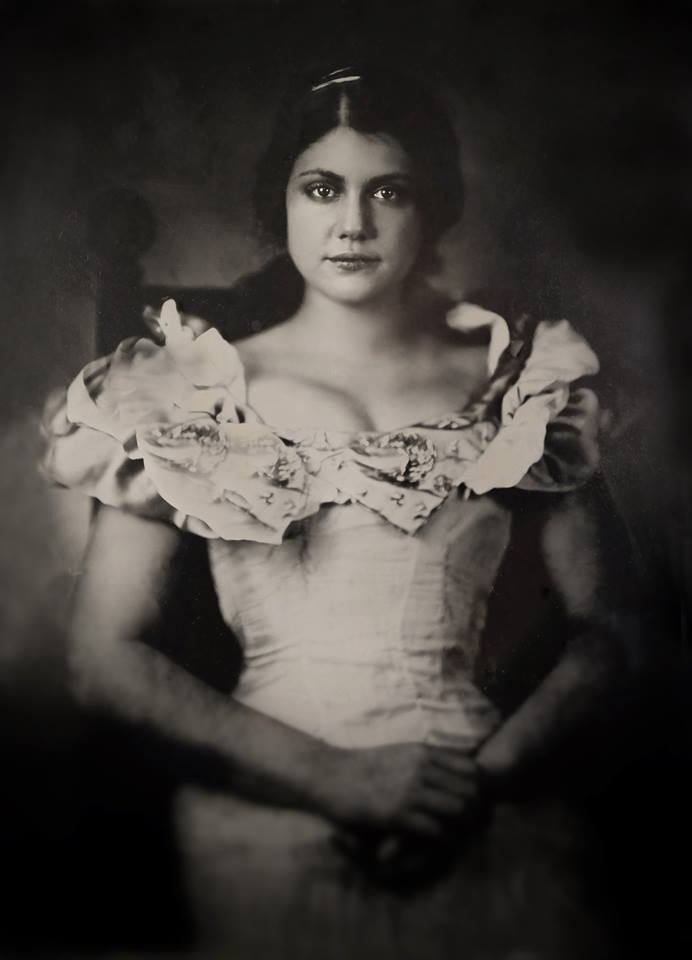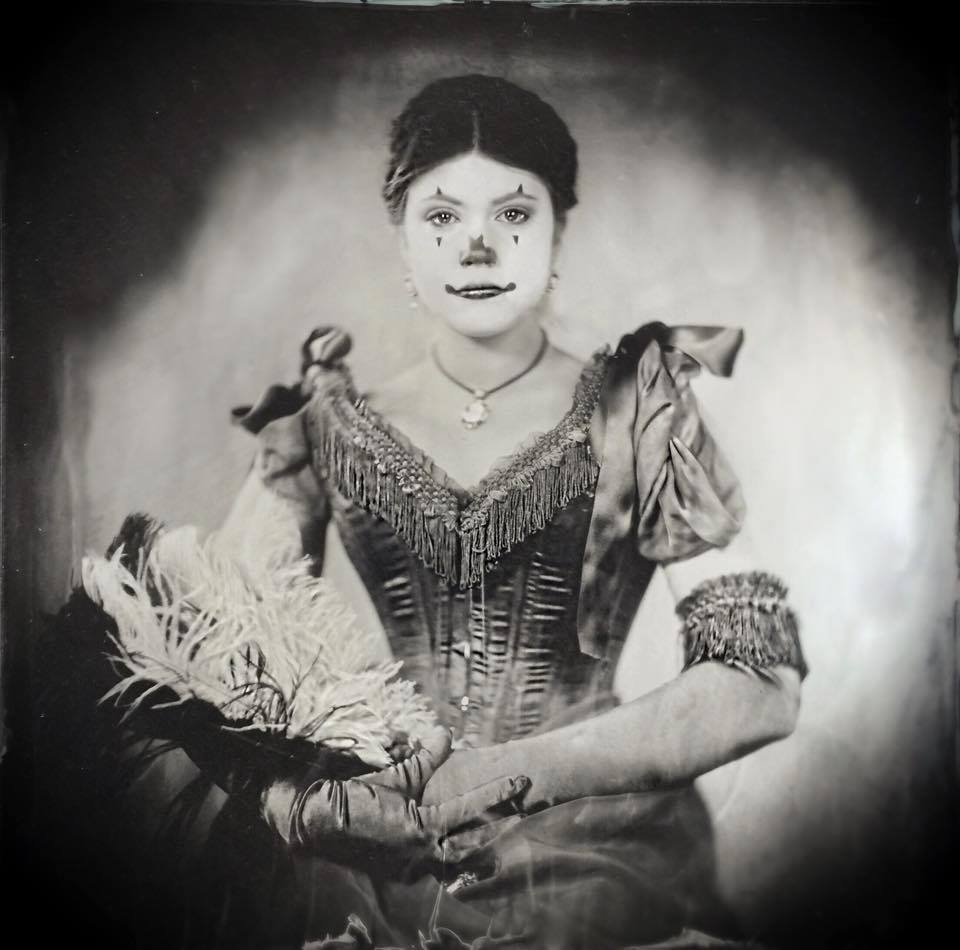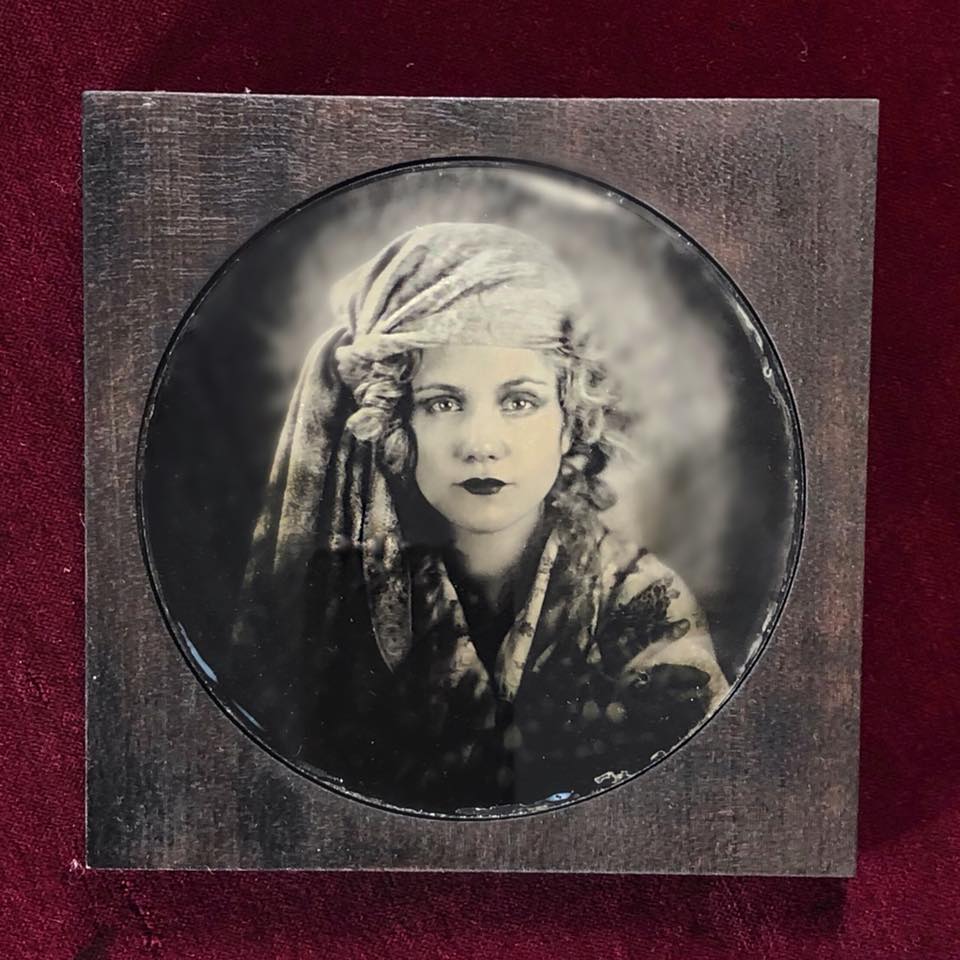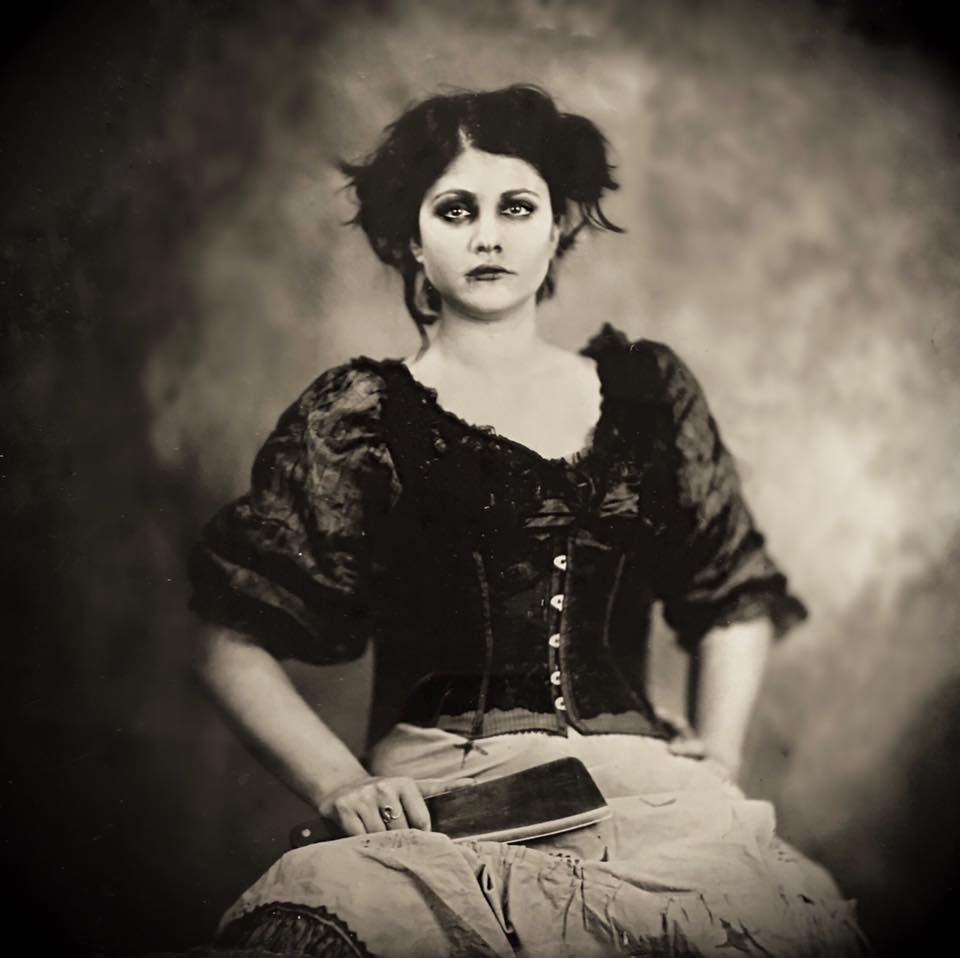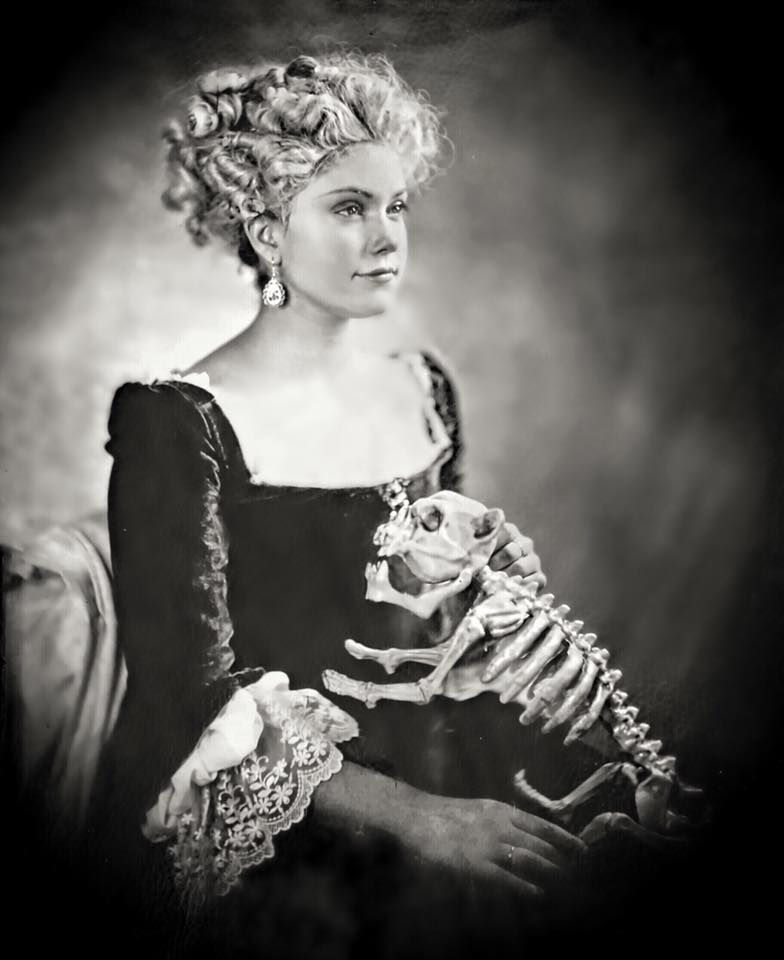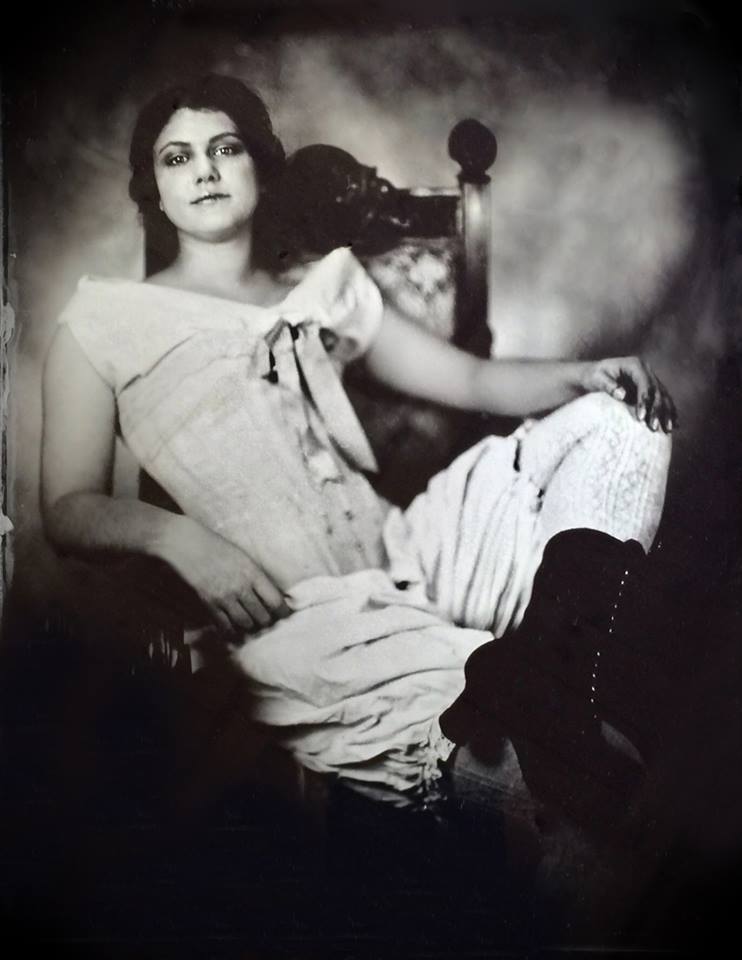
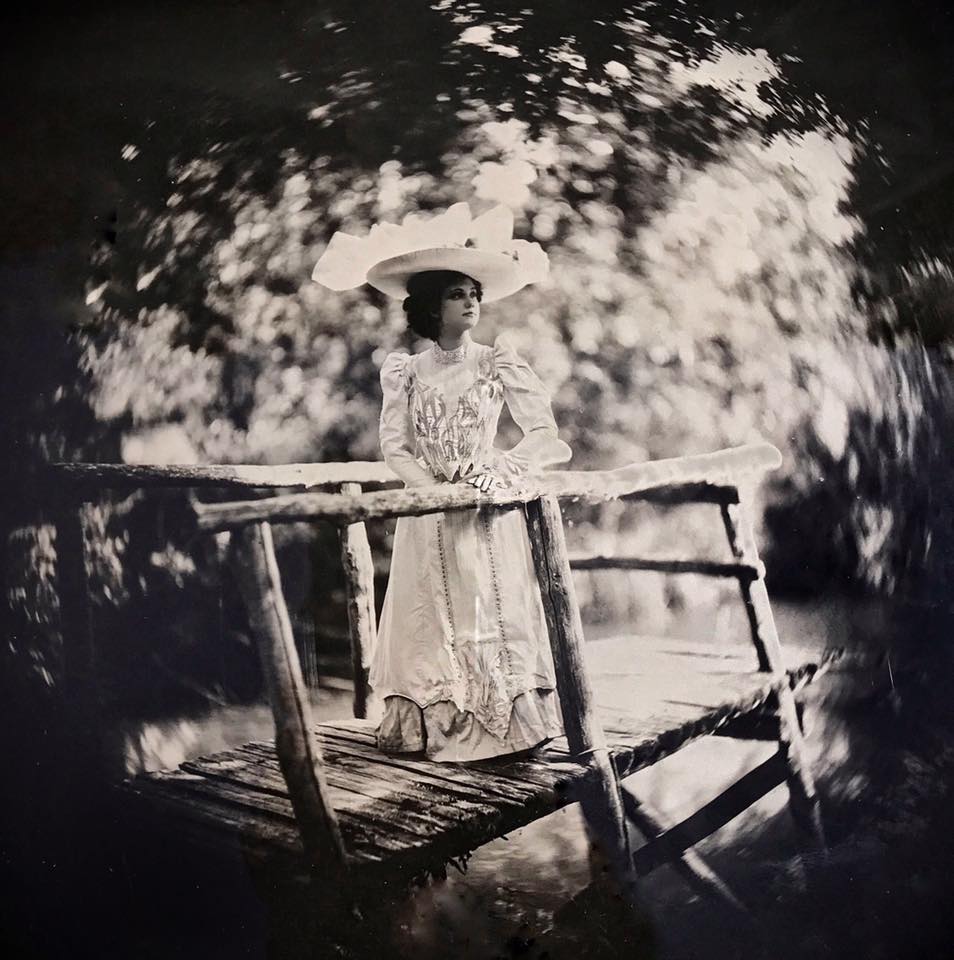
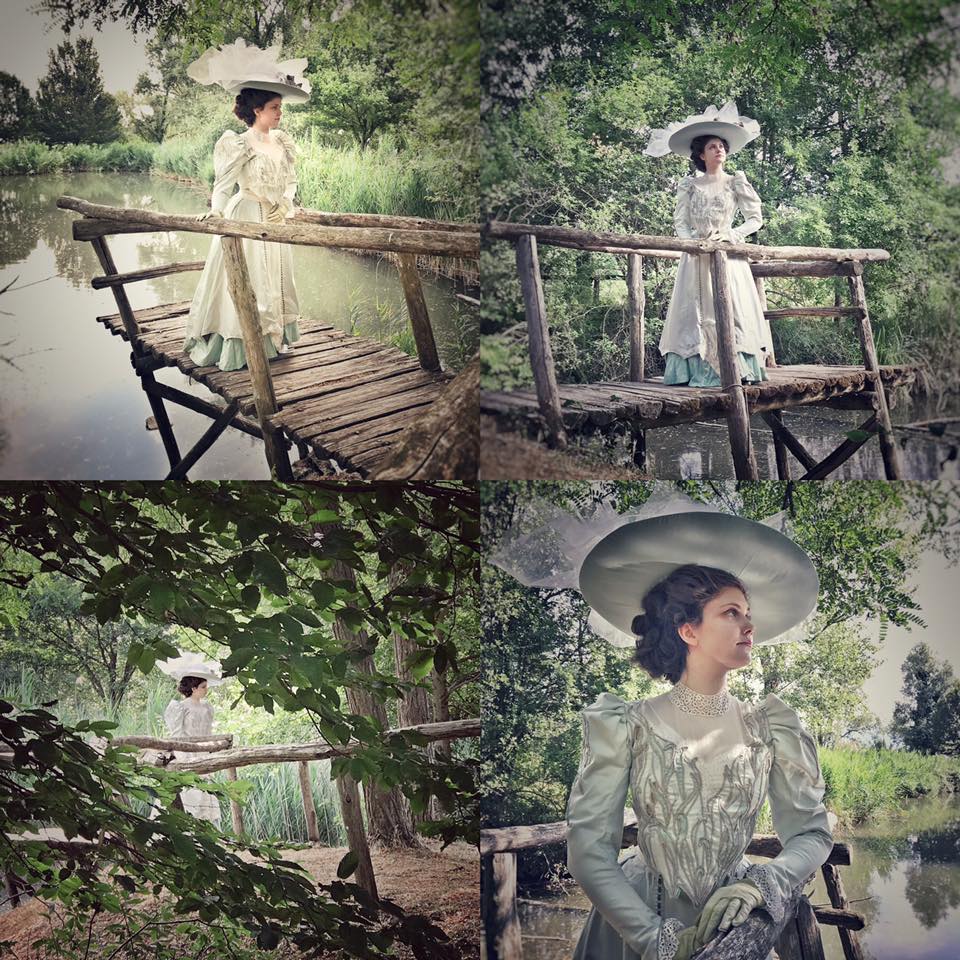
Nowadays we all want to be insta-ready when we’re wearing the costumes that took us so long to make or to afford. At some events there’s the chance to honor that work with an authentic old style photography, made with wet collodion techniques and recipes dating back to the middle of the 19th century.
It’s gonna be a long article. But- as the books we like most- it has a lot of pictures! I hope you’ll enjoy the comparison between the mobile camera backstage pictures and the final result.
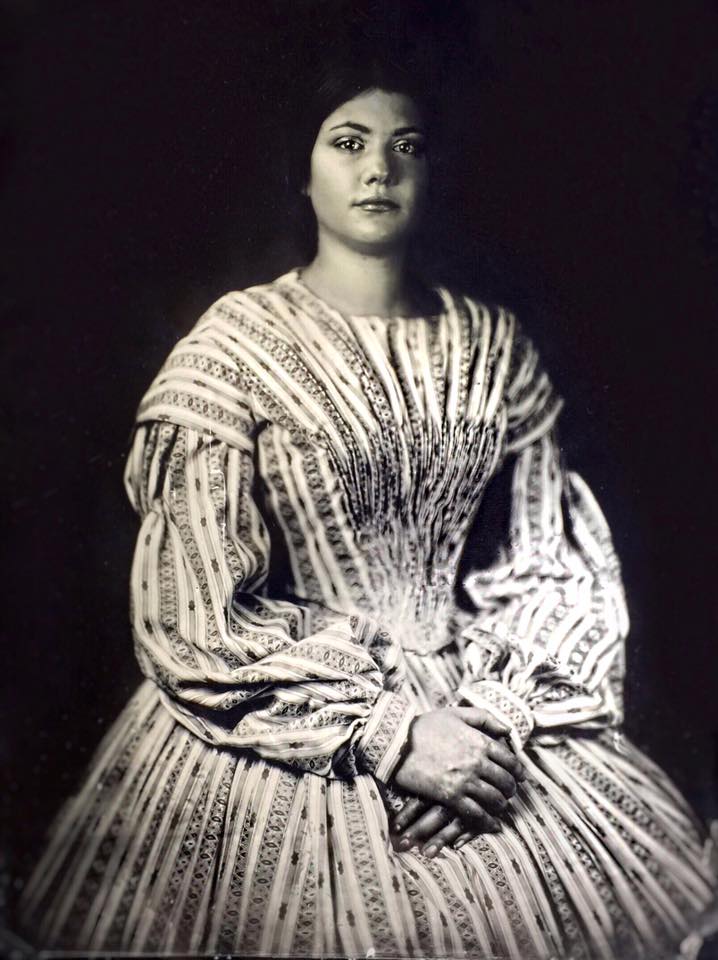
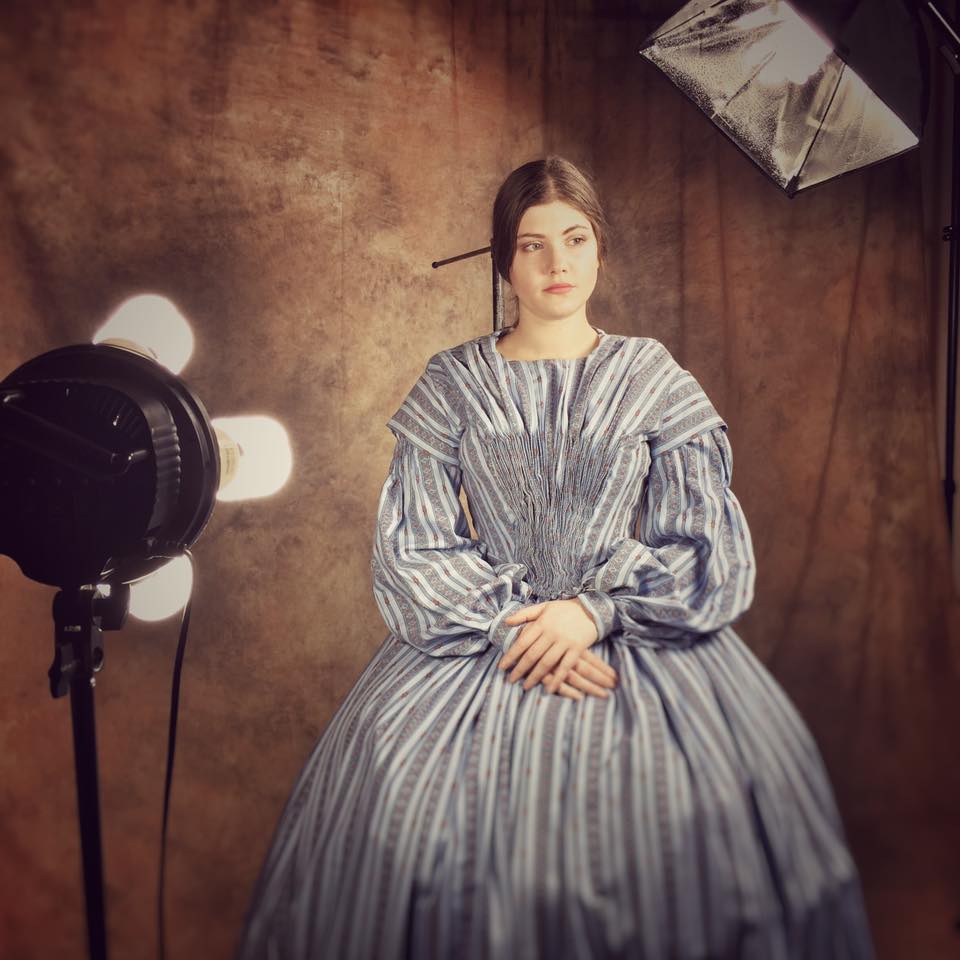
One could think it’s just black and white, a simple desaturated image, but there’s far more than that to it. Collodion photography is alchemy, is chemistry, is artistry, and it does not exactly reflect the reality we see with the reliability of a modern camera.
And there’s no photoshop, there’s no filter. If you do a dumb face, it’s there. And you don’t get an infinite amount of attempts at making things look right, you book the photographer’s time, and one plate. Ready or not, here it comes! Some of your friends might have taken some, and they don’t look as nice as in instagram, so you’re scared, but you really want that memory hanging in your home.
It is true that at the time there was some photoshopping, as reducing the waist and cleaning the skin, but it’s not done when you go to get your tintype memory of a day wearing your costume, and you’re one of a long list of people. So there are a few things that is good to know, in order to prepare in the right way.
I have worked for years with one of the talented artists that keep this old craft living, we had our good and our bad collodion days, and I’m here to share all the experience that I gained through all this time. You can see his work in his website, facebook page and instagram profile. There’s lots of amazing videos on how the plate comes out.
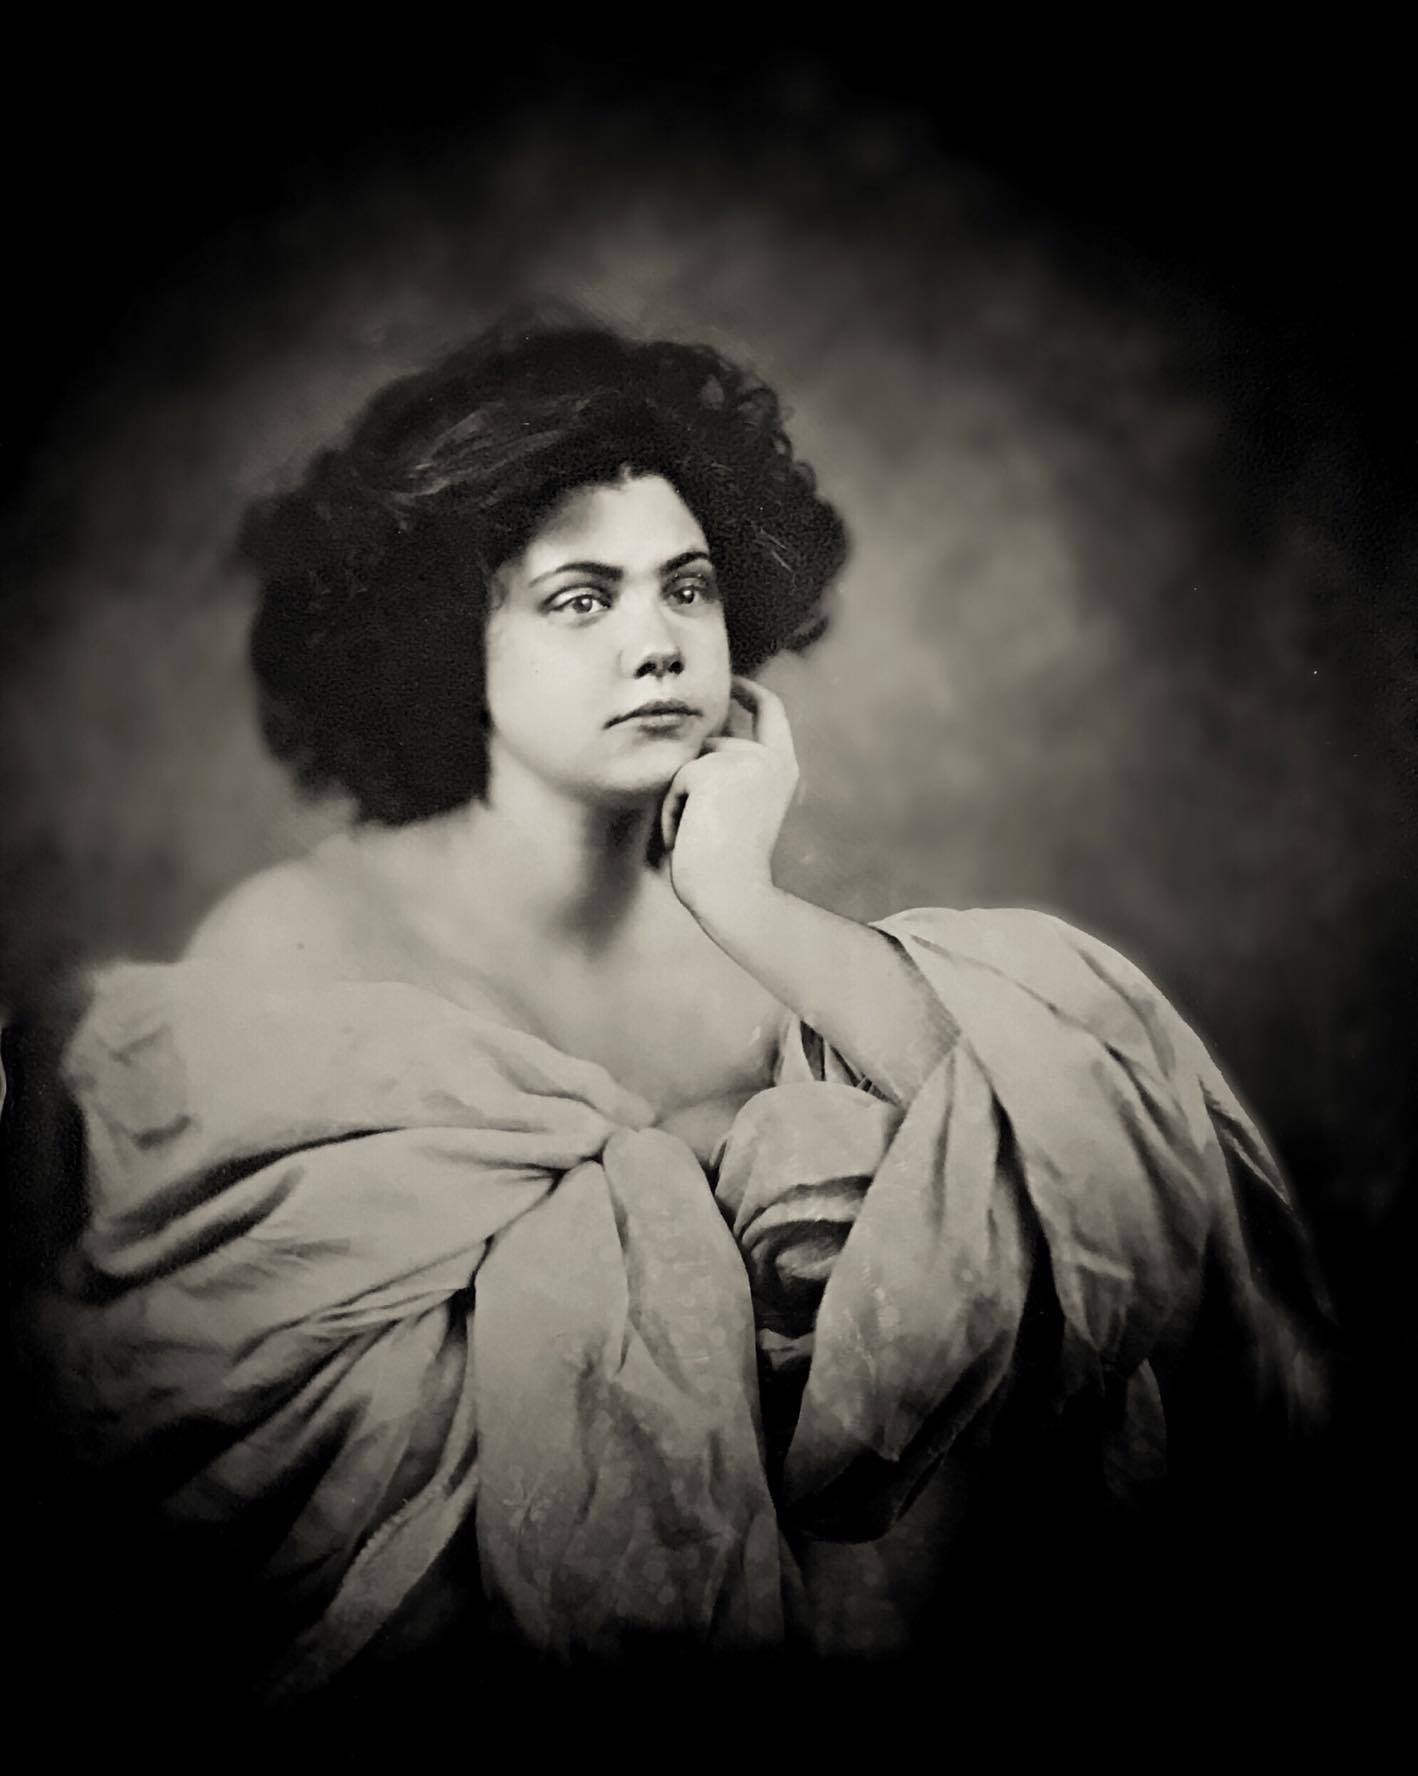
First of all, how it happens.
The process is unusual to us, and it’s not as easy as to strike a pose, if you know what awaits you, you’ll be able to enjoy the whole process a lot more!
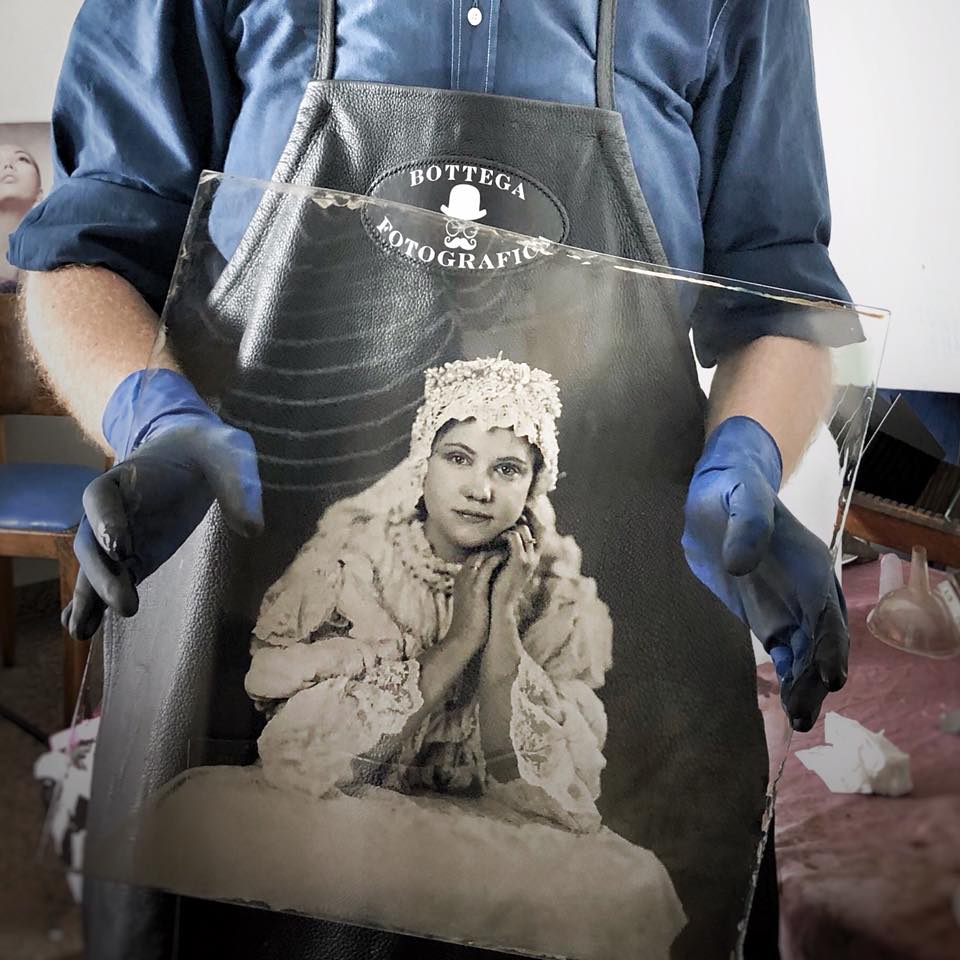
The thing you’ll get home with is called “plate”. It can be in different materials, the two I have worked with are glass and alluminium. On the glass you get an ambrotype, on the alluminium foil the tintype. You might have the ambrotype when going to the photographer’s studio, and the tintype at events. This might not always be true, but Dennis prefers the metal when he’s in rush, as it can be dried fastly and doesn’t need a black surface underneath to be visible. It’s easily ready to be delivered within one hour.
It starts with setting everything, lights, focus, framing, pose. You don’t have a film roll of twenty-four pictures, you have one, so everything must be set right. You as well. If you already have an idea of a pose, try it at home in front of a mirror.
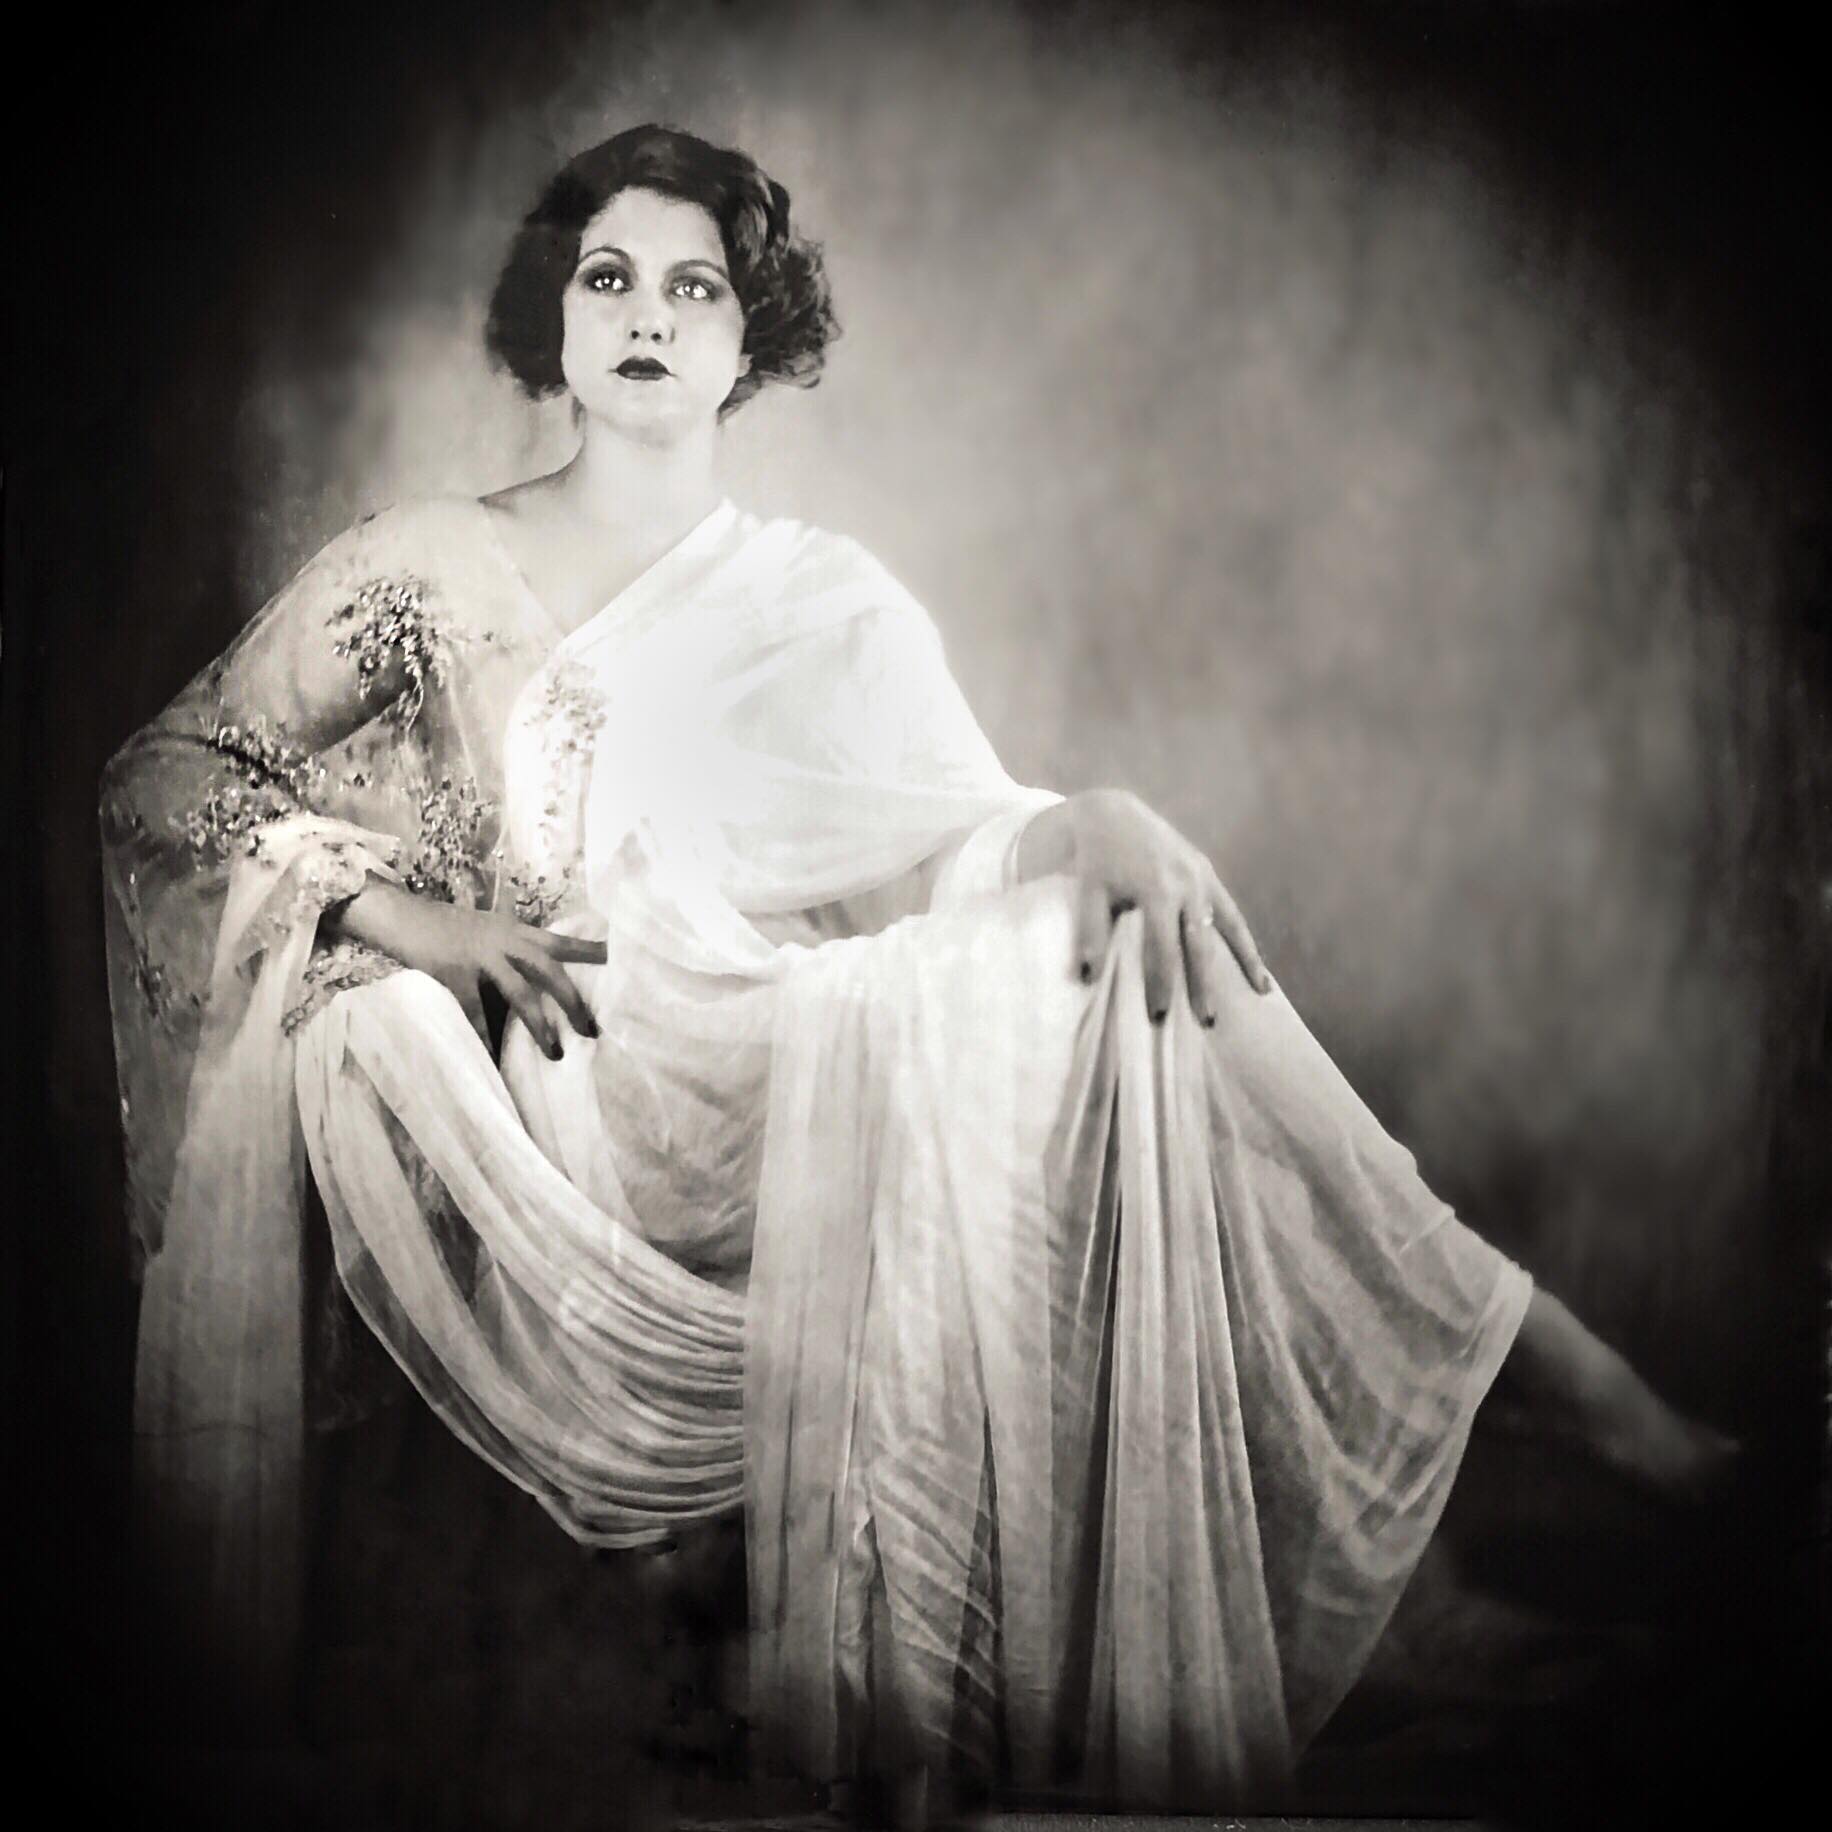
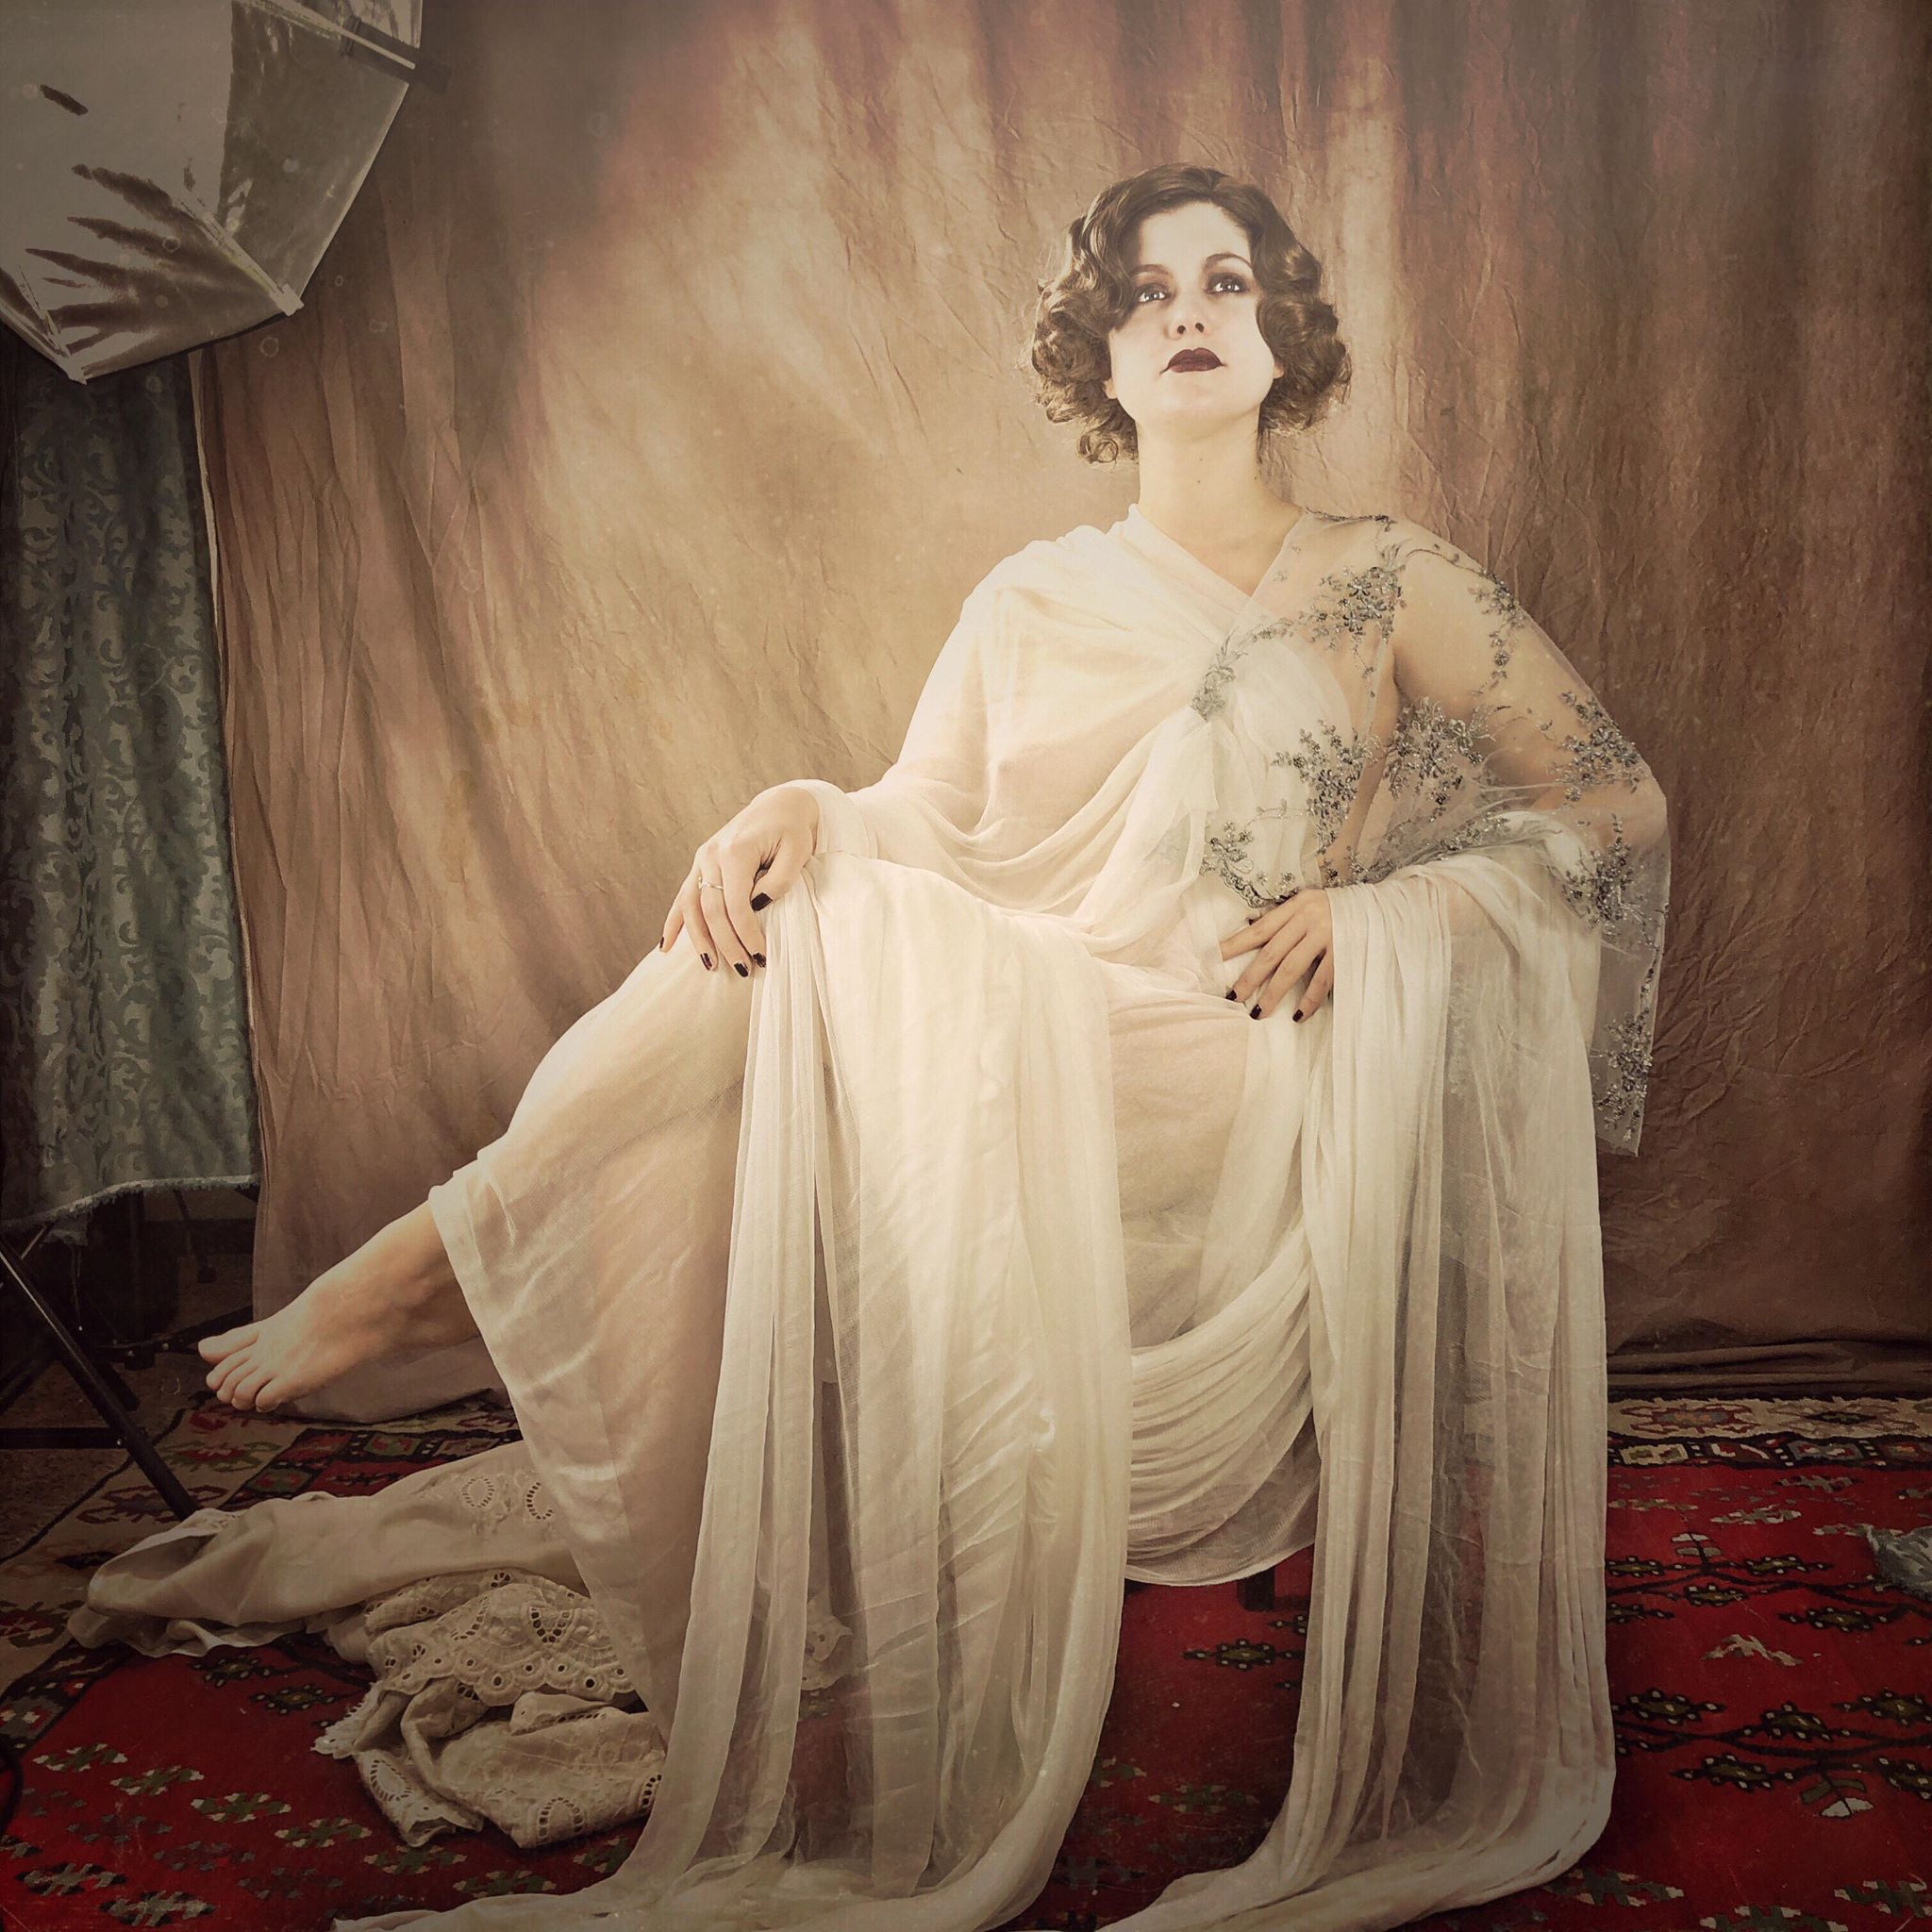
With his technique, you must stay completely still for the needed seconds (not just the instant of the common camera, here we’re talking seconds, more than a couple, if you’re not out in the sunshine, inside a studio, it depends on the lights and the recipe), so you’ll probably have to sit, it’s easier for the not experienced than standing. This is why when someone is standing in one of those old cards, he’s usually leaning on something just elbow-height. In any case, you’ll have a stand to keep your head still. Very still. Those things that they tell you were to keep corpses in position, are indeed to keep alive people still. If you’ve studied posture and balance from a medical point of view, you’ll know we keep moving when we’re standing, and moving the neck and the head while we’re sitting. If you transfer this fluttering on the plate for several seconds, you get a blurred image. Not good if you have only one shot.
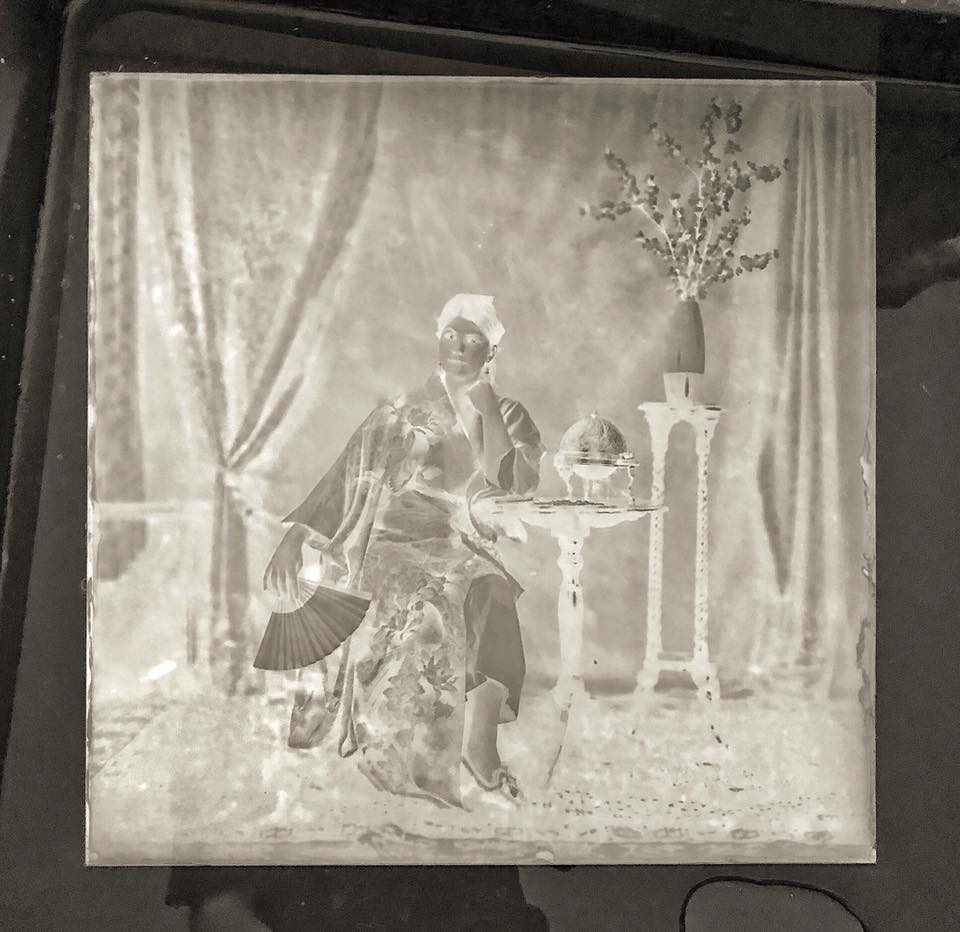
The thing in front of you is a view camera. The size of the camera determines the size of the plate (it can be smaller with a proper frame, but it can’t be bigger, let’s say that the plate is the size and shape of the camera, mostly). There’s no zooming, just the lens, which can be an authentic antique, still doing its magic, and who knows who that lens has captured before. There’s a frosted screen, that allows the photographer to see how things look. In there the image is upside down, and colored, it appears when everything around you is dark and the subject is in light, hence the cloth hiding the man behind the camera. When the plate has been prepared with collodion, silver, and such, it is taken out of the dark room in a frame that doesn’t allow it to get any light, yet.
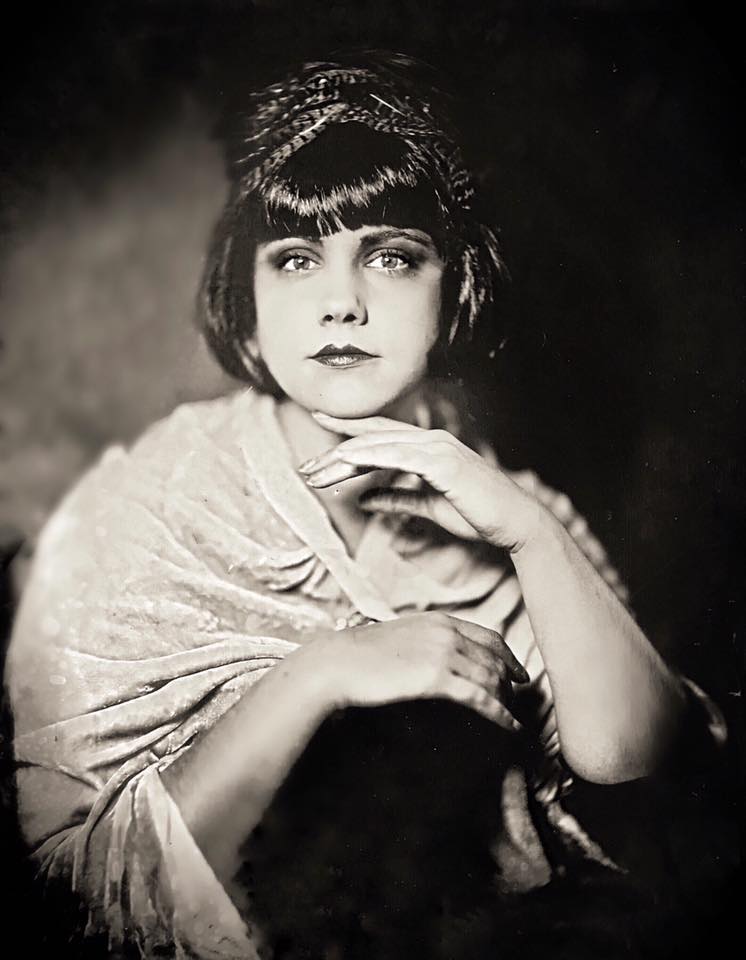
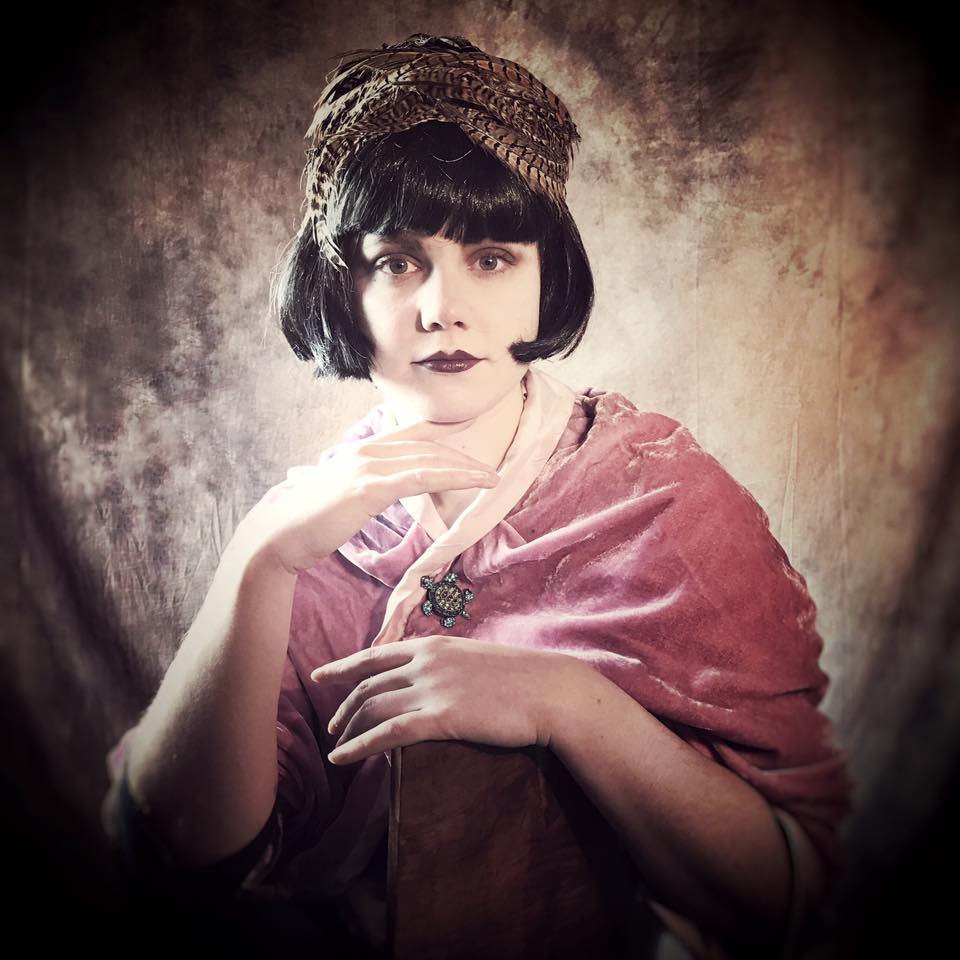
When the photographer looks at the frosted screen for the last time, is when you have to be extra careful not to move. You can usually blink and breathe.
The lens gets covered with a cap (or a hat) and the frame with the prepared plate is opened. The cap is removed, and the time starts ticking. Only when the cap is safely back, you can move. The photographer will cover once more the frame, detach it from the camera, and bring it to the dark room.
There he does what to me sounds like magic.
He comes out and you see the negative. Some photographers might choose not to show you when the plate transforms from negative to positive, it’s up to them. It’s a matter of a few seconds, when he pours the liquid on it. You can see many videos of that in Dennis’ facebook page and instagram.
Then the plate is dried. If it’s tin, you can get it with you, if it’s glass, it usually needs a bit more processing. When we meet, Dennis usually has prepared for me the plate of the previous session. Tintypes don’t change much, ambrotypes keep evolving for some time, so the final result might be even more different.
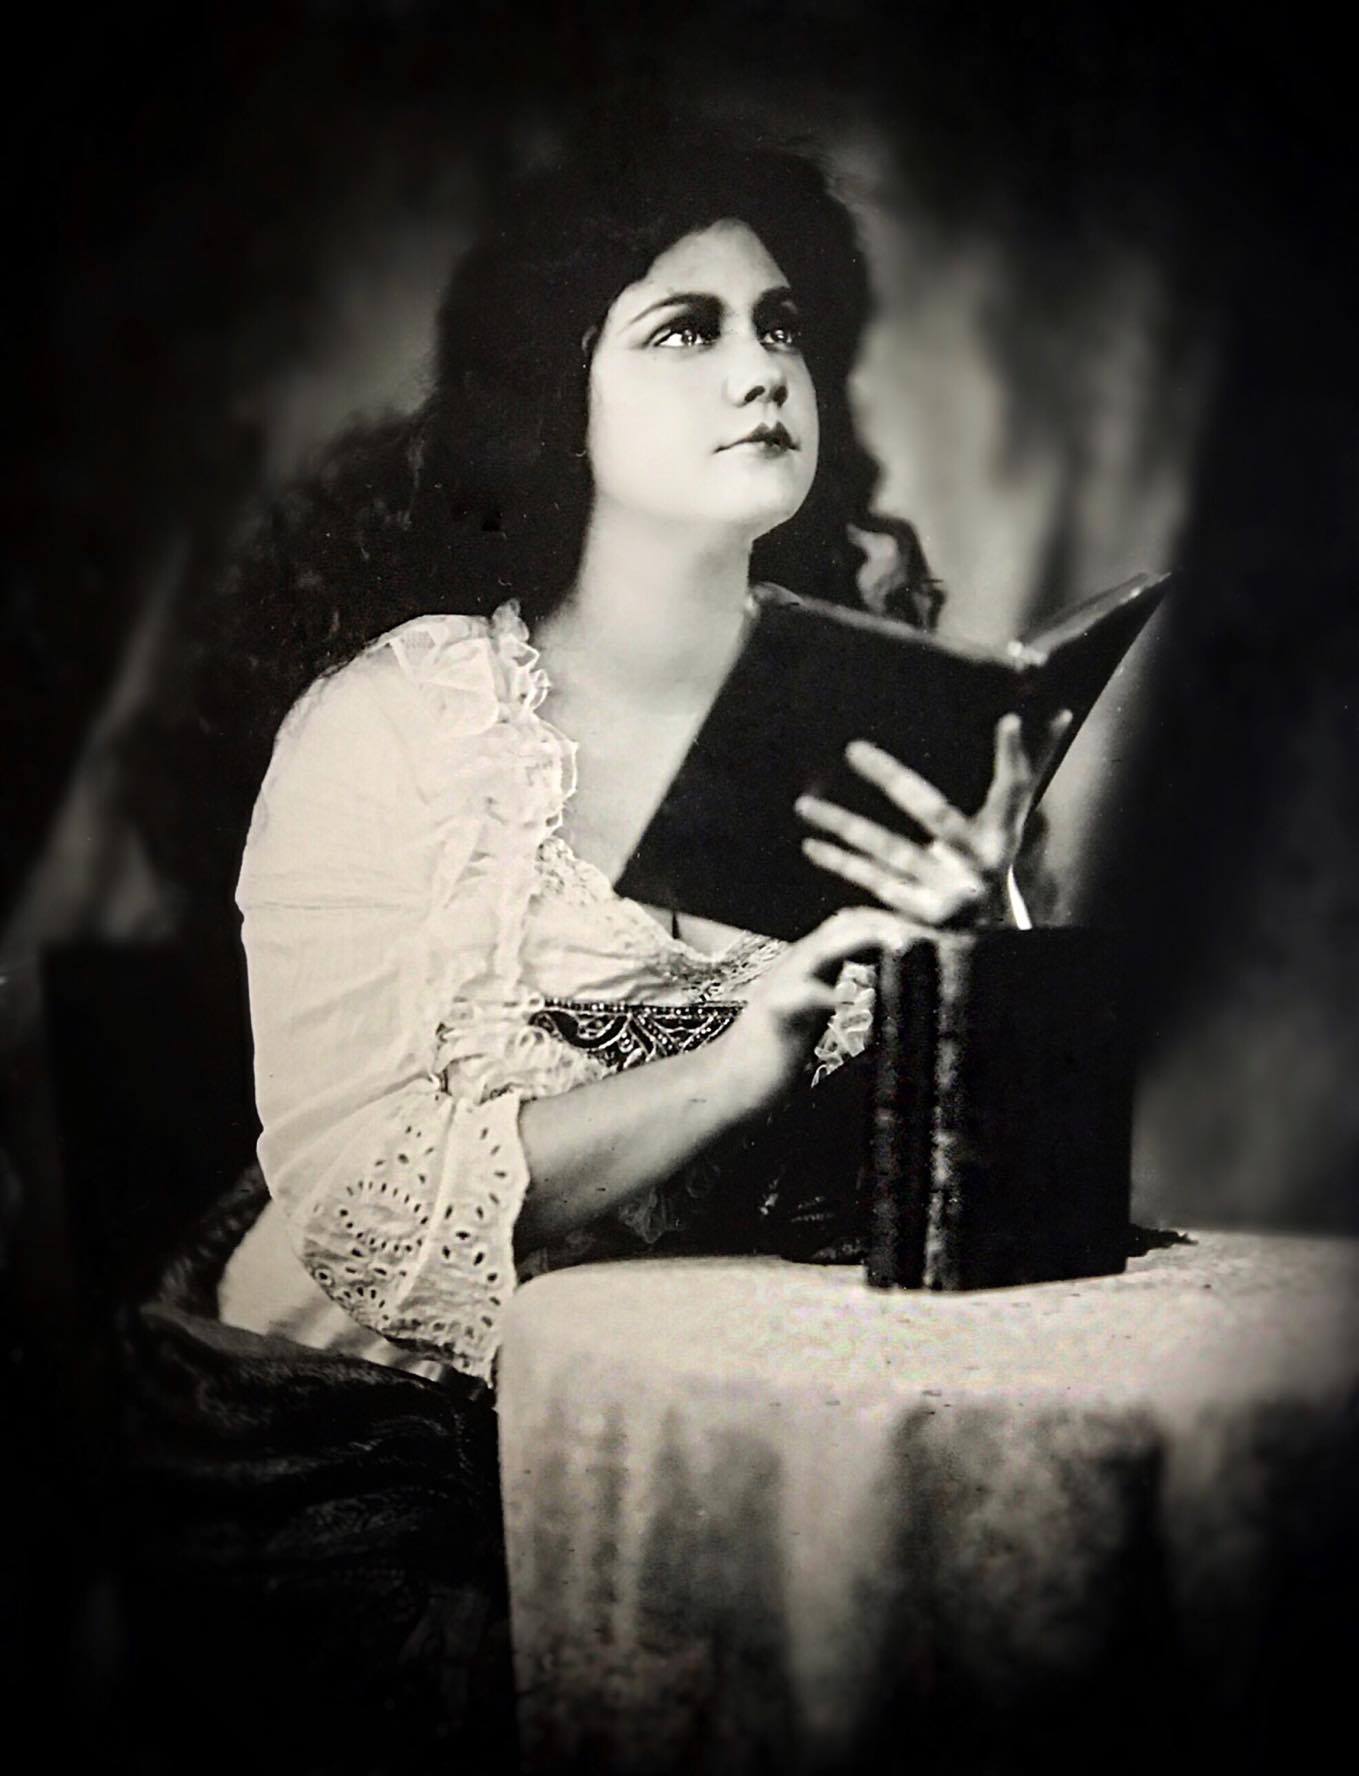

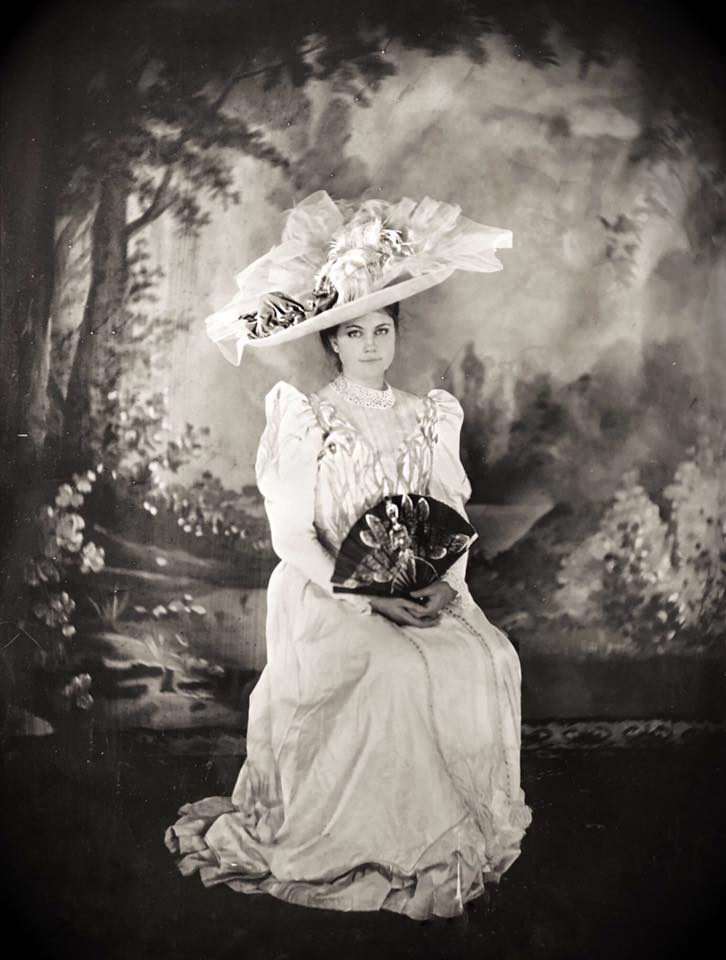
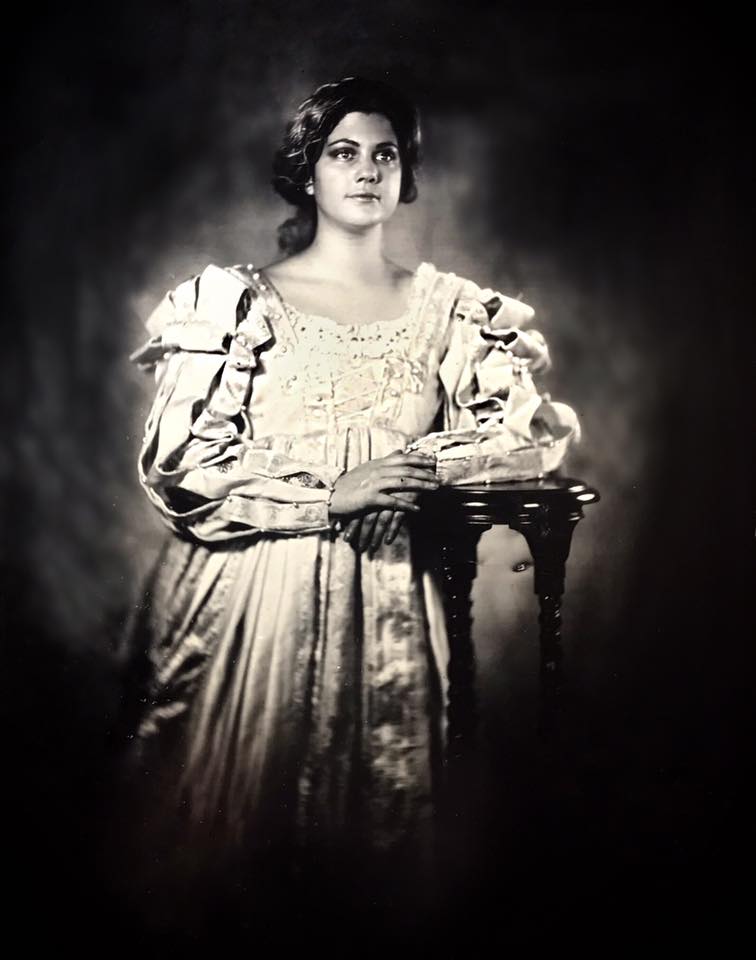
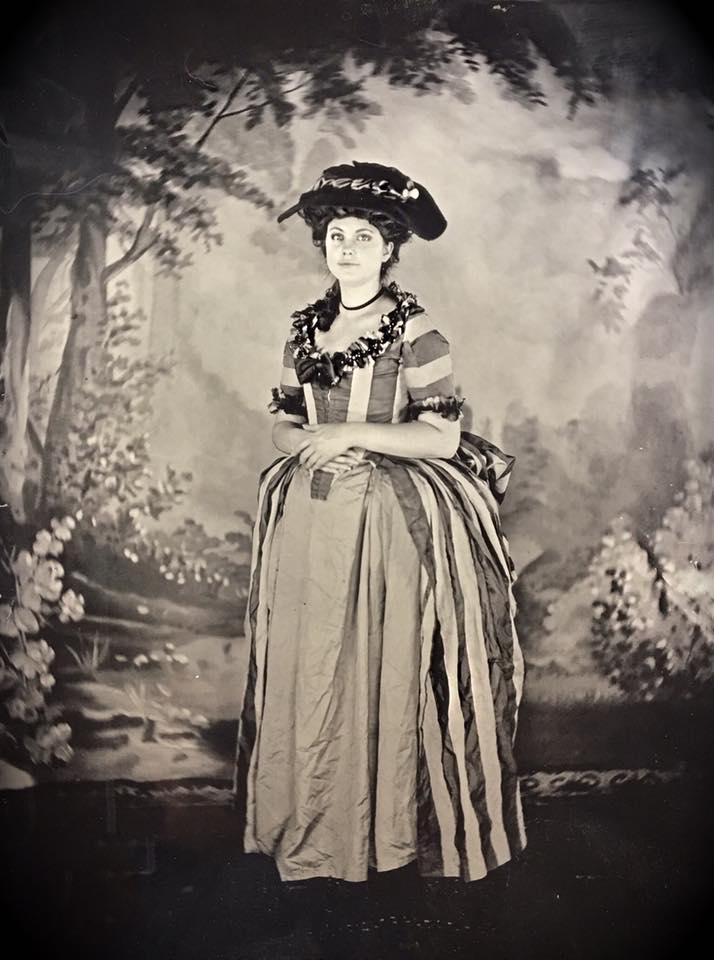
What you don’t get from the pictures here, is the texture of it. It’s not black and white, it’s milky and silvery over transparent, for the glass, and it’s something that in person is extremely interesting to see. This shiny feature is what makes your phone-made picture of it look a bit weird, if you don’t have the right light. And an other thing that the tintype app doesn’t do, is the right conversion of colors. So you can get a fake by a mile far, once you have some experience, and a real plate becomes something to treasure as one of a kind.
As I mentioned before, colors and greys do not match. If you get a medium grey and take a picture of it, it turns grey on the phone. With a collodion plate…it might. It will probably get darker. This is why it has no sense to name the color of a dress from a black and white victorian print of a plate. Not only it would be pointless to try to do that with a vintage photograph from film, but collodion photography is even more messed up. What you see as a dark grey could be medium grey. But also an intense pink, some browns, some dark blue hues, or even some green ones. It could be some grey cotton, but some orange velvet. This is why, unless you have a description like “The Empress wore a dark blue velvet and ivory brocade dress”, it’s impossible to be accurate, if you don’t have any extra reference. It might look white, but it could be light blue, it could look dark grey and be black faille. Silk, wool, cotton in the same color give different results in the plate. Satin, faille and crepe weave are all different, even with the same color and fiber.
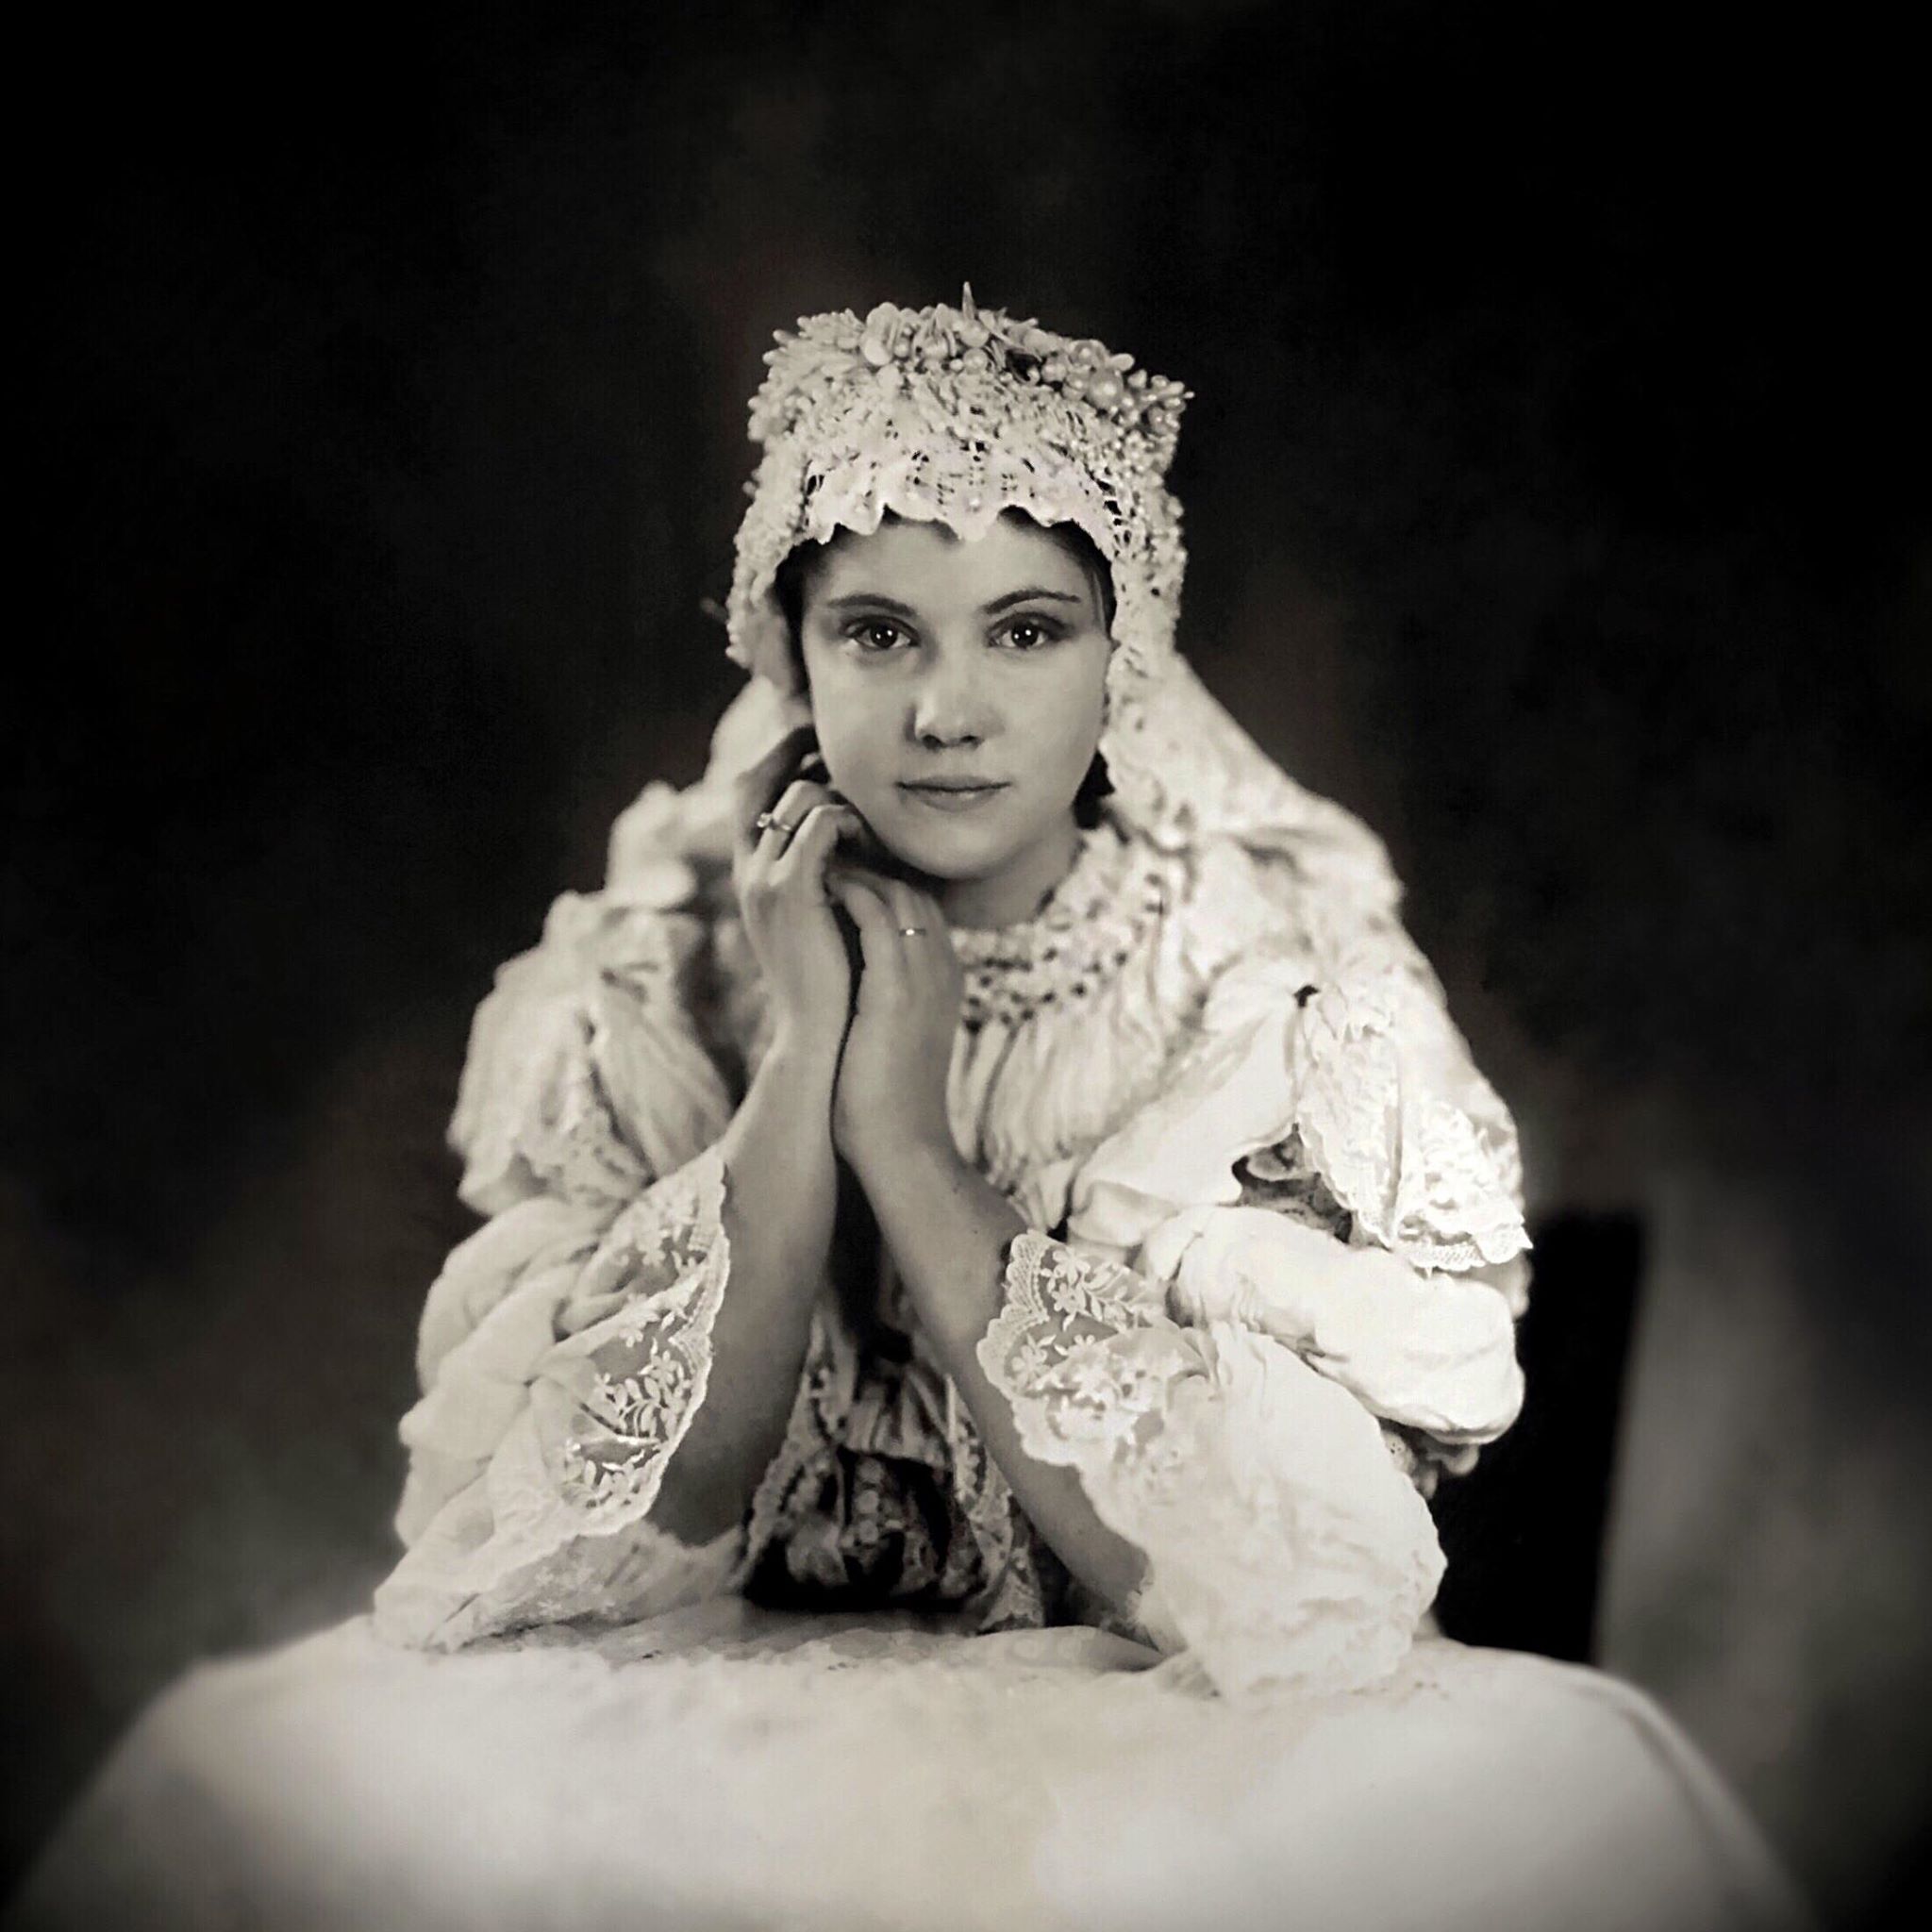
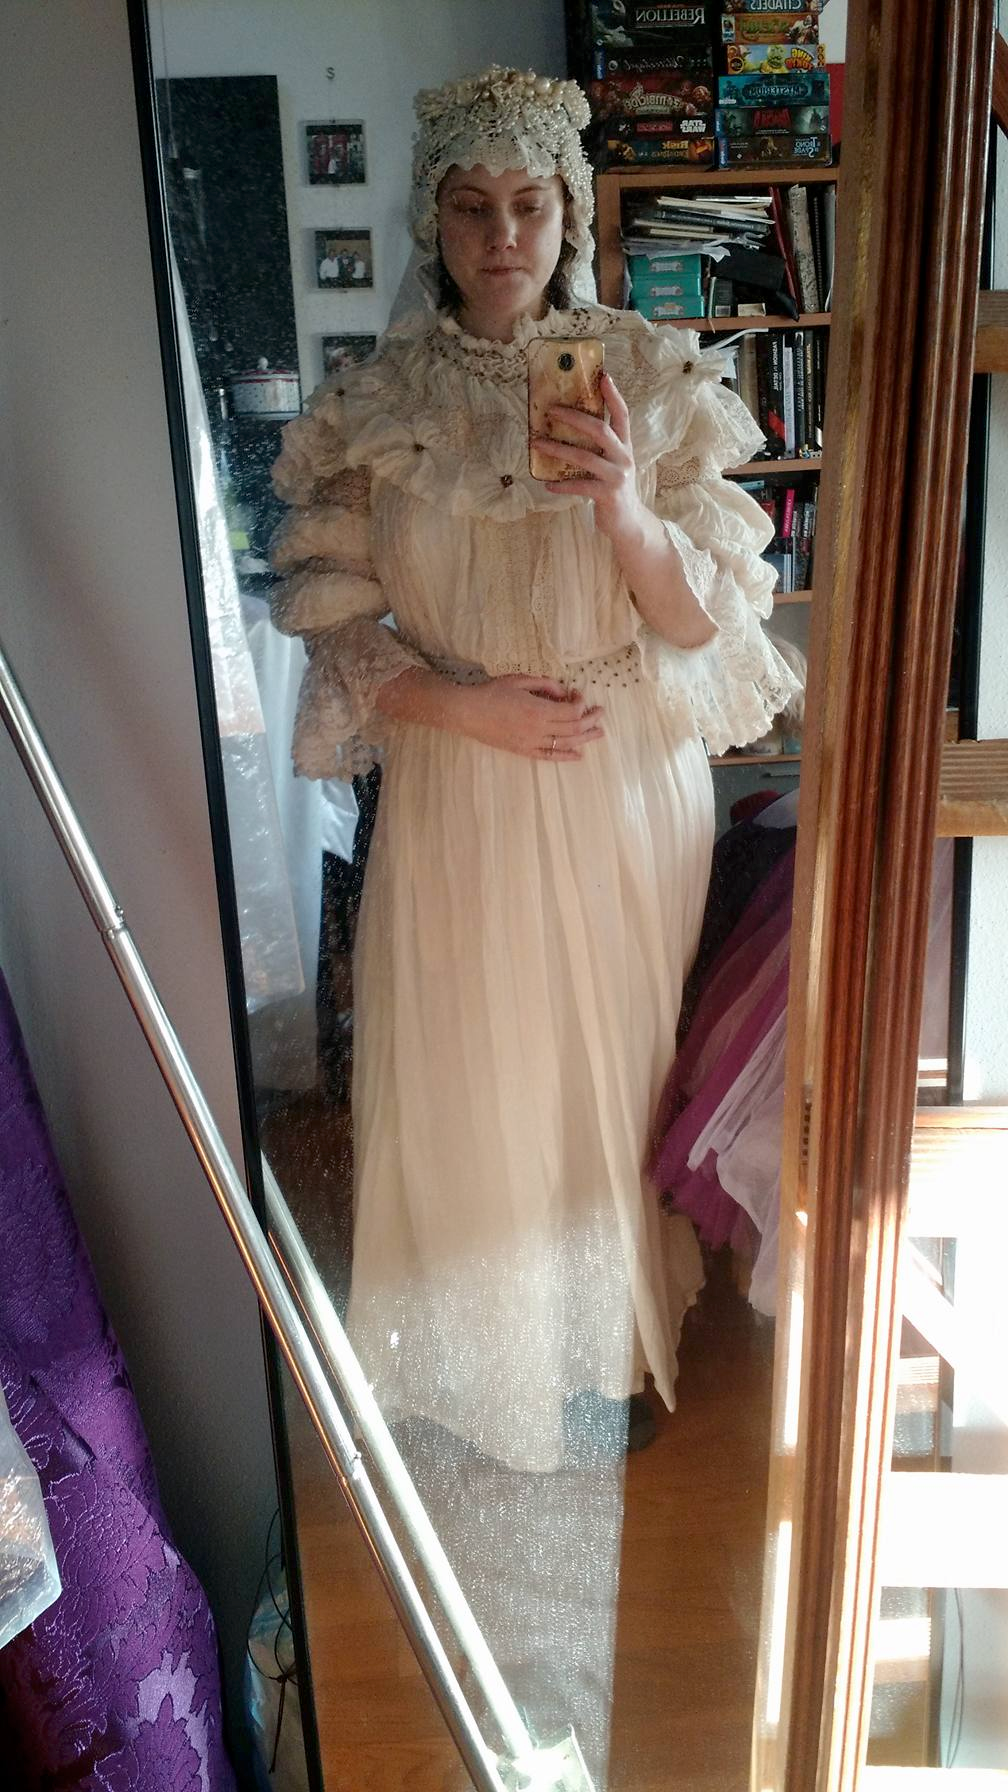
To start to get ahead of this, we have to start with some color theory. There’s blue, and there’s red and there’s green/yellow. All other colors are born from these. Except for black and white that are no colors, they’re light and absence of it. Pure yellow tends to behave. A cold yellow will be a bit lighter and a worm one a bit darker. You start getting the sense of it, now.
Red gets darker. Blue gets lighter, unless it’s a dark blue. Dark blues turn black. I have a half mourning outfit in lapis lazuli blue light worsted wool (almost sheer, flatlined in white cotton), with paisley appliques of soutache, jet beads and organza ribbon in black. It all looks black.
If you have an orange, which is made from yellow and red, it will look darker than the exact grey it would be like, according to photoshop. If you have a pink, it would look darker. If you have a lilac it depends on how much blue and red there’s in it. It won’t turn black, but it could turn darker or lighter than you expect.
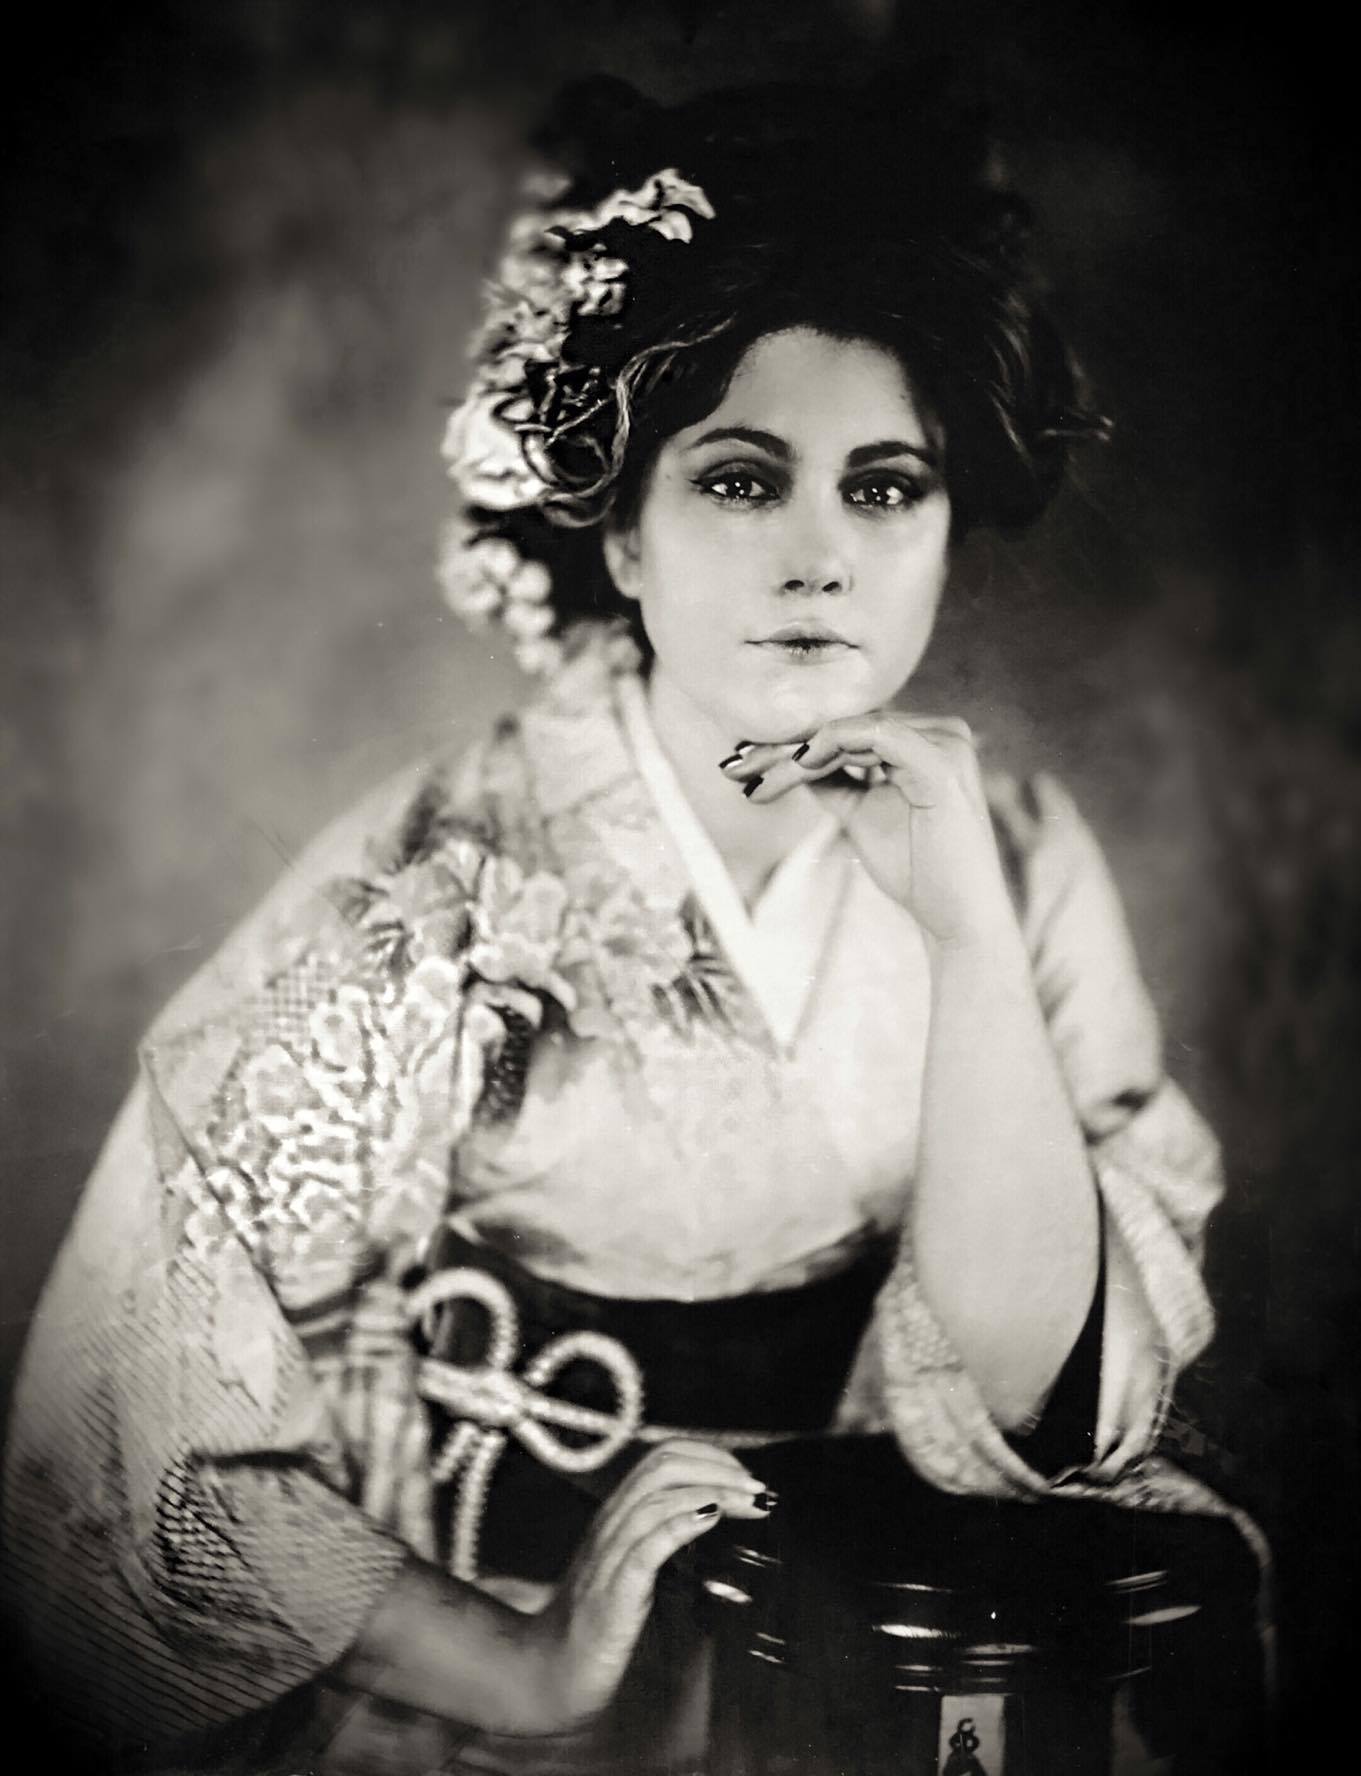
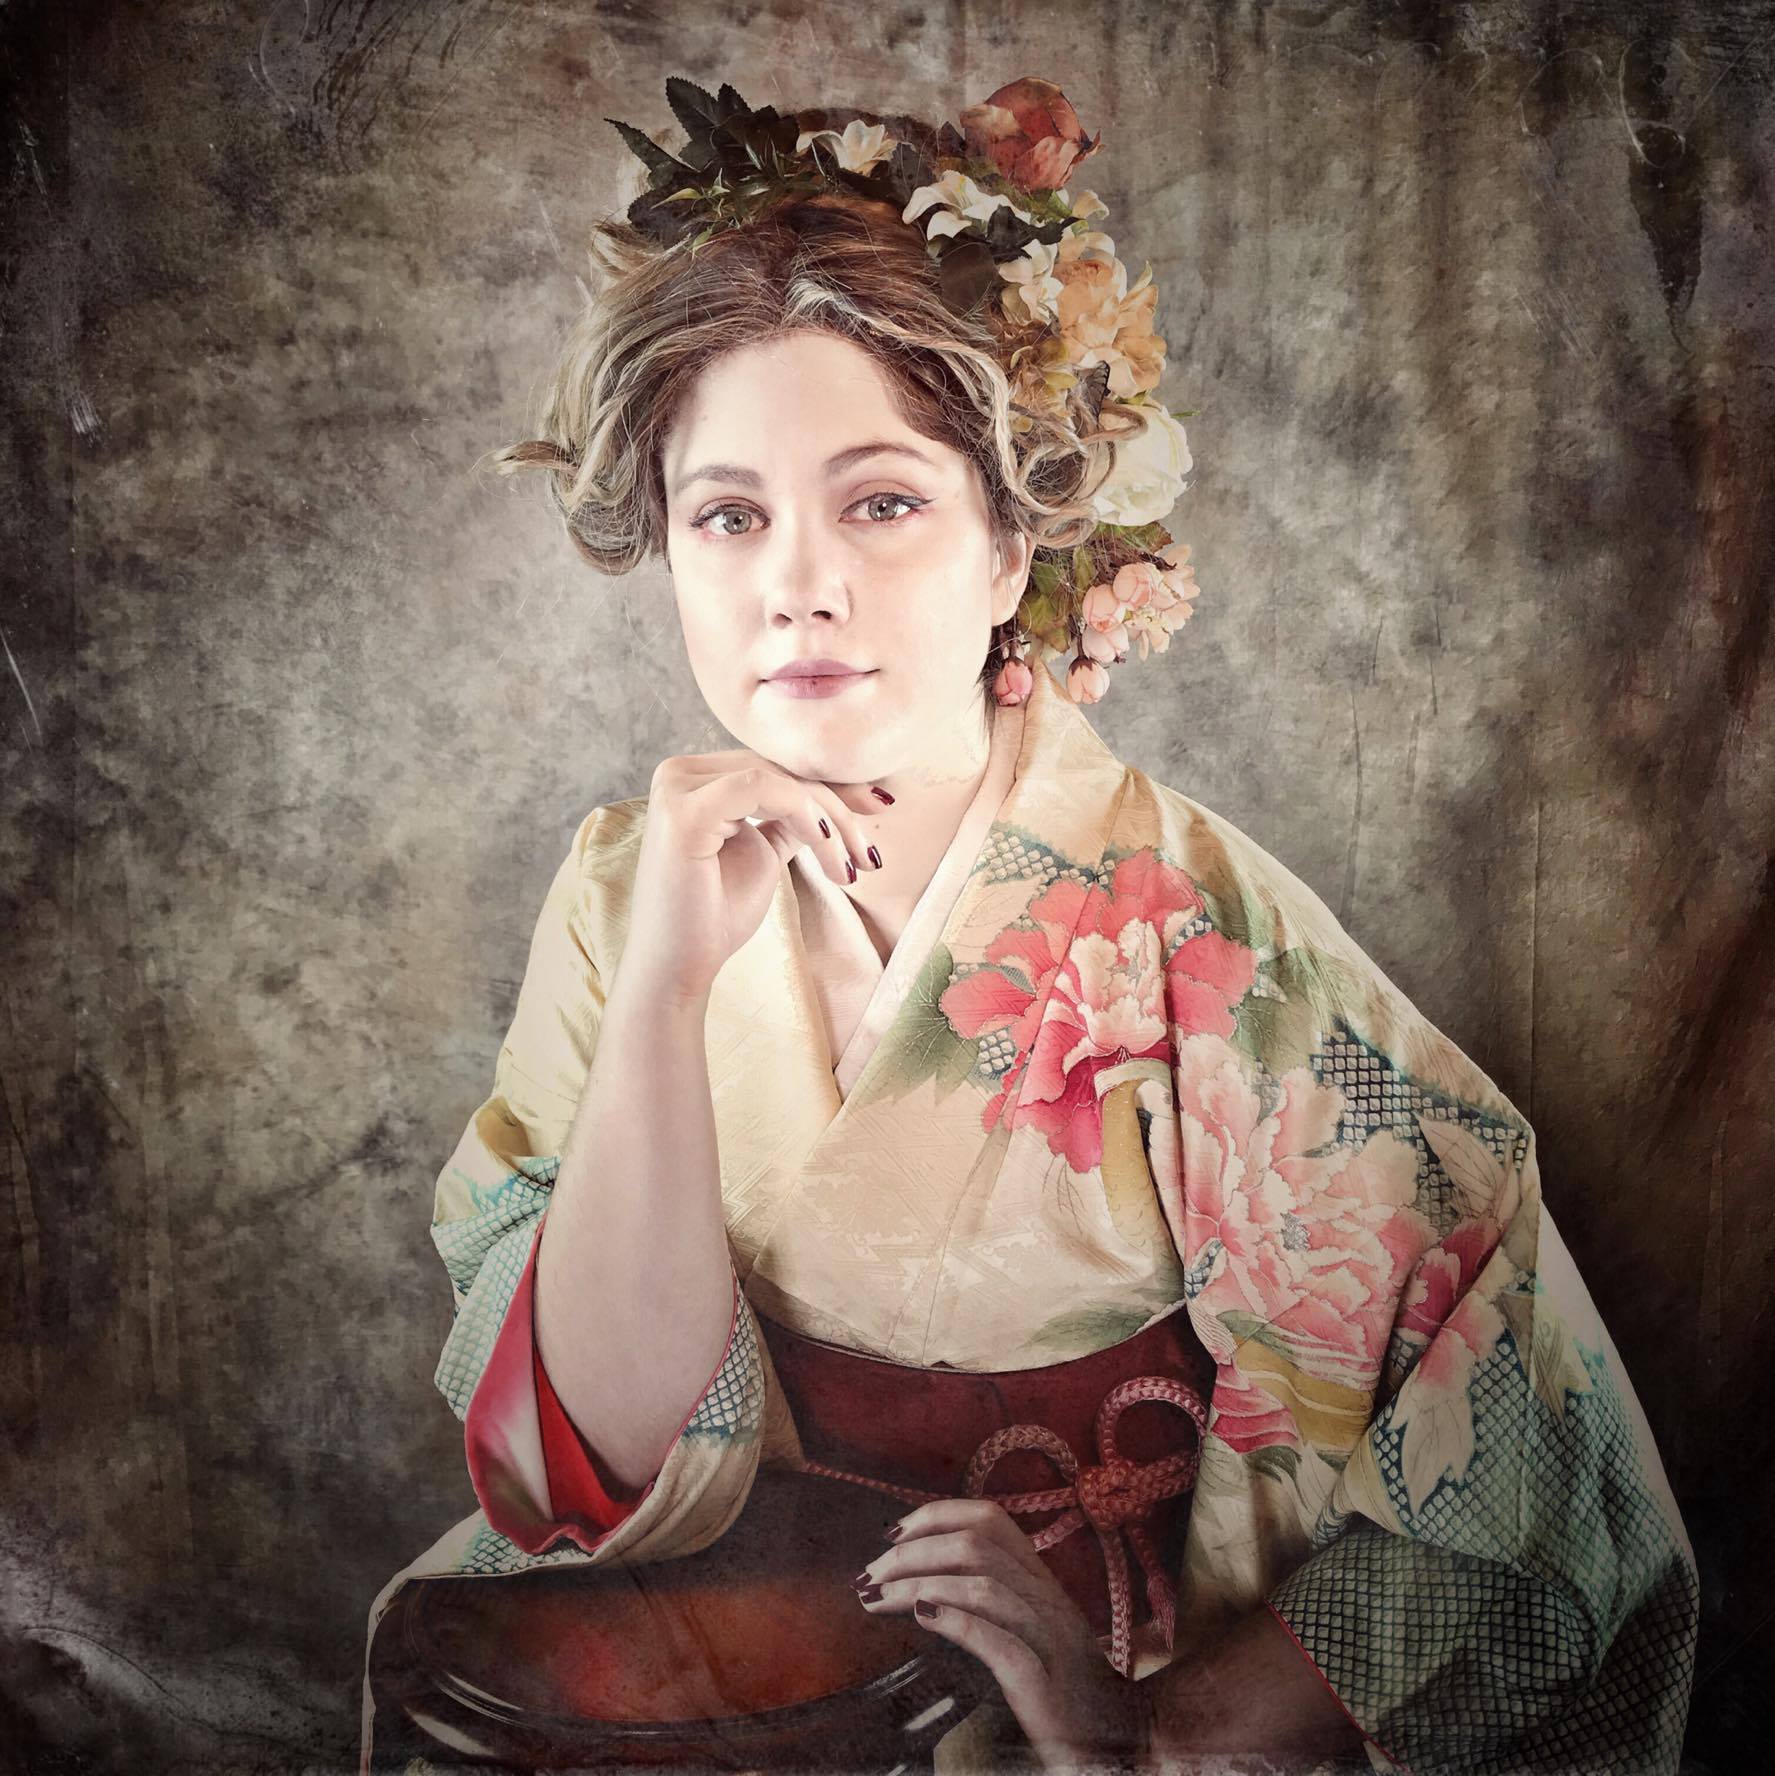
This is why, if you’re planning to get an ambrotype, you don’t want to bring with you the replica of Worth’s red velvet gown. Your sewing work would become a black silhouette. You don’t want white too, as it could make your face look darker. Pastels are usually safe. And it could be that your fabric weave keeps all the light, so it gets black, and the same color of an other weave gets out. This is why I included a lot of examples of the backstage picture and the result. Lamia’s dress from Stardust has a skirt in green and black iridescent taffeta, that looks light in person, compared to the black and gold bodice, but that disappeared in the picture, completely, cut out.
How about that face?
Makeup is crucial to get a nice ambrotype, the right makeup. Without makeup all spots and blemishes can look darker, like dirt on your face. You could do an amazing work, and get marks on your face, increase dark circles, make your skintone three tones darker when you struggled so much to apply that foundation to get porcelain skin. And all has to look natural, if you’re going to dance the night away. If you’re going to have a plate made in studio, you can experiment with something like early television makeup, with blues and reds and green where they’re not supposed to go, but that would not be accurate.
Nor that orange concealer for your dark circles is. Reds get darker, and if the orange-reddish concealer comes out, you’d get more dark circles than you had before applying it. So no red concealers, use not much of the green ones, and don’t use your blush as we’re used to, as it will result like a black or grey shade on your cheek. Good in real life, but it has happened that mine looked like dirt, in some plates, and you want to avoid that, considering the cost of a single plate.
Sharp modern brows should be avoided at all times, but that’s common sense, to make everything look historical. Brows back then were more rounded, and less winged, but you can darken them a bit, especially if you want a theatrical effect, like if you were an actress of the time. Kohl is good too in that case, and brown eyeshadow too.
About the foundation, use one that does not have UV protection. If it’s too strong, in the picture it will darken your skin where applied. A friend got a plate with applied sunscreen on her hands, and they were a black cutout.
Conceal all reds. Blemishes, black spots, couperose, all gets black. Even freckles. So you might want to get a nice concealer. I work well with Kat Von D foundation, one that’s lighter than my skintone, and that I use without concealer. I try not to use it at its full high coverage. I’ve tried, and it gives a fake effect. You want an overlay. And powder plenty with light or transparent powders.
Use only nude lipsticks that really match your lips, as darker ones might turn black. And if you’re going victorian, blend the sharp edges a bit. Again, if you’re going for the actress look, you might want just a bit of red, with blended edges. Sharp edges for the 1920s! I tend to give my lips a heart shape.
Last thing…pose.
This is one of the hard things. You’ve been there keeping your position still, for minutes, and you have to keep looking natural. Instead your body starts itching, you feel uncomfortable in a position you thought you could hold, and even if you didn’t move, in the plate you look like you’re making the efforts of Atlas.
There’s no much to say about this, just a few tricks: remember to breathe is the first. Focus on your chest expanding slowly, and on the air flowing out of your nose. Keep your shoulders back and down, your neck has to look long, and do not “sit” in your corset. Once you wear one and you sit, you usually sort of relax in it, there are bones keeping you up and making all the effort for you, you get used to it. I feel like I melt in it, and I love the feeling of relaxing all the muscles. But it doesn’t look good in photos, nor in plates. Always think as if there was a fishing thread at the top of your head that pulls upwards, or a crown that you want to be as high as possible in the picture (without lifting the chin, or it would hypothetically fall back).
Place your hands in sight, in a relaxed pose, and you’re good to go!
